How to Fix a Dripping Bathroom Faucet: Step-by-Step Guide
Stop a dripping bathroom faucet by replacing worn washers, O-rings, or cartridges — a beginner-friendly repair that takes under two hours and costs almost nothing.
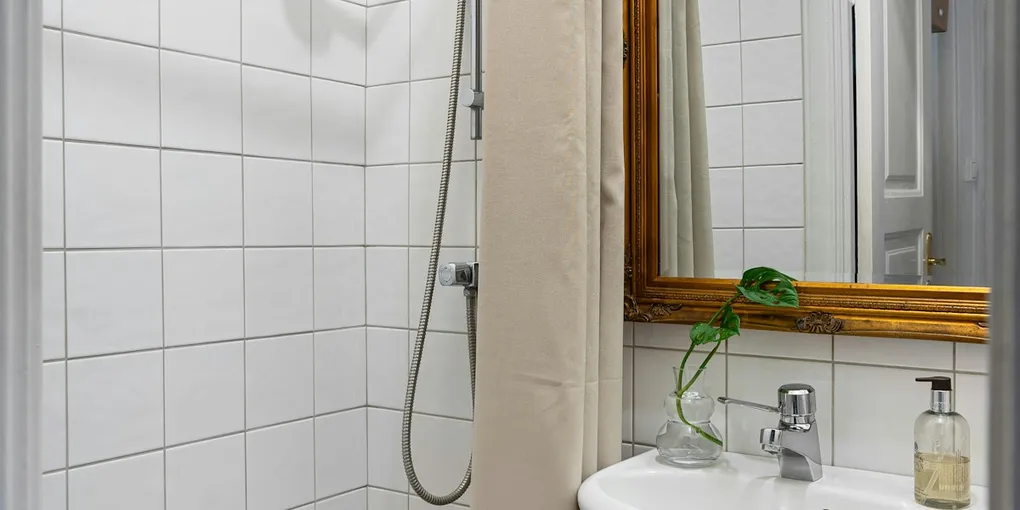
A dripping bathroom faucet is one of the most common household annoyances — and one of the easiest repairs to tackle yourself. Beyond the constant noise, a slow drip wastes thousands of gallons of water per year and adds real dollars to your water bill.
A dripping bathroom faucet is one of the most common household annoyances — and one of the easiest repairs to tackle yourself. Beyond the constant noise, a slow drip wastes thousands of gallons of water per year and adds real dollars to your water bill. The good news is that most bathroom faucet drips come down to a single worn-out part: a rubber washer, an O-ring, or a cartridge. With the right replacement part and a basic set of tools, the fix takes an hour or less.
What You Need
- Replacement Faucet Cartridge Kit (universal or brand-specific) — The most reliable repair for cartridge-style faucets. Match your faucet brand if possible; Moen, Delta, and Kohler each have specific cartridges.
- O-Ring and Washer Assortment Kit — Covers compression faucet repairs and handles worn O-rings on cartridge stems. A full assortment means you will have the right size on hand.
- Adjustable Wrench and Channel-Lock Pliers — Essential for removing packing nuts and supply line connections without damaging chrome finishes.
- Flathead and Phillips screwdrivers
- Plumber’s grease (silicone-based)
- Replacement parts matching your faucet model (check the manufacturer’s website for part numbers)
Step 1: Identify Your Faucet Type
Before you buy parts or disassemble anything, determine what kind of faucet you have:
Compression faucet: Two separate handles that require multiple turns to open and close. These use rubber washers and are the oldest and simplest type to repair.
Cartridge faucet: Two handles or a single handle, with handles that move less than a full rotation. These use a replaceable cartridge that controls both water flow and temperature.
Ball faucet: Single handle that rotates over a rounded cap. Common in kitchens but found in some bathrooms. The ball, springs, and inlet seals are all potential drip sources.
Ceramic-disc faucet: Single lever over a wide cylindrical body. These rarely drip — when they do, the ceramic disc is typically cracked and needs replacement.
Knowing your type lets you buy the exact parts needed and follow the correct repair procedure.
Step 2: Shut Off the Water Supply
Under the sink, locate the shut-off valves on both the hot and cold supply lines. Turn each clockwise until fully closed. Open the faucet to drain the remaining water in the lines and release pressure. Place a small towel or bucket under the sink to catch any residual water when you disconnect the supply lines.
If there are no individual shut-off valves under the sink, turn off the main water supply valve for the house and add installing dedicated shut-off valves to your to-do list — they make future repairs much easier.
Step 3: Remove the Handle
Most bathroom faucet handles are held in place by a decorative cap that hides a single screw. Pry the cap off carefully with a flathead screwdriver wrapped in a cloth to avoid scratching the finish. Remove the screw underneath and lift the handle straight up off the stem.
Some handles are friction-fit and may need a firm pull or gentle rocking to come free. Do not use excessive force — if the handle is stuck, check for additional hidden screws before pulling harder.
Step 4: Replace the Worn Part
For compression faucets: With the handle off, use an adjustable wrench to unscrew the packing nut (the large hex nut below the handle area). Lift out the stem. At the bottom of the stem, you will see a rubber washer held by a brass screw. Remove the old washer, note its size, and install a matching replacement from your kit. Replace the O-ring on the stem body while you have it apart. Coat new rubber parts lightly with plumber’s grease before reassembly.
For cartridge faucets: Remove the retaining clip or nut that holds the cartridge in place (this varies by brand — consult the manufacturer diagram). Pull the cartridge straight up using cartridge puller pliers if it is stubborn. Insert the new cartridge in the same orientation as the old one — alignment matters, and an upside-down cartridge will make hot and cold backwards. Reassemble in reverse order.
For ball faucets: Replace the spring, seat, and ball as a kit. Disassemble by removing the handle set screw and cam assembly, then remove the old ball, springs, and rubber seats from the body. Install all new components from the kit and reassemble.
Step 5: Reassemble and Test
With the new part installed, reverse your disassembly steps. Tighten the packing nut or retaining clip snugly — firm but not over-tightened. Reinstall the handle and secure the screw. Replace the decorative cap.
Slowly reopen the shut-off valves under the sink, turning counterclockwise until fully open. With water restored, check the faucet in the off position first. There should be no drip. Open and close the faucet a few times to seat the new parts, then check again.
If you see leaking around the base of the handle or the stem area (rather than from the spout), the packing nut may need a quarter-turn tighter or the O-ring on the stem body may have been missed.
Step 6: Check Supply Line Connections
While you are under the sink, inspect the braided supply line connections at both the shut-off valves and the faucet inlets. These connections can drip slowly and go unnoticed for months. Hand-tighten each connection and add a quarter-turn with pliers. Any supply line showing corrosion, cracking, or bulging should be replaced — braided stainless steel supply lines cost just a few dollars and prevent expensive water damage.
Long-Term Tips
Clean aerators every six months — mineral deposits reduce water pressure and strain faucet internals. Avoid cranking handles past the fully-open position, as this accelerates washer wear in compression faucets. If your water supply has high mineral content, a whole-house filter extends the life of washers and cartridges significantly.
Related Reading
- How to Fix a Running Toilet
- How to Unclog a Drain
- How to Repair a Drywall Hole
- How to Fix a Broken Outdoor Spigot Vacuum Breaker — fix a dripping outdoor faucet vacuum breaker the same way you’d fix an indoor cartridge
- How to Fix a Loose Kitchen Faucet Handle — tighten a wobbly kitchen faucet handle using the same techniques
- How to Fix a Bathroom Sink Stopper — repair the pop-up stopper while you have the sink disassembled
- How to Fix a Broken Bathroom Sink Stopper — replace a sink pop-up stopper that no longer holds water
- How to Fix a Broken Bathroom Towel Ring — tighten or replace a loose towel ring while you have the bathroom tools out
- How to Fix a Broken Outdoor Faucet Cartridge — replace a worn cartridge in an outdoor hose bib using the same techniques
- Identify Your Faucet Type
Before you buy parts or disassemble anything, determine what kind of faucet you have:
- Shut Off the Water Supply
Under the sink, locate the shut-off valves on both the hot and cold supply lines. Turn each clockwise until fully closed. Open the faucet to drain the remaining water in the lines and release pressure.
- Remove the Handle
Most bathroom faucet handles are held in place by a decorative cap that hides a single screw. Pry the cap off carefully with a flathead screwdriver wrapped in a cloth to avoid scratching the finish.
- Replace the Worn Part
For compression faucets: With the handle off, use an adjustable wrench to unscrew the packing nut (the large hex nut below the handle area). Lift out the stem. At the bottom of the stem, you will see a rubber washer held by a brass screw.
- Reassemble and Test
With the new part installed, reverse your disassembly steps. Tighten the packing nut or retaining clip snugly — firm but not over-tightened. Reinstall the handle and secure the screw. Replace the decorative cap.
- Check Supply Line Connections
While you are under the sink, inspect the braided supply line connections at both the shut-off valves and the faucet inlets. These connections can drip slowly and go unnoticed for months.
Free: 10-Point Home Maintenance Checklist
Prevent costly repairs with this seasonal checklist. Save hundreds every year by catching problems early.
Your checklist is ready!
Open Checklist →Something went wrong. View the checklist here.