How to Fix a Leaking Outdoor Faucet Cartridge in 20 Minutes ($8–$20 Replacement)
Replace a worn outdoor faucet cartridge to stop drips and restore full flow in 20 minutes. Replacement cartridges cost $8–$20 and work on most brands without a plumber.
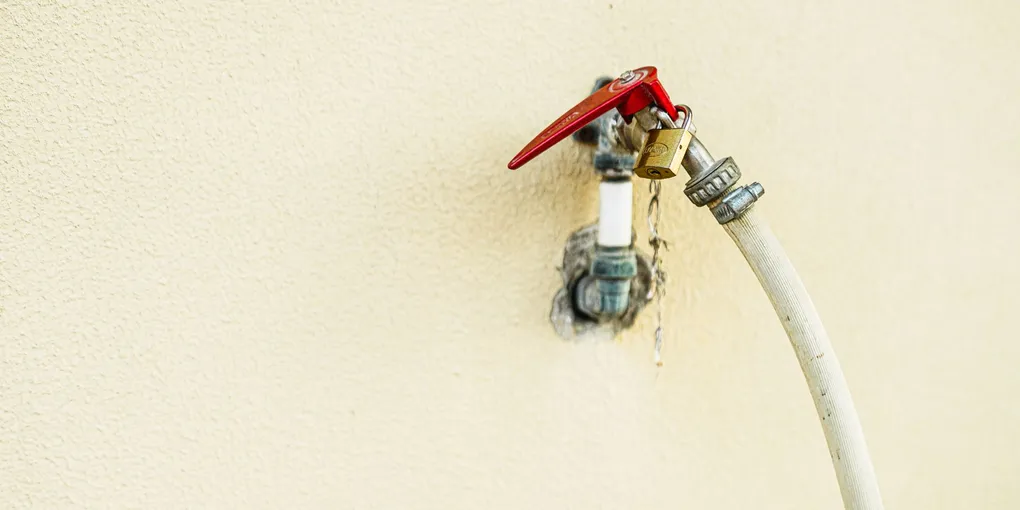
A dripping outdoor faucet wastes hundreds of gallons a year and, if left through winter, can crack the faucet body or leave water in the pipe to freeze. Most drips trace back to a worn cartridge — the internal valve mechanism that opens and closes water flow when you turn the handle.
A dripping outdoor faucet wastes hundreds of gallons a year and, if left through winter, can crack the faucet body or leave water in the pipe to freeze. Most drips trace back to a worn cartridge — the internal valve mechanism that opens and closes water flow when you turn the handle. Replacing it is a straightforward repair that requires no soldering and only basic tools.
Understanding the Outdoor Faucet Cartridge
Outdoor hose bibs and sillcocks use one of two internal mechanisms: a rubber compression washer screwed onto a brass seat, or a single-lever cartridge made of ceramic or plastic. Older faucets typically use the compression washer design; newer or higher-end faucets use a cartridge. This guide covers cartridge-style faucets, though the same shut-off and disassembly steps apply to both.
Tools and Materials
- Replacement cartridge (matched to your faucet brand and model)
- Adjustable wrench
- Channel-lock pliers
- Phillips and flathead screwdrivers
- Needle-nose pliers (for retaining clips)
- Silicone plumber’s grease
- Teflon tape
- Bucket and towel
A universal kit like the Danco Outdoor Faucet Repair Kit covers many common sillcock and hose bib models and includes O-rings and packing in addition to washers.
Step 1 — Shut Off and Drain
Close the shutoff valve feeding the outdoor faucet. Open the outdoor faucet handle fully to release pressure and drain remaining water from the line. Place a bucket under the faucet to catch any residual water when you open the body.
Step 2 — Remove the Handle
Most outdoor faucet handles are secured by a single Phillips screw hidden under a decorative cap. Pry the cap off with a flathead screwdriver, remove the screw, and pull the handle straight off the stem. If it is stuck, wiggle gently while pulling — do not pry against the faucet body or you may crack it.
Step 3 — Remove the Packing Nut
Behind the handle, a large hexagonal packing nut threads into the faucet body and holds the stem in place. Use an adjustable wrench to turn it counterclockwise. Once loose, unthread it by hand and set it aside. Keep track of any packing washers on the nut.
Step 4 — Extract the Cartridge
Pull the stem and cartridge assembly straight out of the faucet body. If it resists, grip with channel-lock pliers padded with a rag to protect the finish and pull steadily. Some cartridges have a retaining clip — use needle-nose pliers to remove it before pulling.
Inspect the cartridge body and O-rings. If the O-rings are cracked, flattened, or missing, that is your leak source. If the cartridge body itself is cracked or scored, replace the whole unit.
Step 5 — Install the New Cartridge
Coat the new cartridge O-rings with silicone plumber’s grease. Align any key tabs or notches on the cartridge with the matching slots in the faucet body — installing a cartridge rotated 180 degrees is a common mistake that causes the faucet to run backwards. Press it in firmly until it seats fully.
A quality replacement is the Moen Outdoor Faucet Cartridge if you have a Moen sillcock, or source the OEM cartridge for your specific brand.
Step 6 — Reassemble
Thread the packing nut back in by hand, then snug it with a wrench. Do not over-tighten — just enough to eliminate slop. Reinstall the handle and tighten its screw.
Step 7 — Restore Water and Test
Slowly open the shutoff valve. Go to the outdoor faucet and check for leaks around the handle stem and at the spout with the handle closed. If the stem area weeps, tighten the packing nut a quarter turn. Open the handle fully to confirm full flow, then close it and confirm it stops dripping.
Prevention Tips
- Before winter, disconnect all hoses and close the indoor shutoff to let the sillcock drain.
- Inspect the cartridge O-rings every two to three years as part of a spring maintenance check.
- If you have hard water, flush the faucet body with white vinegar annually to dissolve mineral buildup that accelerates cartridge wear.
A replaced cartridge takes less than an hour and costs under $20 in parts — a fraction of what a burst outdoor pipe repair would run.
Related guides
- How to Fix a Broken Outdoor Spigot Vacuum Breaker — repair a dripping or stuck vacuum breaker cap on the spigot
- How to Fix a Broken Outdoor Spigot — replace the entire sillcock if cartridge replacement isn’t enough
- How to Fix a Dripping Outdoor Faucet — stop a persistent drip when the cartridge is not the cause
- Step 1 — Shut Off and Drain
Close the shutoff valve feeding the outdoor faucet. Open the outdoor faucet handle fully to release pressure and drain remaining water from the line. Place a bucket under the faucet to catch any residual water when you open the body.
- Step 2 — Remove the Handle
Most outdoor faucet handles are secured by a single Phillips screw hidden under a decorative cap. Pry the cap off with a flathead screwdriver, remove the screw, and pull the handle straight off the stem.
- Step 3 — Remove the Packing Nut
Behind the handle, a large hexagonal packing nut threads into the faucet body and holds the stem in place. Use an adjustable wrench to turn it counterclockwise. Once loose, unthread it by hand and set it aside.
- Step 4 — Extract the Cartridge
Pull the stem and cartridge assembly straight out of the faucet body. If it resists, grip with channel-lock pliers padded with a rag to protect the finish and pull steadily.
- Step 5 — Install the New Cartridge
Coat the new cartridge O-rings with silicone plumber's grease. Align any key tabs or notches on the cartridge with the matching slots in the faucet body — installing a cartridge rotated 180 degrees is a common mistake that causes the faucet to run ba...
- Step 6 — Reassemble
Thread the packing nut back in by hand, then snug it with a wrench. Do not over-tighten — just enough to eliminate slop. Reinstall the handle and tighten its screw.
Free: 10-Point Home Maintenance Checklist
Prevent costly repairs with this seasonal checklist. Save hundreds every year by catching problems early.
Your checklist is ready!
Open Checklist →Something went wrong. View the checklist here.