How to Fix a Cracked Tile Backsplash
Repair cracked or chipped kitchen backsplash tiles yourself with this complete guide covering crack filling, single tile replacement, and regrouting for a like-new finish.
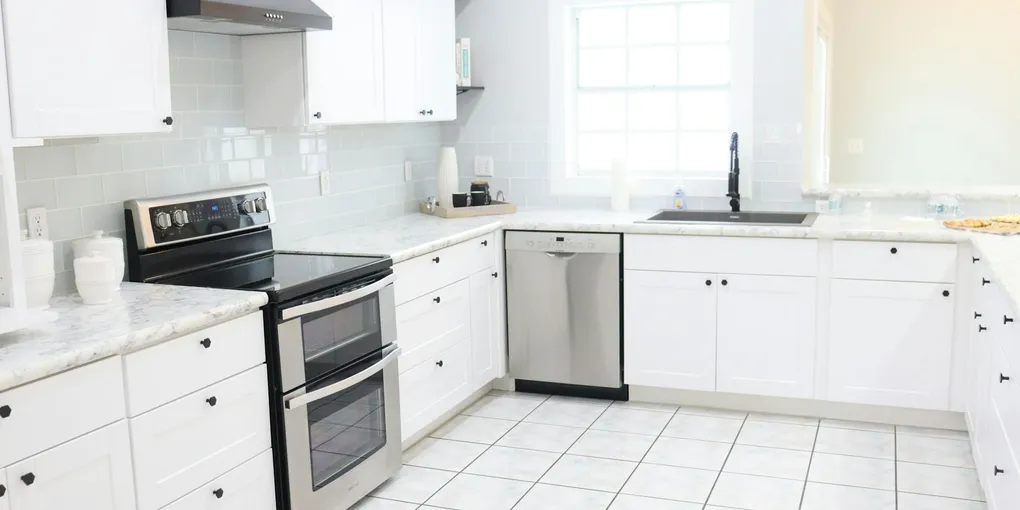
A cracked or chipped kitchen backsplash tile is one of those cosmetic issues that is impossible to ignore once you notice it.
A cracked or chipped kitchen backsplash tile is one of those cosmetic issues that is impossible to ignore once you notice it. The good news is that backsplash tile repair is a manageable DIY project — far less intimidating than a full floor repair because the tiles are small, the substrate is accessible, and you are working at a comfortable height. Whether you have a hairline crack you want to disguise or a fully broken tile to replace, this guide covers both approaches.
What You Need
- Porcelain Tile Repair Epoxy Kit ($10–$20, for crack filling without full tile replacement)
- Tile Adhesive Mastic ($12–$20 per quart, sufficient for several replacement tiles)
- Sanded or Unsanded Grout ($8–$15, match to your existing grout color — bring a photo or chip to the store)
- Grout Sealer ($12–$18 per bottle, enough for an entire backsplash)
- Oscillating Multi-Tool with Grout Blade ($40–$80, or rent one for the day)
- Grout Float and Margin Trowel ($15–$25 as a kit)
- Tile Spacers ($5–$8 per bag, match to your existing grout joint width)
- Painter’s tape, sponge, bucket, safety glasses
Step 1: Assess the Damage
Before buying materials, spend a few minutes understanding what you are dealing with.
Hairline crack (no displacement): The tile face is cracked but both sides are still flush and the tile feels solid when you press it. This is a cosmetic repair candidate — use a color-matched epoxy filler.
Chipped corner or edge: A small piece has broken off. Use epoxy filler to rebuild the missing material if the chip is under the size of a dime. Larger chips look better with tile replacement.
Through-crack with tile movement: Press gently on each side of the crack. If one side flexes or feels hollow compared to the other, the tile has lost its bond to the wall. Replacement is the right call — filler on a loose tile will crack again.
Multiple tiles cracked in a pattern: Linear cracking along grout joints or diagonal cracking across multiple tiles suggests substrate movement — possibly a settling wall or a backer board that flexes. Fix the underlying cause before repairing tiles or the problem will return.
Step 2: Crack Filling for Minor Damage
For hairline cracks and small chips where the tile is still solid and flush:
Clean the area thoroughly. Degrease the tile with rubbing alcohol and let it dry completely. Epoxy will not bond to grease or moisture.
Select the right filler color. Tile repair epoxy kits often include multiple pigments you can blend to match your tile color. Test the mix on a piece of paper and hold it against the tile in natural light before applying.
Apply the epoxy. Mix the two-part epoxy according to the package directions — working time is typically 5–10 minutes. Use a fine artist’s brush or the applicator tip to push the filler into the crack, slightly overfilling it.
Level and smooth. Before the epoxy sets (usually within 20–30 minutes), smooth it flush with the tile surface using a plastic putty knife or a damp gloved finger. Remove excess immediately — cured epoxy is difficult to remove without scratching the tile.
Cure and buff. Allow the full cure time specified on the package (typically 24 hours). Once cured, very gently buff the filled area with 400-grit sandpaper wrapped around a small block, then wipe clean. The repair will be most visible in raking light — a good fill is nearly invisible in normal kitchen lighting.
Step 3: Remove the Damaged Tile
For tiles that need full replacement, the key is getting the old tile out without cracking the surrounding tiles.
Protect neighboring tiles. Apply painter’s tape around all four edges of the damaged tile, covering the adjacent grout joints and about 1/4 inch of the neighboring tile faces. This cushions them from tool vibration.
Remove the grout. Use an oscillating multi-tool fitted with a carbide grout removal blade to cut through the grout in all four joints surrounding the tile. Work at low speed and let the blade do the work — forcing it increases vibration that can crack neighboring tiles. A manual grout saw works too but requires more effort. Remove grout to a depth of at least 1/4 inch on all four sides.
Break out the tile. Use a cold chisel or the tip of a margin trowel and a mallet to score an X across the face of the damaged tile, then carefully chip it out from the center outward. Work toward the middle, not the edges — a slip near the grout line can nick a neighboring tile. If the tile is fully bonded, this takes patience.
Clean the substrate. Once the tile is out, use a putty knife or oscillating tool with a scraper blade to remove all old adhesive from the backer board. The surface should be flat and clean — any adhesive ridges will hold the new tile away from the wall and cause it to pop again.
Step 4: Set the New Tile
Check the fit dry. Hold the new tile in position to confirm it fits. Backsplash tiles are nominally sized but can have slight variation. If it is marginally too large, a rented tile saw makes clean cuts — do not try to score-and-snap a tile for a backsplash without practice.
Apply the adhesive. Using a margin trowel, spread a thin, even coat of mastic adhesive onto the back of the tile (back-buttering) and also a thin skim coat onto the cleaned substrate. The combined bed thickness should be about 3/16 inch. Use the notched edge of the trowel to comb ridges in the adhesive — these ridges collapse and increase contact coverage when you press the tile in place.
Set the tile. Press the tile firmly into position with a slight twisting motion to collapse the ridges and achieve full coverage. Use tile spacers on all four sides to maintain even grout joints matching the rest of the backsplash. Check that the tile face is flush with its neighbors by running your finger across the joints — any lippage (one tile higher than the other) will be obvious.
Allow adhesive to cure. Let the tile sit undisturbed for 24 hours (or per the product label). Do not apply grout until the adhesive is fully cured.
Step 5: Grout the Repair
Mix the grout. Use sanded grout for joints wider than 1/8 inch and unsanded grout for narrower joints. Mix to the consistency of peanut butter — it should hold its shape but spread smoothly. Mix only what you need for this repair; grout begins setting in 20–30 minutes.
Remove the tile spacers. Pry them out before grouting. Grouting over spacers leaves voids.
Apply the grout. Hold the rubber grout float at a 45-degree angle and spread grout diagonally across the joints. Press it firmly into each joint to fill any voids, working in all directions. Remove as much excess as possible from the tile face by scraping the float across at a steep angle.
Clean up. Dampen a sponge with clean water — wrung out thoroughly, not dripping — and wipe the tile faces with a circular motion. Rinse and repeat. You are removing the grout haze, not washing the grout out of the joints. Work lightly over the joints themselves. Allow the grout to firm up for 15 minutes and repeat with a clean damp sponge.
Final haze removal. Once the grout has dried to a light haze (usually 30–60 minutes after wiping), buff the tile faces with a dry microfiber cloth to remove the last film.
Step 6: Seal the Grout
Wait 48–72 hours after grouting for the grout to fully cure, then apply a penetrating grout sealer to the repaired joints (and ideally to the entire backsplash while you have the sealer out).
Apply sealer with the applicator tip directly onto the grout lines. Let it penetrate for the time specified on the bottle (typically 5–10 minutes), then wipe away any excess on the tile faces before it dries. One coat is usually sufficient for new grout.
Cost Summary
| Repair Type | DIY Cost | Pro Cost |
|---|---|---|
| Crack fill with epoxy | $10–$20 | $75–$150 |
| Single tile replacement | $30–$60 | $150–$300 |
| 4–6 tile replacement section | $60–$120 | $250–$500 |
Related Reading
- How to Install a Kitchen Faucet
- How to Paint Kitchen Cabinets
- How to Fix a Floor Tile That Is Loose — repair loose floor tiles in the same kitchen or bath
- How to Patch Drywall
- Kitchen Backsplash Cost — full replacement cost if repair is not worth it
- Assess the Damage
Before buying materials, spend a few minutes understanding what you are dealing with.
- Crack Filling for Minor Damage
For hairline cracks and small chips where the tile is still solid and flush:
- Remove the Damaged Tile
For tiles that need full replacement, the key is getting the old tile out without cracking the surrounding tiles.
- Set the New Tile
Check the fit dry. Hold the new tile in position to confirm it fits. Backsplash tiles are nominally sized but can have slight variation.
- Grout the Repair
Mix the grout. Use sanded grout for joints wider than 1/8 inch and unsanded grout for narrower joints. Mix to the consistency of peanut butter — it should hold its shape but spread smoothly.
- Seal the Grout
Wait 48–72 hours after grouting for the grout to fully cure, then apply a penetrating grout sealer to the repaired joints (and ideally to the entire backsplash while you have the sealer out).
Free: 10-Point Home Maintenance Checklist
Prevent costly repairs with this seasonal checklist. Save hundreds every year by catching problems early.
Your checklist is ready!
Open Checklist →Something went wrong. View the checklist here.