How to Repair a Concrete Driveway: Cracks, Spalling, and Resurfacing
Guide to fixing concrete driveway problems — filling hairline cracks, repairing spalling surfaces, and resurfacing when repairs aren't enough.
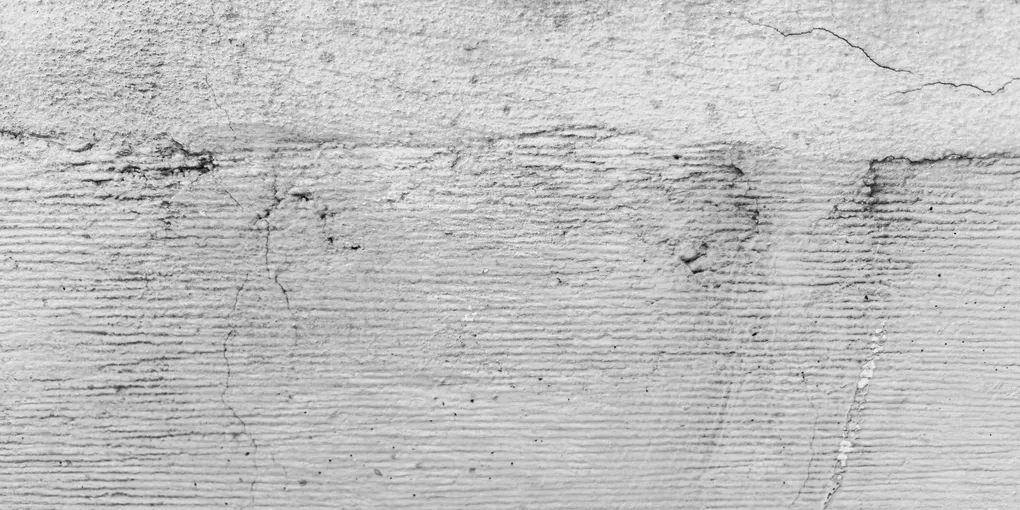
Repairing a concrete driveway: (1) Hairline cracks (under 1/4 inch wide): clean with a wire brush, blow out debris, fill with concrete crack filler or polyurethane caulk. (2) Wider cracks: use a cold chisel to undercut the edges (wider at the bottom than top) so the patch locks in. Clean, dampen, apply vinyl concrete patch, compact, and tool flush. (3) Spalling (flaking surface): grind off loose material, apply a concrete resurfacer according to manufacturer instructions, broom-finish while wet. (4) Avoid DIY patching during temps below 40 F or above 90 F — concrete cures poorly at temperature extremes. (5) Seal the entire driveway after repairs with a penetrating concrete sealer to prevent future moisture intrusion. Small cracks under 1/4 inch are DIY; large cracks from settlement or structural movement need a professional assessment.
Frequently Asked Questions
Can I repair a concrete driveway myself or do I need a contractor?
Most concrete driveway repairs are DIY-friendly. Hairline cracks, wide cracks, and surface spalling are all manageable with products sold at hardware stores. The exception is structural damage — heaving, sinking slabs, or cracks wider than 1/2 inch that indicate a failing base. Those need a contractor to diagnose the underlying cause before any surface repair will hold.
What is the best filler for cracks in a concrete driveway?
For hairline cracks under 1/4 inch, a self-leveling polyurethane sealant works best because it flows into the crack and stays flexible. For wider cracks up to 1/2 inch, use a urethane caulk with a backer rod to prevent the filler from sinking. Quikrete Concrete Crack Filler is a reliable option for cracks in between those widths.
How do I fix spalling concrete that is flaking and crumbling?
Spalling is fixed with a concrete resurfacer. The critical step is preparation: grind or chip away all loose concrete, clean the surface thoroughly, and dampen it before applying the resurfacer. Quikrete Concrete Resurfacer bonds to the existing slab and dries to a surface you can drive on in 24 hours. Skipping prep is why most DIY resurfacing jobs fail.
How long does concrete crack filler take to cure before driving on it?
Polyurethane and urethane caulk fillers are typically dry to the touch in 1 to 2 hours but need 24 to 48 hours before driving on them. Concrete resurfacer applied over spalling areas needs at least 24 hours before foot traffic and 72 hours before vehicle traffic. Check the product label — cure times vary by brand and temperature.
Can I resurface over badly cracked concrete?
You can resurface over cracks, but only after filling them first. Resurfacer is not a crack filler — it bonds to the surface but will crack again along any unfilled joints underneath. Fill all cracks, let them cure, then apply resurfacer. If the cracks are structural (heaving or settling), resurfacing is a temporary fix at best.
How do I prevent concrete driveway cracks from coming back?
Seal the driveway every two to three years with a penetrating concrete sealer. Sealer keeps water out of the concrete — water is the primary driver of freeze-thaw cracking. Also avoid using salt or de-icers in winter, which accelerate surface deterioration. Keep tree roots trimmed back if they are near the driveway.
Repairing a concrete driveway: (1) Hairline cracks (under 1/4 inch wide): clean with a wire brush, blow out debris, fill with concrete crack filler or polyurethane caulk. (2) Wider cracks: use a cold chisel to undercut the edges (wider at the bottom than top) so the patch locks in.
Concrete driveways crack. It is not a matter of if but when, and the fix depends entirely on the type of damage you have. A hairline crack and a spalling surface require completely different approaches, and doing the wrong repair wastes time and money.
This guide covers every common concrete driveway problem in order of severity, starting with the easiest fix.
Diagnosing the Damage First
Before buying anything, identify what you are dealing with.
| Damage Type | Description | Right Repair |
|---|---|---|
| Hairline crack | Under 1/4 inch wide, no movement | Self-leveling sealant |
| Wide crack | 1/4 to 1/2 inch wide | Backer rod + urethane caulk |
| Spalling | Surface flaking, pitting, or crumbling | Concrete resurfacer |
| Heaving or sinking | Slabs at different heights | Contractor evaluation |
| Full-width cracks with movement | Slab shifting | Contractor evaluation |
If slabs are heaving or you see cracks wider than 1/2 inch with visible vertical offset, stop here and call a contractor. A failing base cannot be fixed from the surface.
Repair 1: Filling Hairline Cracks
Hairline cracks (under 1/4 inch) do not need routing or backer rod. A self-leveling polyurethane sealant flows into the crack and flexes with the concrete through freeze-thaw cycles.
What you need:
- Wire brush or compressed air
- Polyurethane self-leveling concrete sealant
Steps:
- Clean the crack. Use a wire brush to scrub out dirt, debris, and any loose concrete. Blow it out with compressed air or a shop vac. The crack must be dry and clean — nothing will bond to a dirty or wet surface.
- Cut the tip of the sealant tube at a 45-degree angle, just wide enough to fit into the crack.
- Apply the sealant in a steady bead, filling the crack slightly proud of the surface. Self-leveling sealant will settle flat on its own.
- Let it cure 24 to 48 hours before driving on it.
Do not apply sealant below 40°F or when rain is expected within 24 hours.
Repair 2: Wide Cracks (1/4 to 1/2 Inch)
Wider cracks need more material and a backer rod to prevent the filler from sinking to the bottom of the crack and wasting product.
What you need:
- Quikrete concrete crack filler or urethane caulk
- Foam backer rod (diameter slightly larger than the crack width)
- Wire brush and shop vac
- Angle grinder with crack chaser blade (optional but recommended)
Steps:
- If the crack edges are crumbling, use an angle grinder with a crack chaser blade to widen it to clean, straight edges. This gives the filler something solid to bond to.
- Clean out all debris. The crack must be completely dry.
- Press foam backer rod into the crack until it sits about 1/4 inch below the surface. The backer rod gives the caulk a base to rest on so it does not sink.
- Apply concrete bonding adhesive to the crack walls if using a cementitious filler (skip this step for urethane caulk).
- Apply the crack filler or urethane caulk over the backer rod, filling to just above the surface.
- Smooth with a putty knife or gloved finger. Tool the surface flat before it skins over.
- Allow 48 hours before vehicle traffic.
Repair 3: Spalling (Flaking and Crumbling Surface)
Spalling is when the top layer of concrete breaks apart, exposing the aggregate underneath. It looks bad and gets worse every winter. The fix is a concrete resurfacer — a thin layer of polymer-modified cement that bonds to the existing slab.
What you need:
- Concrete resurfacer
- Pressure washer or garden hose with brush
- Floor scraper or angle grinder for loose areas
- Long-handled squeegee or stiff brush
- Duct tape for edges
Prep is everything here. A poorly prepped surface will cause the resurfacer to delaminate within a season.
Steps:
- Chip or grind away all loose, flaking, or hollow-sounding concrete. Tap across the surface with a hammer — hollow spots need to be removed, not covered.
- Fill any cracks wider than 1/4 inch (see Repair 2 above) and let them cure fully before resurfacing.
- Pressure wash the entire driveway and let it dry. The surface should be clean and free of oil, grease, and dust.
- Tape off expansion joints and any areas you do not want resurfaced.
- Dampen the surface with water — it should be wet but with no standing puddles. Dry concrete pulls moisture from the resurfacer too fast and prevents proper bonding.
- Mix the resurfacer per label instructions. Work in small batches — it sets fast.
- Pour and spread with a squeegee or stiff brush to about 1/8 inch thickness. Work in sections from one end of the driveway to the other.
- Finish the surface with a stiff-bristle broom dragged across the wet resurfacer to create traction texture.
- Keep foot traffic off for 24 hours, vehicle traffic off for 72 hours.
Ideal application temperature is between 50°F and 90°F with no rain in the forecast for 24 hours.
Repair 4: Resurfacing the Whole Driveway
Full resurfacing makes sense when the driveway has widespread surface deterioration — not structural cracks, but general roughness, pitting, and shallow spalling across most of the surface. The process is the same as spalling repair above, just scaled to the entire driveway.
A standard two-car driveway (16 x 40 feet) needs roughly 15 to 20 bags of resurfacer at about $25 per bag. Budget $400 to $500 in materials for a full DIY resurfacing. A contractor charges $3 to $5 per square foot, or $1,900 to $3,200 for the same job.
Resurfacing is not a substitute for structural repairs. Fill all cracks first. Resurfacer will not bridge moving cracks — it will crack in the same places within a year if the underlying problem is not addressed.
Sealing After Repair
Every concrete repair should end with a sealer. Concrete sealer penetrates the surface and blocks water from entering the slab. Water is what causes concrete to crack in the first place — it gets in, freezes, expands, and forces the concrete apart.
Apply sealer after all repairs have fully cured (at least 72 hours for resurfacer). Use a roller or pump sprayer and apply in two thin coats. Reapply every two to three years.
When to Replace Instead of Repair
Repair is the right call for surface damage. Replacement is the right call when:
- Multiple slabs have heaved or settled more than 1 inch
- Cracks run the full depth of the slab with visible movement
- The base has failed and water is pooling under the slabs
- More than 50% of the surface is spalling or crumbling
A full concrete driveway replacement costs $4,000 to $10,000 depending on size. See our concrete driveway cost guide for a full breakdown. But if the damage is surface-level and the base is solid, a $200 DIY repair can extend the life of your driveway by a decade.
Related Reading
- How to Fix a Cracked Driveway
- How to Repair Concrete Cracks
- How to Repair Spalling Concrete
- Concrete Driveway Cost
- Repair 1: Filling Hairline Cracks
Hairline cracks (under 1/4 inch) do not need routing or backer rod. A self-leveling polyurethane sealant flows into the crack and flexes with the concrete through freeze-thaw cycles.
- Repair 2: Wide Cracks (1/4 to 1/2 Inch)
Wider cracks need more material and a backer rod to prevent the filler from sinking to the bottom of the crack and wasting product.
- Repair 3: Spalling (Flaking and Crumbling Surface)
Spalling is when the top layer of concrete breaks apart, exposing the aggregate underneath. It looks bad and gets worse every winter. The fix is a concrete resurfacer — a thin layer of polymer-modified cement that bonds to the existing slab.
- Repair 4: Resurfacing the Whole Driveway
Full resurfacing makes sense when the driveway has widespread surface deterioration — not structural cracks, but general roughness, pitting, and shallow spalling across most of the surface.
Free: 10-Point Home Maintenance Checklist
Prevent costly repairs with this seasonal checklist. Save hundreds every year by catching problems early.
Your checklist is ready!
Open Checklist →Something went wrong. View the checklist here.