How to Mount a TV on the Wall: Finding Studs, Choosing a Bracket, and Cable Management (2026)
Wall-mounting a TV requires hitting two studs for a secure anchor. This guide covers selecting the right bracket, locating studs, drilling and mounting, TV height, and hiding cables in the wall or with a raceway.
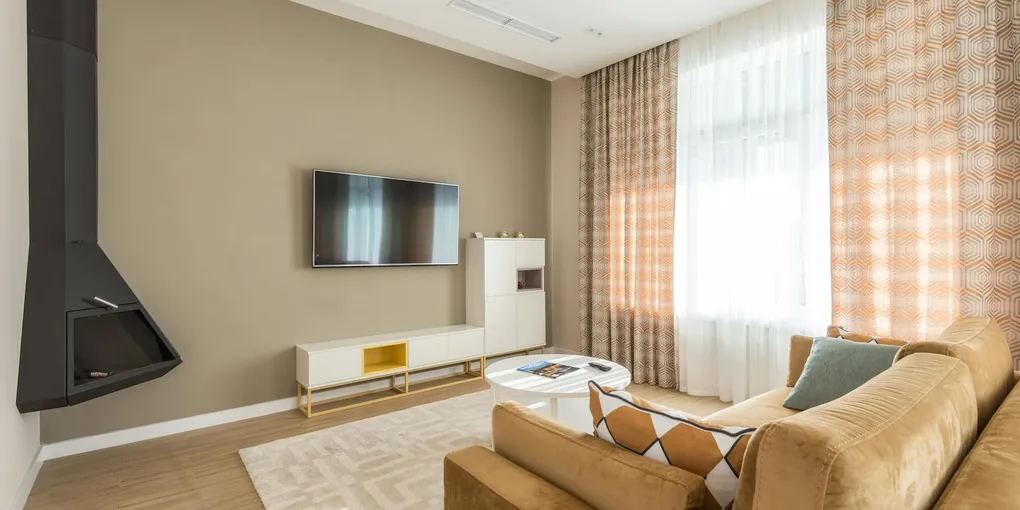
To mount a TV: (1) Find two studs spaced close to the TV bracket's mounting hole spread — standard studs are 16 inches apart. (2) Mount the wall plate of the bracket into both studs with the included lag bolts (3/8 x 2.5-inch minimum). Never mount a TV with drywall anchors alone — use studs. (3) Attach the bracket arms to the TV using the included bolts (VESA pattern). (4) Hang the TV on the wall plate. Most installs take 30–45 minutes.
Frequently Asked Questions
What is VESA and how do I choose the right bracket?
VESA (Video Electronics Standards Association) is the standard that defines the hole pattern on the back of your TV — four holes in a square or rectangle, measured in millimeters (e.g., VESA 400x300 means holes spaced 400mm wide and 300mm tall). Your bracket must match your TV's VESA pattern. Find your TV's VESA size in the TV manual or spec sheet, or look it up online. Most brackets cover multiple VESA sizes (adjustable arms). Bracket types: (1) Fixed/flat — TV sits flush to the wall. Least expensive, most stable. (2) Tilting — angled down for high-mounted TVs. (3) Full-motion (articulating) — swings out and side-to-side. Heaviest and most complex to mount.
What height should I mount the TV?
Mount the TV so the center of the screen is at seated eye level — typically 42–48 inches from the floor to screen center for a standard sofa at normal viewing height. The common mistake is mounting too high (at standing eye level), causing neck strain during extended watching. For a full-motion bracket: mount slightly higher and tilt down. For a bedroom where you watch lying back: mount higher. Measure from the floor to your typical seated eye level while on the actual sofa to find your personal optimal center height.
How do I find two studs for a TV mount?
Use a stud finder: run it along the wall at the bracket mounting height. Mark the center of each stud found — you need two studs aligned horizontally. Most walls have studs spaced 16 inches on center. Confirm with a test nail: drive a 2-inch nail at the mark. If it hits wood at the expected depth (drywall is 1/2 inch thick, stud begins immediately after): you've found the stud. If the nail hits nothing (hollow): probe 1/2 inch left or right. The bracket's mounting holes must align with two stud centers. If the bracket hole spacing doesn't match the 16-inch stud spacing: a mounting board (a piece of 3/4-inch plywood spanning 3 studs) provides a larger surface to hit.
How do I hide the TV cables in the wall?
Two approaches: (1) In-wall cable routing — cut two holes (one behind the TV, one near the outlet at the baseboard level) with a drywall saw. Feed a fish tape or wire snake through the wall cavity. Pull the cables through. Install low-voltage mounting brackets in the holes (HDMI and power cords run separately — run only signal cables in the wall with HDMI and a low-voltage brush plate at the outlet level, and use an in-wall power extension kit for the power cable — a dedicated in-wall power solution avoids running power cable in the wall without a proper kit). (2) Surface raceway — a plastic channel adhesive-mounted along the wall that channels cables from the TV to the outlet. No cutting required. Paintable. Looks much neater than loose cables.
Can I mount a TV with drywall anchors instead of studs?
Do not mount a TV using only drywall anchors. A 55-inch TV can weigh 50–80 lbs, and the leverage from the bracket arm multiplies the load on the wall. Drywall anchors — even toggle bolts — are not rated for the dynamic load from a TV being repositioned or contacted. The only safe TV mount anchors are into the wood studs. Exception: concrete or masonry walls — these support TV mounts with the appropriate masonry anchors (sleeve anchors, Tapcons) driven into the solid wall material.
To mount a TV: (1) Find two studs spaced close to the TV bracket’s mounting hole spread — standard studs are 16 inches apart. (2) Mount the wall plate of the bracket into both studs with the included lag bolts (3/8 x 2.5-inch minimum).
Must hit two studs — TV anchors in drywall alone will fail.
What you need
- TV wall mount bracket — match to your TV’s VESA pattern and weight
- Stud finder
- Level
- Drill with bits
- 3/8 x 2.5-inch or 3/8 x 3-inch lag bolts (usually included with bracket)
- Cable raceway or in-wall cable kit for cable management
Step 1: Find the studs
Use a stud finder to locate and mark two adjacent studs at the mount height. Confirm by driving a test nail. Mark the center of each stud.
Step 2: Position and level the bracket wall plate
Hold the bracket wall plate against the wall, centering it over the two stud marks. Use a level to confirm it’s horizontal. Mark the bolt hole locations with a pencil.
Drill pilot holes at each mark (use a bit slightly smaller than the lag bolts).
Step 3: Mount the wall plate
Drive the lag bolts through the bracket into the studs — hand-tighten first, then use a socket wrench. The bracket should be solidly fixed with no wobble. Tug firmly to confirm.
Step 4: Attach bracket arms to the TV
Lay the TV face-down on a padded surface. Attach the bracket arms (the pieces that attach to the TV) using the VESA bolts and any included spacers. Tighten firmly but don’t over-torque into the plastic TV back panel.
Step 5: Hang the TV
Lift the TV and hook the bracket arms onto the wall plate. Some brackets lock with a safety pin or screw — engage it. Test by gently pushing and pulling — the TV should not shift.
Adjust tilt or position per the bracket’s adjustment screws.
Step 6: Cable management
Run cables along the wall with a surface raceway, or route in-wall per the FAQ instructions. The raceway snaps on over the cables after routing.
Related guides
- How to Fix a Wall Anchor — repairing wall damage if the mount ever needs to come down
- How to Hang a Picture — lighter wall-mounting technique
- How to Install Recessed Lighting — lighting the TV viewing area
- Find and confirm two studs
Use a stud finder to locate and mark two adjacent studs at the planned mount height. Standard studs are 16 inches on center. Confirm each stud with a test nail: drive a 2-inch nail at the mark — if it hits solid wood resistance after the 1/2-inch drywall layer, you've found the stud. If not, probe 1/2 inch left or right. Both of the bracket's mounting holes must land on stud centers. Never mount a TV into drywall alone — a 55-inch TV can weigh 50–80 lbs and the bracket leverage multiplies the load.
- Position, level, and mark the wall plate
Hold the bracket wall plate against the wall, centering it over the two stud marks. Use a level to confirm the plate is perfectly horizontal. Mark all bolt hole positions on the wall with a pencil. Drill pilot holes at each mark using a bit slightly smaller than the lag bolts — this prevents the stud wood from splitting when the bolts are driven in.
- Mount the wall plate into studs
Drive the lag bolts (typically 3/8 x 2.5-inch minimum, included with the bracket) through the plate into the studs. Hand-tighten first to ensure alignment, then tighten with a socket wrench until the plate is solidly fixed with no flex or wobble. Tug the plate firmly in all directions to confirm.
- Attach bracket arms to the TV
Lay the TV face-down on a padded surface. Find the VESA mounting holes on the back (four holes in a square or rectangle pattern). Attach the bracket arms using the provided VESA bolts and any included spacers. Tighten firmly but do not overtorque into the TV's plastic back panel.
- Hang the TV and manage cables
Lift the TV and hook the bracket arms onto the wall plate. Engage any safety pin or lock screw. Test by gently pushing and pulling in all directions — the TV should not shift. Adjust tilt or swing per the bracket's adjustment screws. Route cables along the wall with a surface-mounted raceway (no cutting required, paintable) or run cables in-wall using a low-voltage brush plate and in-wall power kit.
Free: 10-Point Home Maintenance Checklist
Prevent costly repairs with this seasonal checklist. Save hundreds every year by catching problems early.
Your checklist is ready!
Open Checklist →Something went wrong. View the checklist here.