How to Hang a Picture: Finding Studs, Choosing Anchors, and Leveling (2026)
Hanging a picture correctly depends on finding the right wall support for the weight. This guide covers finding studs with a stud finder, choosing the correct anchor type, driving picture hooks, and hanging level without measuring tools.
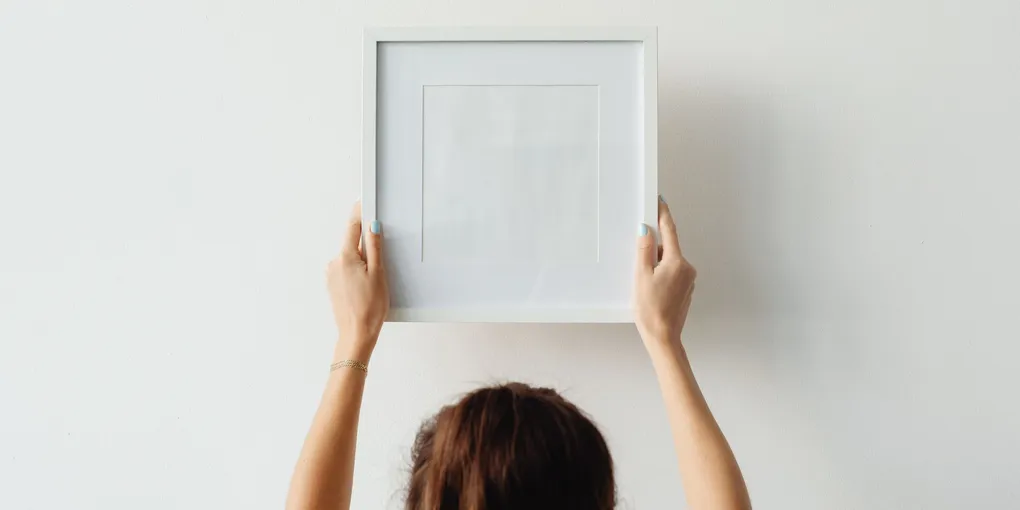
Hanging a picture: (1) Under 20 lbs — use a standard picture hook with a small nail into drywall. No anchor needed. (2) 20–50 lbs — use a wall anchor or hit a stud. Locate studs with a stud finder or by knocking. Studs are typically 16 inches apart from center to center. (3) Over 50 lbs or large mirrors — must go into a stud. Use 2.5-inch screws driven into the stud at an angle. Level with a small level or a level app on your phone.
Frequently Asked Questions
How do I find a stud without a stud finder?
Methods that work: (1) Knock-tap method — tap along the wall with your knuckle at 2-inch intervals. The sound changes from hollow to solid (less resonance) over a stud. (2) Electrical outlet method — outlets attach to the side of a stud. Remove the outlet cover plate and look inside — you'll see which side the stud is on. Studs are typically spaced 16 inches on center (occasionally 24 inches), so once you find one, measure over 16 inches for the next one. (3) Magnetic or electronic stud finder — the most reliable method. Run the stud finder slowly along the wall; most beep or light up over a stud.
What anchor should I use for drywall when I can't hit a stud?
Anchor selection by weight: (1) Under 20 lbs: a steel picture hook nail (the flat hook with a 45-degree nail) driven directly into drywall holds 20–30 lbs without any anchor. (2) 20–50 lbs: use a toggle bolt (molly bolt) or a self-drilling drywall anchor (EZ Anchor). Toggle bolts are the strongest wall anchor option — once installed, they can hold 50–100 lbs. (3) Avoid plastic expansion anchors (the tapered plastic plugs) for anything over 10 lbs — they fail in drywall. The EZ Anchor (self-drilling toggle) is more reliable.
How do I hang a picture perfectly level without measuring?
Two quick methods: (1) Phone level app — place your phone against the top of the frame after hanging; adjust until the level shows zero. (2) Toothpick method — press a toothpick into the wall at the hanger location, hang the picture, then use the frame edge and a level bubble to confirm. For a gallery wall (multiple frames): cut a paper template matching each frame's hanger position, tape the templates to the wall to preview placement, then mark and drill all holes at once.
How far from the ceiling should I hang a picture?
The standard museum hanging height is 57–60 inches from the floor to the center of the artwork — this is eye level for the average person. Measure 57 inches from the floor, mark the wall. Then measure from the top of the frame to the hanger hardware (wire or hooks) — subtract this from 57 to get the nail height. Example: frame is 24 inches tall, hanger is 4 inches from the top → nail goes at 57 - (24/2 - 4) = 57 - 8 = 49 inches from the floor. In rooms where people sit (bedroom, dining room): lower the artwork 4–6 inches to be viewed comfortably from a seated position.
The picture keeps slipping crooked after I hang it. How do I fix that?
Crooked pictures have two common causes: (1) Single center nail / hook — a single mount allows the frame to rotate. Use two hooks or nails spaced 8–12 inches apart and level with each other. Two attachment points prevent rotation. (2) Wire hardware on the frame — a wire across the back that hangs on a single hook will swing. Options: replace with D-ring hardware (mounted in two fixed locations on the frame back), or use Command Picture Hanging Strips on each bottom corner of the frame to keep it flat against the wall.
Hanging a picture: (1) Under 20 lbs — use a standard picture hook with a small nail into drywall. No anchor needed.
Two hooks spaced apart are better than one centered hook — pictures won’t go crooked.
What you need
- Stud finder (or the knock-tap method)
- Steel picture hooks ($5–$10 per pack)
- Self-drilling drywall anchors for heavier pieces
- Small level or level phone app
- Pencil
Step 1: Decide on stud vs. anchor
Weigh the picture in your hands: under 20 lbs = any drywall location works with a picture hook. 20–50 lbs = use a strong anchor or find a stud. Over 50 lbs = must use a stud or a toggle bolt.
Step 2: Find the stud (if needed)
Run a stud finder along the wall at the desired height. Mark the stud center. Confirm by driving a small nail — it will penetrate drywall easily but stop or resist at the stud.
Step 3: Mark the nail locations
Measure from the top of the frame to the hanging hardware (wire distance from the taut top). Subtract that measurement from your desired center height. Mark the nail location(s) with a pencil. Use a level to align two marks if using two hooks.
Step 4: Drive the hook(s)
For picture hooks: drive the hook nail at its preset angle (usually 45°). Do not drive straight in — the angled nail carries the picture weight much better. For drywall anchors: follow the anchor-specific installation (self-drilling anchors turn in with a Phillips driver).
Step 5: Hang and level
Hang the picture. Place a small level on the top of the frame. Adjust: push one side of the frame up or down until the bubble centers. For two-hook hanging: adjust the wire or cord length to make fine adjustments.
Related guides
- How to Fix a Wall Anchor — repairing the wall after a failed anchor
- How to Hang Shelves — hanging heavier wall-mounted shelves
- How to Mount a TV on the Wall — heavy wall mounting into studs
- Determine weight and mounting method
Estimate the picture weight: under 20 lbs — a standard picture hook nail driven into drywall at any location is sufficient. 20–50 lbs — use a toggle bolt or self-drilling anchor (EZ Anchor), or locate a stud. Over 50 lbs or large mirrors — must go into a stud; use 2.5-inch screws. Avoid plastic expansion anchors for anything over 10 lbs — they pull out of drywall under sustained load.
- Find studs if needed
Run a stud finder along the wall at the desired height and mark both edges of each stud — the center is midway between marks. Confirm with a test screw: drive a 2-inch screw at the suspected center; solid resistance after 1/2 inch of drywall means you hit the stud. Without a stud finder: tap along the wall every 2 inches — the sound changes from hollow to solid (less resonance) over a stud. Studs are typically 16 inches on center.
- Calculate and mark the nail location
Standard hanging height is 57–60 inches from the floor to the center of the artwork (eye level for an average person). Mark the center height on the wall. Measure the distance from the top of the frame to the hanging hardware (wire or hook) while the wire is taut — subtract this from the center height to get the nail location. Example: center at 58 inches, wire is 4 inches from top: nail at 54 inches. Use a level to align two marks if using two hooks.
- Drive the hook or anchor
For picture hooks: drive the hook nail at its preset 45-degree angle — do not drive straight in. The angled nail handles the picture's weight far better than a vertical nail. For drywall anchors: follow the anchor-specific installation (EZ Anchor self-drilling anchors turn in with a Phillips driver until the collar is flush with the wall). For studs: drive the screw at a slight downward angle.
- Hang and level
Hang the picture. Place a small level on the top of the frame and adjust until the bubble centers. For a single center hook: a second hook spaced 8–12 inches away prevents the picture from going crooked over time — two attachment points prevent rotation. For pictures that still slip sideways: press adhesive foam bumpers on the bottom two corners of the frame to grip the wall.
Free: 10-Point Home Maintenance Checklist
Prevent costly repairs with this seasonal checklist. Save hundreds every year by catching problems early.
Your checklist is ready!
Open Checklist →Something went wrong. View the checklist here.