How to Install a Towel Bar: Into Studs, Tile, and Drywall (2026)
Installing a towel bar on drywall, tile, or into a stud. This guide covers each mounting method, how to find the right anchor for your wall type, and how to get both ends level without measuring twice.
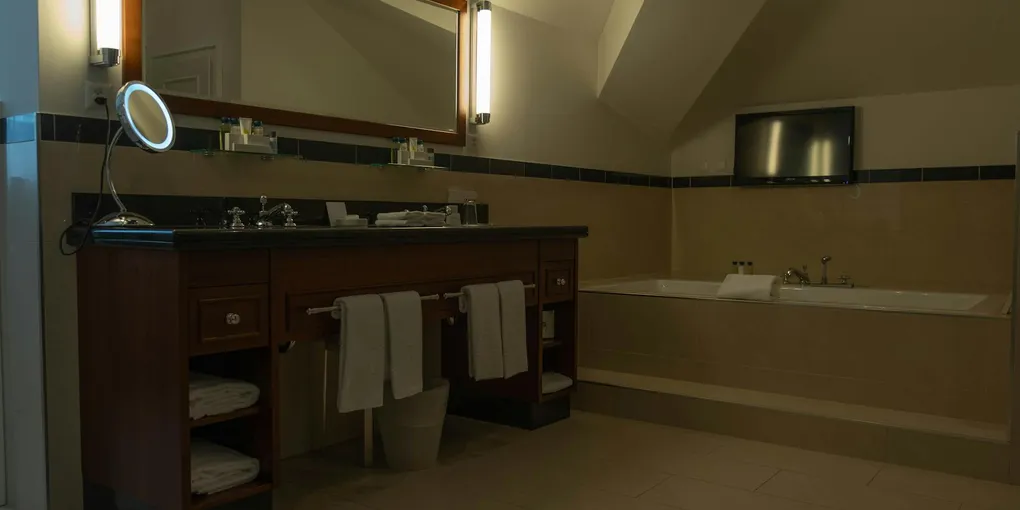
Towel bars mount to the wall through two bracket posts. In drywall: use toggle bolt anchors (SNAPTOGGLE) for a permanent hold — standard expansion anchors pull out over time from the leverage of pulling a wet towel. In tile: use a tile-rated masonry bit and a hollow wall anchor designed for tile; never use an impact drill on tile. Into a stud: pilot drill and drive a 2.5-inch screw. The critical step is getting both posts level — use a laser level or a long level and a pencil.
Frequently Asked Questions
How do I install a towel bar without hitting a stud?
Use hollow-wall anchors designed for heavy pull loads. Standard plastic expansion anchors will eventually pull out — the leverage from pulling a wet towel applies a lot of force. Best options: SNAPTOGGLE metal toggle anchors (hold 80+ lbs each in 1/2-inch drywall) or traditional toggle bolts (the spring-wing type). Drill the required hole size (typically 1/2 inch for these anchors), install the anchor, then thread the mounting screw through the bracket post into the anchor.
How do I install a towel bar on tile?
You need a [carbide tile drill bit](https://www.amazon.com/s?k=carbide+tile+drill+bit+1%2F4+inch&tag=fixupfirst-20) (not a regular masonry bit) and a drill set to low speed, no hammer function. Mark the hole location with painter's tape on the tile face (prevents bit wander). Drill slowly at low speed — let the bit do the work. Once through the tile and backer board, insert a hollow wall anchor. Never use a hammer drill on tile — it will crack the tile.
How far apart should towel bar brackets be?
The bracket spacing is fixed by the towel bar you buy — 18-inch, 24-inch, and 30-inch bars are the most common. 24 inches is the most popular length for a standard hand towel. Install it 48 inches from the floor (center of bar) — this is the standard height for adults. Guest towel bars near a sink: 36–48 inches from floor. Towels hang about 6–8 inches below the bar, so a 48-inch center keeps towels off the floor.
My towel bar keeps pulling out of the wall — what do I do?
The anchors are failing. Plastic expansion anchors in drywall are undersized for towel bars — replace them. Options: (1) Move the bracket 1–2 inches to hit a stud. (2) Use SNAPTOGGLE metal toggle anchors. (3) For a permanent fix: locate the stud and drive 2.5-inch screws through the bracket post into it. If the hole left by the failed anchor is too large: fill with spackling, let cure, re-drill in the same location with a proper anchor.
The two bracket holes don't align with studs — do I need studs for a towel bar?
No — towel bars don't need studs if you use proper heavy-duty drywall anchors. Studs are ideal but rarely line up perfectly with the 18–30 inch bracket spacing. Locate studs first and adjust the bar position if even one bracket can hit a stud. If neither bracket lines up with a stud, use SNAPTOGGLE anchors in both locations.
Towel bars mount to the wall through two bracket posts. In drywall: use toggle bolt anchors (SNAPTOGGLE) for a permanent hold — standard expansion anchors pull out over time from the leverage of pulling a wet towel.
Installing a towel bar takes 20–30 minutes. The only challenge is getting both ends level and having the right anchors.
What you need
- Towel bar kit (includes bar, two mounting posts, two base plates, screws, and usually anchors — discard the anchors and buy your own)
- SNAPTOGGLE toggle bolt anchors — for drywall installation
- Stud finder (optional but helpful)
- Level (4-foot or laser level)
- Drill + bits
- Tape measure and pencil
- Painter’s tape (for tile installations)
Step 1: Mark the height and first bracket position
Decide on height — 48 inches from floor is standard. Mark this on the wall with a light pencil mark.
Use your stud finder to check if a stud falls where you want either bracket. Adjust position by 1–2 inches if you can hit a stud with either bracket.
Step 2: Mark the second bracket position level with the first
Set your level against the wall at the first mark. Extend it to where the second bracket will go and mark that point. Both marks must be on the same level line.
Faster method with a laser level: Project a horizontal line at your target height. Both bracket marks fall on the same laser line — no math required.
Step 3: Install the anchors or locate studs
Into drywall (no stud):
- Drill a 1/2-inch hole at each bracket mark.
- Insert the SNAPTOGGLE anchor — thread the bolt, collapse the wings, insert into the hole, and pull forward until the flanges engage the back of the drywall.
- Break off the plastic strap flush with the wall.
Into a stud:
- Pre-drill a pilot hole slightly smaller than the screw diameter.
Into tile:
- Place a piece of painter’s tape over each mark to prevent bit wander.
- Using a carbide tile bit, drill slowly at the lowest speed with NO hammer mode. Let the bit cool every 15 seconds.
- Once through the tile and backer, switch to a regular bit to finish through the drywall/board behind.
- Insert a tile-rated hollow anchor.
Step 4: Mount the base plates
Thread the mounting screw through the base plate and into the anchor or stud. Don’t fully tighten yet — leave a tiny bit of play so you can adjust alignment.
Check level across both plates. Adjust if needed, then tighten fully.
Step 5: Attach the bar
Depending on the towel bar style:
- Post style: Screw the post down onto the base plate. The post slides into a decorative base cap.
- Set screw style: Slide the bar into the post, then tighten a small Allen set screw at the bottom of each post to lock the bar in place.
Position the set screws to face down or toward the wall — invisible when looking at the bar.
Fix a bar that wobbles after installation
Wobble usually means the anchor isn’t fully seated or the set screw is loose. Check:
- Tighten the set screws (Allen key, usually included with the bar).
- If the whole post moves: the anchor is pulling out — replace with a SNAPTOGGLE or locate the stud.
Related guides
- How to Hang Shelves — same anchor techniques, heavier loads
- How to Patch Drywall — repair holes from a failed installation
- Bathroom Vanity Cost — full bathroom update including fixtures
- How to Caulk a Bathtub — other quick bathroom maintenance jobs
- Mark height and check for studs
Decide on height — 48 inches from the floor to the center of the bar is the standard for adults. Mark this on the wall. Use a stud finder to check whether a stud falls at either bracket location. Adjust the bar position by 1–2 inches if you can hit even one stud — half into a stud is better than no stud at all.
- Mark the second bracket level with the first
Place a level against the wall at the first mark. Extend it to the second bracket location and mark that point — both marks must be on the same level line. A laser level makes this instant for any bar width. Do not measure down from the ceiling or up from the floor for the second mark; walls and floors are rarely perfectly level.
- Install anchors into drywall or pilot drill into studs
Into drywall (no stud): drill a 1/2-inch hole at each bracket mark. Insert a SNAPTOGGLE metal toggle anchor — thread the bolt, collapse the wings, insert into the hole, pull forward until the flanges engage the drywall back, and snap off the plastic strap flush. Into a stud: pre-drill a pilot hole slightly smaller than the screw diameter. Into tile: place painter's tape on the tile surface, drill slowly with a carbide tile bit at lowest speed and no hammer mode, then install a tile-rated hollow anchor in the hole.
- Mount the base plates
Thread the mounting screw through the base plate and into the anchor or stud pilot hole. Don't fully tighten yet — leave a tiny bit of play. Check level across both plates and adjust if needed, then tighten fully so neither plate can wobble.
- Attach the bar and tighten set screws
Depending on the towel bar design: screw the post down onto the base plate (post-style), or slide the bar into the post and tighten the Allen set screw at the bottom of each post (set-screw style). Position set screws facing down or toward the wall where they're not visible when looking at the bar. Test the bar: it should feel solid with no wobble or flex.
Free: 10-Point Home Maintenance Checklist
Prevent costly repairs with this seasonal checklist. Save hundreds every year by catching problems early.
Your checklist is ready!
Open Checklist →Something went wrong. View the checklist here.