How to Fix a Warped Laminate Countertop
Repair a bubbling, lifting, or warped laminate countertop using re-gluing, weight clamping, and surface restoration techniques that save you the cost of full replacement.
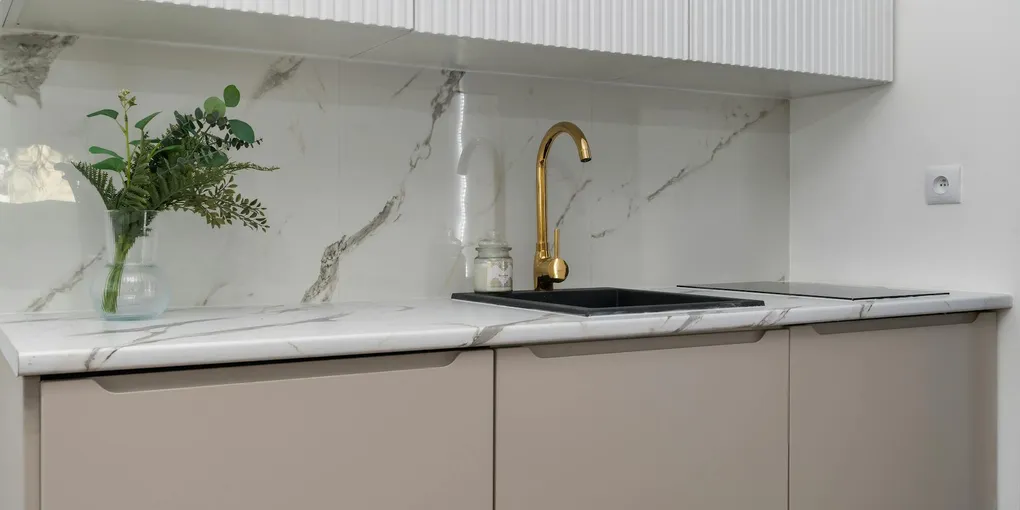
A warped or bubbling laminate countertop is one of the more discouraging kitchen problems because it sits right at eye level and attracts attention every time you walk into the room.
A warped or bubbling laminate countertop is one of the more discouraging kitchen problems because it sits right at eye level and attracts attention every time you walk into the room. But before you budget for a full countertop replacement, it is worth knowing that most laminate failures — lifting edges, small bubbles, and separated seams — can be repaired at home in a few hours with inexpensive materials.
This guide covers the diagnosis and repair of the three most common laminate countertop problems: lifted or bubbled laminate, delaminated edge banding, and open seams between countertop sections.
What You Need
Gather these materials before starting. The specific items you need depend on which repair applies to your situation.
- Contact cement in a can with brush — the correct adhesive for laminate; essential for re-gluing lifted areas
- Contact cement syringe applicator kit — for injecting cement under bubbles without removing the laminate
- C-clamps or bar clamps — for clamping the repair flat while adhesive cures
- Laminate seam filler paste — color-matched filler for open seams between sections
- Clear silicone caulk — for sealing backsplash and sink joints after repair
- Draw bolts or seam bolts — for pulling open countertop seams together
- Masking tape — for clamping without leaving marks on the laminate
- Heat gun or clothes iron — heat softens old adhesive and makes laminate pliable for repositioning
Estimated material cost: $25 to $70 depending on which repairs are needed.
Diagnosing Your Countertop Problem
Before choosing a repair approach, identify exactly what has failed.
Bubble or blister in the middle of the surface: Press on the bubble. If it springs back up, the laminate has separated from the substrate but the substrate is still solid. This is the most repairable type of failure. If the bubble feels soft and the substrate gives way under pressure, moisture has damaged the core.
Lifted edge banding: The edge strip along the front or sides of the countertop has separated, leaving a gap between the laminate top and the edge. This is a straightforward re-gluing job in almost every case.
Open seam between sections: The joint between two countertop pieces has widened. The laminate itself may be intact on each section, but the gap between them is wide enough to trap debris and water.
Warped or bowed surface: The entire countertop section has an upward bow or wave. This is usually caused by significant moisture absorption in the particleboard core. Light warping can sometimes be corrected with clamping; severe warping indicates the core has failed and replacement is the right answer.
Fix 1: Re-Gluing a Bubble or Lifted Area
If the laminate is still attached on all sides (closed bubble)
This requires injecting contact cement into the space between the laminate and substrate without fully removing the laminate.
-
Slit or use a syringe. If there is any small gap at the bubble’s edge, use a syringe applicator to inject contact cement into the space. Work the tip in gently, inject cement while slowly withdrawing the syringe, and cover the area systematically. If there is no gap at all, use a very thin blade to carefully open a small entry point at the bubble’s least visible edge.
-
Work the cement in. After injecting, place plastic wrap over the bubble and press firmly with your hand to distribute the cement. Let it sit for one to two minutes to become tacky.
-
Clamp flat. Place a block of wood over the bubble (to distribute pressure evenly) and clamp with C-clamps or bar clamps. Alternatively, stack heavy books or weights on the area. Leave clamped for at least two hours and ideally overnight.
-
Check and clean. Remove the clamps and test that the bubble is fully adhered. Wipe away any excess cement that squeezed out using acetone on a cloth. Acetone removes contact cement without damaging cured laminate.
If the laminate edge has fully lifted and can be peeled back
-
Peel back the laminate carefully. Using a putty knife, gently lift the delaminated section away from the substrate. Go slowly and stop if you feel resistance to avoid cracking the laminate.
-
Dry the substrate. If the substrate (particleboard or MDF) is at all damp or discolored, let it dry completely before gluing. Place a fan nearby or use a heat gun on low from a distance. Gluing over damp substrate produces a weak bond.
-
Scrape off old adhesive. Use a putty knife or chisel to remove as much of the old dried contact cement from both surfaces as possible. A good new bond requires clean surfaces.
-
Apply contact cement to both surfaces. Brush a thin, even coat of contact cement onto the underside of the laminate and the substrate surface. Apply to both surfaces — this is the essential rule of contact cement. Let both surfaces dry to the touch but remain tacky (five to ten minutes at room temperature).
-
Press together carefully. Once both surfaces are tacky, bring them together. Contact cement bonds on contact, so positioning must be right the first time. Start at one end and press progressively across the surface using a rubber roller or a rolling pin to eliminate air bubbles.
-
Clamp and let cure. Clamp with blocks and C-clamps for two hours minimum.
Fix 2: Repairing Delaminated Edge Banding
Edge banding on laminate countertops is glued the same way as the surface laminate but has less clamping area, which makes it more susceptible to failure from bumps and moisture.
-
Soften the old adhesive with heat. Use a heat gun or clothes iron set to medium heat to warm the lifted edge. Heat softens the old contact cement and makes the laminate more flexible. Do not overheat — laminate will scorch and blister if the heat gun is held too close or too long.
-
Clean both surfaces. Once the edge is peeled back, scrape off old adhesive and wipe both surfaces with acetone.
-
Apply contact cement to both surfaces. Brush onto the back of the edge strip and the substrate edge. Let dry to tacky.
-
Press together and clamp. Use masking tape wrapped tightly around the edge as a temporary clamp for edge banding. Apply tape every two to three inches, pulling it snug to hold the edge against the substrate. Leave for two hours.
-
Trim if needed. If the edge banding has cracked during removal and the damaged section is short (under six inches), you can cut the damaged piece out entirely and glue in a matching replacement strip cut from scrap laminate or purchased as edge tape. Use a sharp utility knife and metal straightedge for clean cuts.
Fix 3: Sealing an Open Countertop Seam
-
Pull the sections apart slightly if possible. If the countertop has draw bolts underneath, loosen them to create working room at the seam.
-
Clean the seam. Remove all old caulk, food debris, and adhesive from the seam using a utility knife and acetone.
-
Apply seam filler. Load a color-matched laminate seam filler into a caulk gun or use the included applicator. Run a bead into the seam, slightly overfilling. Tool it smooth with a putty knife.
-
Pull the sections together. Before the filler sets, tighten the draw bolts to close the seam and force the filler into any remaining gaps. Wipe away excess filler with a damp cloth.
-
Let cure. Allow the filler to cure fully per the label directions (usually four to six hours) before using the countertop.
-
Recaulk at the backsplash and sink. Any time you work on a countertop seam, inspect and refresh the caulk where the countertop meets the backsplash wall and around the sink perimeter. These joints are the primary water entry points for the substrate.
Preventing Future Laminate Damage
The single most effective thing you can do to prevent laminate countertop failures is to keep water off the substrate. Seal every joint at least once a year: the backsplash caulk line, the caulk around the sink, and any seam between countertop sections. Use a good-quality clear silicone caulk and replace it the moment it shows any cracking or gaps.
Avoid placing hot pots directly on laminate. Heat degrades the contact cement bond and can cause blistering even without moisture involvement. Use trivets for anything coming off the stove.
For edge banding, a thin bead of clear silicone along the top edge of the banding where it meets the countertop surface creates a water barrier that significantly extends the life of the adhesive bond.
Related Reading
- How to Install a Kitchen Faucet
- How to Paint Kitchen Cabinets
- How to Caulk a Kitchen Sink
- Diagnosing Your Countertop Problem
Before choosing a repair approach, identify exactly what has failed.
- Fix 2: Repairing Delaminated Edge Banding
Edge banding on laminate countertops is glued the same way as the surface laminate but has less clamping area, which makes it more susceptible to failure from bumps and moisture.
- Fix 3: Sealing an Open Countertop Seam
Pull the sections apart slightly if possible. If the countertop has draw bolts underneath, loosen them to create working room at the seam.
- Preventing Future Laminate Damage
The single most effective thing you can do to prevent laminate countertop failures is to keep water off the substrate.
Free: 10-Point Home Maintenance Checklist
Prevent costly repairs with this seasonal checklist. Save hundreds every year by catching problems early.
Your checklist is ready!
Open Checklist →Something went wrong. View the checklist here.