How to Caulk a Kitchen Sink: Re-Sealing Drop-In and Undermount Sinks (2026)
A failed caulk joint around a kitchen sink lets water seep under the rim and into the cabinet, rotting the countertop substrate. This guide covers removing old caulk, choosing the right sealant, and applying a clean bead for drop-in and undermount sinks.
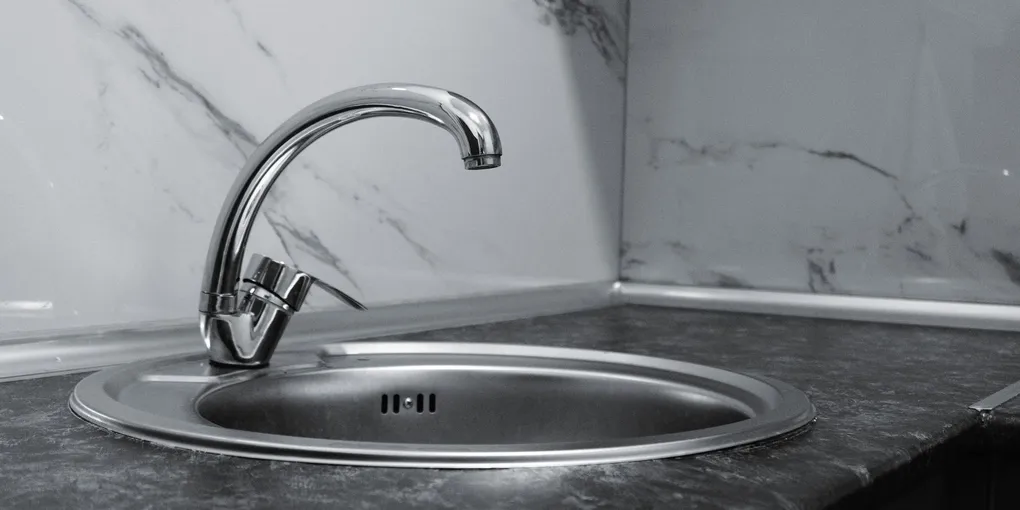
Kitchen sink caulk replacement: (1) Remove all old caulk with a plastic scraper or oscillating tool — leaving any behind causes the new bead to fail at those spots. (2) Clean the joint with isopropyl alcohol and let dry. (3) Apply painter tape on both sides of the joint for a clean line. (4) Use 100% silicone (not siliconized acrylic latex) for kitchen sinks — it is fully waterproof and mold-resistant. White or clear are the most common matches. (5) Tool the bead with a wet finger in one smooth pass. Remove tape immediately after tooling, before the silicone skins.
Frequently Asked Questions
What kind of caulk should I use for a kitchen sink?
100% silicone caulk is the correct choice for a kitchen sink perimeter seal: (1) It is fully waterproof and resists the constant wet-dry cycles of sink use. (2) It resists mold growth better than latex caulks. (3) It adheres to both porcelain/stainless (sink rim) and laminate, granite, quartz, or tile (countertop). Do not use siliconized acrylic latex (paintable caulk) — it shrinks slightly as it cures and can pull away from the joint within a year. Use white or clear silicone for most sink colors. For granite or quartz countertops: clear silicone disappears; for white undermount sinks in white countertops: white silicone is cleaner. GE Silicone I Kitchen and Bath, DAP Silicone Max, and Loctite Clear Silicone are all reliable products.
How do I remove old caulk from around a kitchen sink without damaging the countertop?
Caulk removal without scratching: (1) Score along both edges of the old caulk with a utility knife — one stroke along the sink rim and one along the countertop. Cut only through the caulk, not into the countertop surface. (2) Peel the bulk of the old caulk with your fingers or a plastic putty knife. Avoid metal scrapers on laminate or quartz — they scratch. (3) Remove residue with a plastic caulk removal tool (Homax Pull-Rite, GE Caulk Remover tool) or a pink pencil eraser. (4) Clean the joint with isopropyl alcohol on a cloth to remove silicone residue — silicone residue prevents new silicone from bonding. (5) Let dry completely before applying new caulk. Skipping residue removal is the most common cause of new caulk peeling off within a few months.
How do I caulk an undermount kitchen sink?
Undermount sink caulk is applied to the joint where the countertop meets the sink rim from above (the visible seam around the sink opening). Steps: (1) Remove the old caulk from the top joint (see above). (2) Clean with alcohol and let dry. (3) Apply painter tape along the countertop edge and along the sink rim — you want a clean line on both sides. (4) Load a cartridge of white or clear 100% silicone in a caulk gun. Cut the tip at a 45-degree angle for a 3/16-inch bead. (5) Apply a steady bead around the entire perimeter in one continuous pass — start at the back and work toward yourself. (6) Tool immediately with a wet finger, pressing the bead into the joint in one continuous stroke. (7) Remove both pieces of tape immediately, pulling away from the joint at a 45-degree angle before the silicone skins. Let cure 24 hours before using the sink.
How do I caulk around a drop-in (top-mount) kitchen sink?
Drop-in sinks have a rim that sits on top of the countertop. The caulk joint runs between the underside of the sink rim and the countertop surface. Steps: (1) If the sink is not being removed: clean the visible perimeter joint with a plastic scraper and alcohol. You can re-caulk without removing the sink. (2) Apply painter tape along the countertop, 3/16 inch from the sink rim edge. (3) Apply a bead of 100% silicone in the joint between the rim and the countertop, running the bead slightly under the rim edge. (4) Tool with a wet finger, pressing the bead firmly into the seam. The bead should be slightly concave — slightly pulled into the joint, not sitting up on top. (5) Remove tape before silicone skins. If recaulking after a full removal: clean all mounting clips, apply silicone under the rim before setting the sink, then caulk the perimeter joint after reinstallation.
The caulk around my sink keeps molding. How do I prevent that?
Mold in sink caulk is caused by mold growing in or on the silicone surface, usually because the joint stays wet. Prevention and cure: (1) Use a 100% silicone product with mildew inhibitors (GE Silicone I Kitchen and Bath, DAP Silicone Max Mold & Mildew). (2) The root cause of rapid mold is water sitting in the joint — check that the countertop surface drains toward the sink and not toward the caulk joint. (3) Wipe the sink perimeter dry after use — even briefly. (4) If mold recurs despite preventive caulk: remove the caulk, clean the joint with a 10:1 water-bleach solution, let dry completely (24 hours minimum), and re-caulk with a mildew-resistant silicone. Painting over moldy caulk does not work — the mold grows through paint.
How long does kitchen sink caulk last and when should I replace it?
Quality 100% silicone caulk around a kitchen sink lasts 5–10 years. Signs it needs replacement: visible cracks or gaps in the bead, separation from the countertop or sink rim (even a 1mm gap lets water under the rim), black mold that won't scrub out (the mold is inside the silicone, not on the surface), or water staining inside the cabinet below — a sign the seal has been failing for months. Don't wait for obvious water damage: proactive replacement at year 7 is a 30-minute, $10 project, while the countertop substrate repair a failed seal eventually causes costs $200–$800. Check the joint annually by running a wet finger along the seal and feeling for any give or separation.
Should I use silicone or plumber's putty to seal a kitchen sink?
It depends on the sink and countertop: for undermount sinks (sink is below the counter), always use 100% silicone — plumber's putty cannot seal the top joint on an undermount installation. For drop-in sinks (rim sits on top of the counter), check the sink manufacturer's installation instructions — some specify silicone, others specify plumber's putty. Critical rule: never use plumber's putty on granite, quartz, marble, slate, or composite stone countertops — the oils in putty permanently stain porous stone surfaces. On any stone countertop regardless of sink type, 100% silicone is the correct choice. When in doubt, use silicone — it works on every countertop material and every sink type.
Kitchen sink caulk replacement: (1) Remove all old caulk with a plastic scraper or oscillating tool — leaving any behind causes the new bead to fail at those spots. (2) Clean the joint with isopropyl alcohol and let dry.
Remove every trace of old silicone before applying new — new silicone over old residue peels off within months.
What you need
- 100% silicone caulk (GE Silicone I or DAP Silicone Max, white or clear)
- Caulk gun
- Plastic putty knife or caulk removal tool
- Utility knife
- Isopropyl alcohol
- Painter tape
- A cup of water (for tooling)
Step 1: Remove all old caulk
Score along both edges of the old bead with a utility knife. Peel the bulk with your fingers. Remove residue with a plastic scraper and isopropyl alcohol. Let the joint dry completely.
Step 2: Apply painter tape
Run painter tape along the countertop surface, 3/16 inch from the sink rim. Run a second piece along the sink rim itself. The tape defines the bead width and gives you clean edges.
Step 3: Apply silicone bead
Cut the caulk tip at 45 degrees for a 3/16-inch bead. Starting at the back of the sink, apply a continuous bead around the entire perimeter in one pass. Maintain even pressure and speed.
Step 4: Tool the bead
Dip your finger in water. In one continuous stroke, press the silicone bead into the joint and smooth it slightly concave. Wet finger prevents sticking. Do the whole perimeter in one pass if possible.
Step 5: Remove tape immediately
Pull both pieces of tape off at a 45-degree angle before the silicone begins to skin (within 2–5 minutes). Wait 24 hours before using the sink.
Related guides
- How to Fix a Kitchen Sink Sprayer — sprayer and diverter valve repair
- How to Caulk Around Windows — same silicone technique for window joints
- How to Caulk a Bathtub — bathtub perimeter caulk replacement
- How to Fix a Broken Kitchen Sink Basket Strainer — repair or replace a leaking strainer assembly while the sink is already disassembled
- How to Fix a Broken Kitchen Drain Basket — repair or replace the drain basket at the bottom of the kitchen sink
- Remove all old caulk
Score along both edges of the old caulk with a utility knife. Peel the bulk with fingers or a plastic putty knife — avoid metal scrapers on laminate or stone. Remove all silicone residue with a plastic caulk removal tool. Wipe the joint with isopropyl alcohol to remove any remaining residue. Let dry completely — new silicone over old residue peels off within months.
- Apply painter tape
Run painter tape along the countertop edge and along the sink rim, leaving the joint exposed. Place tape 3/16 inch from each edge to control the bead width and create straight lines on both sides.
- Apply silicone bead
Load 100% silicone caulk (not siliconized acrylic) in the caulk gun. Cut the tip at 45 degrees for a 3/16-inch bead. Starting at the back of the sink, apply a continuous bead around the entire perimeter in one pass without stopping.
- Tool the bead and remove tape
Wet your finger with plain water (not soapy water). Press the bead into the joint in one smooth continuous stroke to create a slightly concave profile. Remove both tape pieces immediately at a 45-degree angle — do not wait for the silicone to skin. Allow 24 hours before using the sink.
Free: 10-Point Home Maintenance Checklist
Prevent costly repairs with this seasonal checklist. Save hundreds every year by catching problems early.
Your checklist is ready!
Open Checklist →Something went wrong. View the checklist here.