How to Fix a Broken Kitchen Sink Basket Strainer
Learn how to replace a leaking or broken kitchen sink basket strainer and drain assembly with simple tools in under two hours.
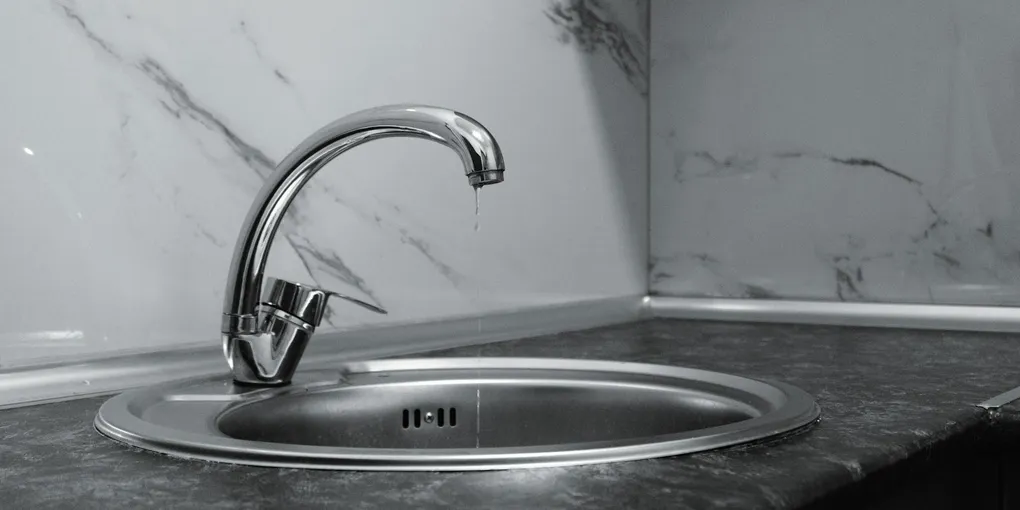
Replacing a kitchen sink basket strainer (full replacement): (1) Turn off both supply valves under the sink. Put a bucket under the P-trap. (2) Disconnect the P-trap from the tailpiece that drops from the strainer body. (3) From below the sink: loosen the large strainer locknut counterclockwise with slip-joint pliers (or a basket wrench). Hold the strainer body from above while you unscrew the nut. The basket strainer body will pull out from above. (4) Clean all old plumber's putty and caulk from the drain opening. (5) Roll new plumber's putty into a rope and place it around the underside of the new strainer rim. Press firmly into the opening from above. (6) From below: install the rubber gasket, cardboard washer, and locknut. Tighten firmly while holding the strainer from above. Wipe excess putty from around the rim. (7) Reconnect the P-trap. Run water and check for leaks. Standard strainers are 3-1/2 inch diameter and fit most sinks ($10 to $30).
Frequently Asked Questions
How do I know if my basket strainer needs to be replaced?
Signs include water leaking under the sink at the drain connection, a strainer basket that spins freely instead of sealing, visible corrosion or cracks on the strainer body, or persistent dripping even when the drain is closed.
Do I need to turn off the water supply to replace a basket strainer?
No. The basket strainer is part of the drain assembly, not the supply lines, so you do not need to shut off the water supply valves for this repair.
What is plumber's putty used for in a strainer installation?
Plumber's putty creates a watertight seal between the strainer flange and the sink basin. It is pressed under the rim of the strainer before it is tightened into place from below.
How do I remove a basket strainer that is stuck?
Insert locking pliers or a basket strainer wrench into the crossbars of the strainer basket to hold it still while you loosen the locknut below with a spud wrench. Penetrating oil on the locknut can help if it is corroded.
What size is a standard kitchen sink basket strainer?
Standard kitchen sink drain openings are 3-1/2 inches in diameter. Most replacement basket strainers are designed for this size and will fit any standard kitchen sink.
Can I use silicone instead of plumber's putty for a basket strainer?
Yes, on stone or composite sinks where putty can stain, use a non-staining silicone sealant instead. For stainless steel sinks, either plumber's putty or silicone works well.
Replacing a kitchen sink basket strainer (full replacement): (1) Turn off both supply valves under the sink. Put a bucket under the P-trap.
A leaky basket strainer drips under your sink every time the faucet runs, slowly warping the cabinet floor and inviting mold. Replacing the strainer and drain assembly is a straightforward plumbing job that requires no specialized skills and minimal tools. Most homeowners finish the repair in about 90 minutes.
How a Basket Strainer Works
The basket strainer consists of two main pieces: the strainer body, which sits in the drain opening and is visible from above, and the locknut assembly that clamps the body against the underside of the sink. A rubber gasket and flat cardboard gasket between the locknut and the sink basin create the seal. Plumber’s putty under the strainer flange provides the top seal against the sink surface.
Leaks happen when the putty dries out and shrinks, when the rubber gasket deteriorates, or when the locknut loosens from vibration over time.
Tools and Materials You Will Need
- Basin wrench or channel-lock pliers
- Spud wrench (or slip-joint pliers)
- Basket strainer wrench or locking pliers
- Plumber’s putty
- Plumber’s thread seal tape
- Bucket and towels
- Utility knife
- Replacement basket strainer kit
A complete basket strainer kit includes the strainer body, rubber gasket, friction ring, and locknut. The Danco Stainless Steel Kitchen Basket Strainer is a well-reviewed option that fits standard 3-1/2-inch drain openings and includes all necessary hardware. A spud wrench makes it much easier to tighten the large locknut without slipping.
Step 1: Clear Out Under the Sink
Remove everything stored under the sink and put a bucket below the P-trap to catch water. Place towels on the cabinet floor to protect the wood from drips.
Step 2: Disconnect the Drain Pipes
Loosen the slip nuts on either side of the P-trap by hand or with channel-lock pliers. Remove the P-trap and set it aside. Also disconnect the tailpiece — the straight pipe that extends down from the strainer into the trap. Water will drain out of both, so keep the bucket in place.
Step 3: Remove the Old Basket Strainer
From below, locate the large locknut threaded onto the strainer body. Use a spud wrench or large slip-joint pliers to turn the locknut counterclockwise. The strainer basket above will want to spin with it; insert locking pliers into the crossbars of the strainer from above to hold it still.
Once the locknut is off, remove the rubber gasket and friction ring. Push the strainer body up and out through the drain hole from below. Use a utility knife to scrape away all the old plumber’s putty from around the drain opening, and clean the surface thoroughly.
Step 4: Prepare the New Strainer
Roll a rope of plumber’s putty about 3/8-inch thick and long enough to circle the entire drain opening — approximately 12 to 14 inches. Press this rope around the underside of the new strainer flange. This seal prevents water from seeping between the rim and the sink surface.
Step 5: Set the New Strainer
Drop the new strainer body into the drain hole from above, pressing it firmly down into the putty. Hold the strainer in place from above while you go below to install the hardware.
From below, slide the friction ring (usually a cardboard or plastic washer) up onto the strainer body, followed by the rubber gasket. Thread the locknut onto the strainer body by hand. Insert the strainer wrench or locking pliers into the crossbars of the basket above to prevent it from spinning, then tighten the locknut firmly with the spud wrench. Tighten in short turns, checking from above that the strainer is staying centered and level.
Excess putty will squeeze out from under the rim as you tighten. Wipe it away with a damp rag.
Step 6: Reinstall the Drain Pipes
Thread the tailpiece back onto the bottom of the strainer body. Use a couple of wraps of thread seal tape on the tailpiece threads for a good seal. Reconnect the P-trap using the slip nuts, tightening by hand plus one-quarter turn with pliers.
Step 7: Test for Leaks
Run hot water into the sink for two full minutes. While the water runs, crouch under the sink and watch every connection point — the rim of the strainer, the tailpiece threads, and both P-trap slip joints. Press a dry paper towel against each joint to detect even a small drip.
If you see leaking at the strainer rim, the locknut may need another quarter turn. If the tailpiece connection drips, add more thread seal tape and reconnect.
Step 8: Check the Stopper Function
Fill the sink halfway with the basket in the closed position and wait five minutes. The water level should hold steady. If it drops, the rubber seal inside the basket is not seating properly. Some baskets can be adjusted by pressing them down more firmly; others may have a defective stopper that warrants a return and exchange.
Tips for a Long-Lasting Installation
Do not over-tighten the locknut — very tight does not mean better sealed, and over-tightening can crack a plastic locknut or warp the gasket unevenly. Check the joint again after the first week of use and snug it up if needed.
If your sink is granite, quartz, or another porous stone, use silicone sealant instead of plumber’s putty under the flange. Putty can stain porous surfaces over time.
Replacing a basket strainer is an excellent first plumbing repair — it builds confidence with slip-joint connections and sealing techniques that transfer directly to faucet and P-trap repairs. With the right kit and an hour of your time, you can have a dry, functional drain that looks brand new.
- Clear Out Under the Sink
Remove everything stored under the sink and put a bucket below the P-trap to catch water. Place towels on the cabinet floor to protect the wood from drips.
- Disconnect the Drain Pipes
Loosen the slip nuts on either side of the P-trap by hand or with channel-lock pliers. Remove the P-trap and set it aside. Also disconnect the tailpiece — the straight pipe that extends down from the strainer into the trap.
- Remove the Old Basket Strainer
From below, locate the large locknut threaded onto the strainer body. Use a spud wrench or large slip-joint pliers to turn the locknut counterclockwise.
- Prepare the New Strainer
Roll a rope of plumber's putty about 3/8-inch thick and long enough to circle the entire drain opening — approximately 12 to 14 inches. Press this rope around the underside of the new strainer flange.
- Set the New Strainer
Drop the new strainer body into the drain hole from above, pressing it firmly down into the putty. Hold the strainer in place from above while you go below to install the hardware.
- Reinstall the Drain Pipes
Thread the tailpiece back onto the bottom of the strainer body. Use a couple of wraps of thread seal tape on the tailpiece threads for a good seal. Reconnect the P-trap using the slip nuts, tightening by hand plus one-quarter turn with pliers.
Free: 10-Point Home Maintenance Checklist
Prevent costly repairs with this seasonal checklist. Save hundreds every year by catching problems early.
Your checklist is ready!
Open Checklist →Something went wrong. View the checklist here.