How to Fix a Warped Deck Board: Re-Screwing, Flipping, and Full Replacement
Warped and cupped deck boards create tripping hazards and trap moisture that rots the joists underneath. Learn how to flatten cupped boards by re-screwing them, flip boards to use the better face, sister a new board alongside a damaged one, and replace boards that are beyond saving.
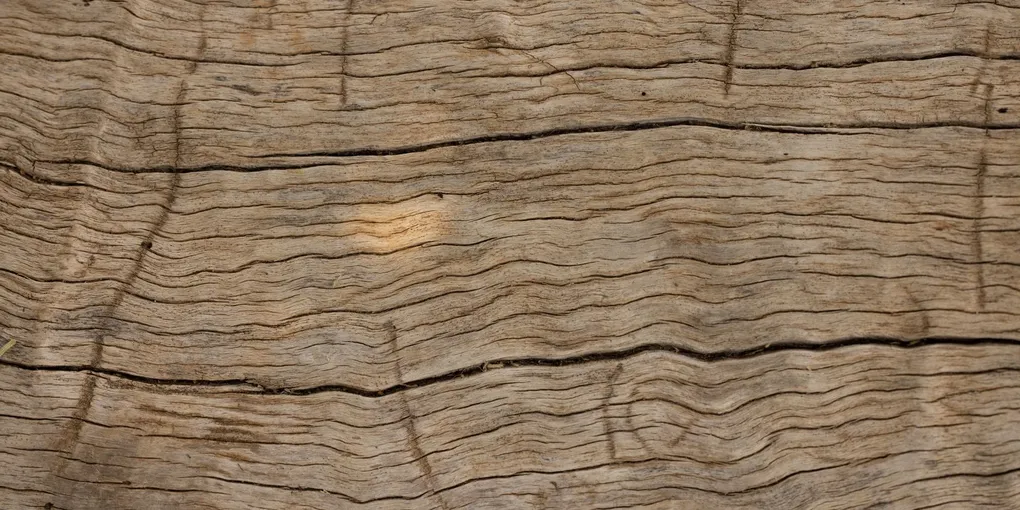
A cupped or warped deck board is not just ugly — the raised edges catch feet and the moisture trapped underneath is silently rotting your joists. Most boards can be fixed in under an hour per board with the right technique.
A cupped or warped deck board is not just ugly — the raised edges catch feet and the moisture trapped underneath is silently rotting your joists. Most boards can be fixed in under an hour per board with the right technique. Here is how to diagnose the damage and choose the right repair: re-screw, flip, or replace.
What You Need
- Exterior deck screws (3-inch, stainless or hot-dipped galvanized) — never use zinc-plated screws in pressure-treated lumber ($15–$30 per pound)
- Cordless drill/driver with #2 Phillips and square-drive bits — for driving screws and removing old fasteners ($80–$200 for the drill; bits sold separately)
- Pry bar (15-inch or flat bar) — for levering up cupped boards and removing nailed boards ($12–$25)
- Jigsaw or circular saw — for cutting replacement boards to length ($60–$150)
- Wood chisel (1-inch) — for cleaning joist tops and splitting out broken boards ($10–$20)
- Penetrating wood sealer or end-grain sealer — applied to all cut ends to slow moisture wicking ($15–$30 per quart)
Total estimated cost: $50–$100 in tools and materials for a single-board repair. Replacement board lumber: $2–$6 per linear foot for pressure-treated 5/4x6 decking.
Step 1: Assess Each Board’s Condition
Walk the deck slowly, noting which boards are raised at the edges (cupped), springing when stepped on (possibly delaminating from the joists below), or visibly split. Use a 4-foot level to quantify the cup — lay it across the board and measure the gap at the center. Over 1/2 inch of cup per 4-inch width is significant.
Then probe each suspect board with a screwdriver or awl:
- Press firmly at mid-span. Sound wood resists the point. Soft, punky wood that sinks more than 1/8–1/4 inch under firm hand pressure has begun to rot.
- Check the ends. End grain is where moisture enters fastest. Press both ends of the board at the joist locations. End rot often begins here and works its way inward.
- Inspect the underside if possible. Peek between boards or use a flashlight aimed under the deck. Blackened wood, surface mold, and soft areas on the joist tops indicate chronic moisture problems that the board repair will need to address.
Based on your probe results, categorize each board:
- Sound, cupped up to 1/2 inch: Re-screw
- Sound, cupped over 1/2 inch, good bottom face: Flip
- End rot only, body sound: Cut out rotted ends, sister new blocking to the joist, reinstall with new end at the joist
- Soft, split, or rotted: Full replacement
Step 2: Re-Screwing Cupped Boards
Re-screwing is the fastest fix for boards that have pulled away from or never fully contacted the joists, causing them to cup or bounce.
- Identify the joist locations. They are usually spaced every 12 or 16 inches. Look for the existing screw or nail pattern — fasteners land on joist centers.
- Pre-drill pilot holes at each joist location using a drill bit slightly narrower than the screw shank. Pre-drilling is essential to avoid splitting the board when driving screws near edges.
- If the board is severely cupped, apply downward pressure while driving the screw. Use a knee on the board center, or clamp a piece of scrap wood across the board to lever it flat before driving the fastener.
- Drive the new screw adjacent to or slightly offset from the old fastener location — driving into the same hole gives the new screw nothing to bite into.
- For boards cupped at the edges: drive screws through the board edge, angled toward the joist center at about 30 degrees (a technique called toe-screwing). This pulls the edge down toward the joist.
- Countersink the screw head 1/16 to 1/8 inch below the wood surface — this prevents the head from snagging feet and allows the wood fibers to close over the head, providing some weather protection.
After re-screwing, check the board with the level again. If the cup is under 1/4 inch, the result is acceptable — walking will not catch it. If the cup is still over 1/4 inch after screwing, proceed to the flip method or replacement.
Step 3: Flipping Cupped Boards
Flipping gives you the less-exposed face of the board as the new walking surface. This is particularly effective on boards where the top face has weathered gray and checking has begun, but the bottom face is still tight-grained and smooth.
- Remove all existing fasteners. For screws: use the drill driver in reverse. For nails: slide the flat bar under the board adjacent to each nail, using a piece of scrap wood as a fulcrum to protect the adjacent board. Lever up to pull each nail.
- Lift the board free. Inspect the bottom face in good light — you need this face to be free of rot, deep checks, and significant weathering.
- Inspect the joist top at this location. Use your screwdriver probe on the joist wood. If the joist top is soft or shows significant rot, address it before reinstalling the board (see Step 5 on joist evaluation).
- Clean the joist top of any dirt, debris, and old finish. A stiff brush or putty knife clears old material quickly.
- Flip the board and reinstall with the previously-bottom face up. Re-screw at each joist location with new screws in new locations (pre-drilled). Apply end-grain sealer to both ends of the board before reinstallation.
- Drive fasteners at two points per joist rather than one — this resists future twisting of the board.
After flipping, the board may still have a slight crown (it was cupping upward — now that face is down, the board may arch slightly upward at center). This is ideal — a slight crown sheds water.
Step 4: Replacing a Deck Board
For boards that are beyond re-screwing or flipping, full replacement is the right call.
Remove the old board:
- Use a reciprocating saw with a metal-cutting blade to cut through any nails beneath the board — position the blade flat against the joist top and cut the nails flush. This is faster and safer than prying a nailed board.
- Lift out the board pieces. If the board is long (12 feet or more) and you are working alone, score it with a circular saw at a joist center, remove it in two pieces.
Inspect the joist:
Before installing new board, probe all joist tops that were under the old board. Pay particular attention to any area that was visibly wet or discolored. A healthy joist top is firm and light-colored. A deteriorating joist top is soft, dark, and may have surface mold.
If the joist top has surface softening (under 1/4 inch depth), brush it with a penetrating wood hardener and let it cure before installing the new board. If the joist is soft more than 1/4 inch deep, or if it flexes significantly when you step on the neighboring deck boards, the joist needs sistering (see Step 5).
Install the new board:
- Buy a replacement board that matches the existing decking species and profile. Common choices: 5/4x6 pressure-treated southern yellow pine (most common, $2–$4/LF), 5/4x6 Trex or composite (if the existing deck is composite), or a matching hardwood (Ipe, Cumaru) for premium decks.
- Let pressure-treated lumber acclimate for at least a week before installation if it is “wet” PT (dripping with preservative). Installing wet PT lumber leads to the warping you are trying to fix.
- Cut the board to length. Apply end-grain sealer to both cut ends immediately — this is one of the most effective steps to prevent end-grain moisture entry and future rot.
- Position the board with the crown up (look at the end grain — the arc of growth rings should curve upward, which means the board will arch slightly upward at center rather than cup at the edges).
- Maintain a 1/8-inch gap between boards for drainage. Use a 16d nail or a deck spacing gauge to set the gap consistently.
- Drive two screws per joist location, pre-drilling at all locations. Keep screws at least 3/4 inch from the board edge and 1 inch from the board end.
Step 5: Sistering a Damaged Joist
If the joist under a replaced deck board is soft, sistering is the structural repair. You do not need to remove the full deck to sister a joist.
- Remove all deck boards over the affected joist — typically a 3–4 board width centered on the damaged joist.
- Cut a new pressure-treated joist (2x8 or 2x10, matching the existing) to the same length as the damaged joist. A “sister” runs the full span from beam to beam.
- Slide the sister joist into position alongside the damaged joist, resting on the beams at each end.
- Drive 3-inch structural screws (or 16d nails) through the sister and into the damaged joist every 12 inches in a staggered pattern.
- Install joist hanger hardware at both ends where the sister joist contacts the beam.
- Reinstall the deck boards over the sistered joist.
Sistering does not remove the damaged wood — it bypasses it. The sister carries the structural load, and the old joist is left in place. This is appropriate when the joist has surface rot or localized damage but is not fully compromised along its full length.
Step 6: Seal and Protect the Repaired Deck
After all board work is complete:
- Apply a penetrating deck stain and sealer to any bare wood. New pressure-treated lumber should weather for 30–60 days before accepting most oil-based stains — check your stain manufacturer’s guidance.
- Apply end-grain sealer (such as Anchorseal 2) to all exposed cut ends if not done during installation.
- Inspect the gaps between all boards — they should be consistent (1/8 inch) and clear. Packed debris in board gaps traps moisture and accelerates joist rot. Clear debris with a putty knife or deck gap cleaner annually.
Annual maintenance: Clean the deck surface each spring to remove debris and organic material. Re-apply deck sealer every 2–3 years on PT lumber, every 1–2 years on cedar or hardwood. The best protection against warped deck boards is a deck that dries quickly after rain — keep the underside well-ventilated and clear vegetation that holds moisture against the deck perimeter.
Cost Summary
| Repair Method | DIY Material Cost | Professional Cost |
|---|---|---|
| Re-screw (per board) | $2–$5 in screws | $50–$100 per board |
| Flip and reinstall (per board) | $3–$8 | $75–$125 per board |
| Full board replacement (5/4x6, 8 ft) | $20–$40 materials | $100–$200 per board |
| Joist sistering (per joist) | $25–$60 materials | $200–$500 per joist |
| Full deck board replacement (200 sq ft) | $400–$1,000 materials | $2,000–$5,000 |
Related Reading
- How to Fix a Deck Railing — addressing loose posts and rails on the same deck
- How to Build a Deck — full deck construction guide if the structure needs more than board-level repairs
- How to Fix a Broken Fence Post — similar wood rot repair techniques applied to fence structures
- Assess Each Board's Condition
Walk the deck slowly, noting which boards are raised at the edges (cupped), springing when stepped on (possibly delaminating from the joists below), or visibly split.
- Re-Screwing Cupped Boards
Re-screwing is the fastest fix for boards that have pulled away from or never fully contacted the joists, causing them to cup or bounce.
- Flipping Cupped Boards
Flipping gives you the less-exposed face of the board as the new walking surface. This is particularly effective on boards where the top face has weathered gray and checking has begun, but the bottom face is still tight-grained and smooth.
- Replacing a Deck Board
For boards that are beyond re-screwing or flipping, full replacement is the right call.
- Sistering a Damaged Joist
If the joist under a replaced deck board is soft, sistering is the structural repair. You do not need to remove the full deck to sister a joist.
- Seal and Protect the Repaired Deck
After all board work is complete:
Free: 10-Point Home Maintenance Checklist
Prevent costly repairs with this seasonal checklist. Save hundreds every year by catching problems early.
Your checklist is ready!
Open Checklist →Something went wrong. View the checklist here.