How to Fix a Deck Railing: Tightening Loose Posts, Replacing Balusters, and Code Requirements (2026)
A wobbly deck railing is both a safety hazard and a code violation. This guide covers tightening loose newel posts, replacing cracked or missing balusters, and the IRC code minimums for railing height and baluster spacing.
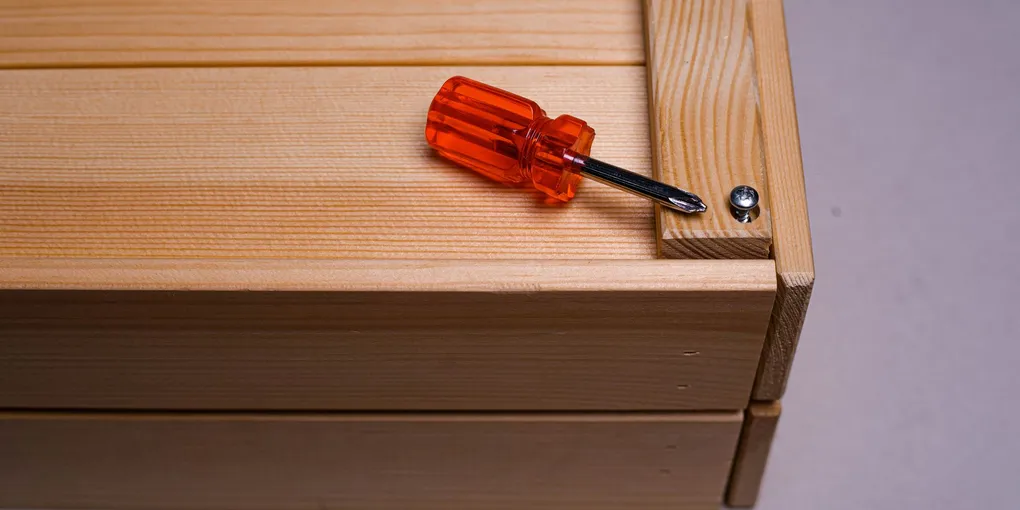
Deck railing repair: (1) Loose newel post at the corner or end: add an angled lag screw (3/8 x 5 inch) through the post and into the rim joist or stringer from inside the railing opening. One or two lags properly placed stop 90% of post wobble. (2) Post bolted to the deck face (surface-mounted): upgrade to a post anchor base (Simpson ABA or ABU series) bolted through the deck framing — much stronger than face-mount bolts. (3) Loose or cracked balusters: pull out and replace individually. (4) Code minimum: railing 36 inches high for decks under 30 inches above grade (42 inches above 30 inches), balusters spaced no more than 4 inches apart (a 4-inch sphere cannot pass through).
Frequently Asked Questions
Why is my deck post wobbly and how do I fix it?
Deck post wobble causes: (1) Face-mounted posts (bolted to the outside face of the rim joist) — the most common and weakest attachment. Two bolts in the end grain of a post provide minimal resistance to lateral force. Fix: add a diagonal lag screw from inside the post into the rim joist at 45 degrees, or remove the post and remount with a post anchor base that bolts through the rim joist and provides a moment-resisting connection. (2) Through-bolted posts on the deck framing — bolts may have loosened or the wood may have shrunk. Tighten the bolts. If the wood around the bolt has crushed (bolt pulls through): enlarge the bolt to 1/2 inch diameter or add a backing block behind the rim joist. (3) Post base rotted — pressure-treated posts sitting on the deck surface can rot at the base. Use a post base that elevates the post 1 inch off the surface for drainage. (4) For a quick field fix without disassembly: drill through the post at 45 degrees from inside the opening, angle into the rim joist, and drive a 3/8 x 5-inch structural hex-head lag screw.
What is the code requirement for deck railing height and baluster spacing?
IRC deck railing code requirements: (1) Railing height: 36 inches minimum for decks 30 inches or less above grade. 42 inches minimum for decks more than 30 inches above grade. Measured vertically from the deck surface to the top of the rail cap. (2) Baluster spacing: no more than 4 inches between any two balusters (a 4-inch sphere shall not pass through any opening in the railing). This prevents a child's head from getting trapped. (3) Railing strength: the IRC requires handrails and guards to resist a 200-pound point load applied in any direction at the top rail. Post spacing of 6 feet or less with proper post connections typically satisfies this. (4) Openings at the deck floor: the space between the bottom rail and the deck surface is also governed — no 4-inch sphere shall pass through. A bottom rail close to the deck surface or closely-spaced deck boards typically satisfies this. (5) Note: these are minimum IRC requirements. Local codes may be stricter. Consult your local building department for permit requirements.
How do I replace a broken or missing deck baluster?
Baluster replacement: (1) Identify the baluster attachment method: most residential deck balusters attach at the top rail and the bottom rail with nails, screws, or baluster connectors. (2) Remove the broken baluster: drive a flatbar behind the baluster at the top and bottom and pry out. For nailed balusters, pry the nail heads up. (3) Measure the existing balusters: height (from top of bottom rail to bottom of top rail) and cross-section dimension (typically 1.5 x 1.5 inch for wood, or a specific profile for composite or aluminum). Order or cut replacement balusters to the same dimensions. (4) For wood balusters: paint or stain the replacement before installation (all six sides — especially the end grain). Installing bare wood accelerates splitting and rot. (5) Attach with 2.5-inch exterior screws (toe-screw at 45 degrees into the rail, one at top and one at bottom, or use baluster connector hardware for cleaner appearance). (6) Maintain consistent 4-inch or less spacing across all replaced balusters — measure from the center of one baluster to the center of the next.
My deck railing top rail is sagging in the middle. How do I fix it?
Top rail sag between posts: (1) The most common cause is post spacing too wide (over 6 feet) for the top rail section dimension. A 2x4 flat-rail or 2x6 cap over a 6-foot span sags under load. (2) Add a mid-span support post — this is the most durable fix. Add an intermediate post between the existing posts, bolted to the rim joist, to halve the span. (3) Sistering the top rail — sister a second piece of same-dimension lumber alongside the sagging rail section, glued and screwed, to increase stiffness. This works on shorter sags and requires no additional posts. (4) Replace with a deeper dimension — a 2x6 cap rail on edge (instead of flat) has 8x more bending stiffness than a flat 2x4 of the same span. (5) Metal rail systems — if replacing the entire railing: aluminum or steel railing systems are significantly stiffer than wood at equivalent material depth and are a good upgrade option.
Should I use pressure-treated wood, composite, or aluminum for deck railing replacement?
Deck railing material comparison: (1) Pressure-treated lumber — least expensive, typically ground-contact rated or UC4A for deck applications. Needs painting or staining for appearance. Will eventually split and check; lifespan 15–20 years with maintenance. Posts and structural components should always be pressure-treated regardless of the baluster choice. (2) Cedar or redwood — naturally rot-resistant, better appearance than PT, accepts stain well. More expensive than PT, less readily available, still needs periodic maintenance. (3) Composite railing systems (Trex, Fiberon, TimberTech) — pre-painted or pre-finished, low maintenance, no splitting. Cost 3–5x more than PT lumber but last 25+ years with minimal maintenance. (4) Aluminum — powder-coated, no rot, no maintenance, dimensionally stable. Cannot be painted a different color field easily. Cost similar to composite. Best choice for coastal or high-humidity climates. (5) Cable railing — stainless steel cable systems for modern look. Requires intermediate posts every 3–4 feet to maintain cable tension and baluster spacing compliance. Higher cost, unique appearance.
Deck railing repair: (1) Loose newel post at the corner or end: add an angled lag screw (3/8 x 5 inch) through the post and into the rim joist or stringer from inside the railing opening. One or two lags properly placed stop 90% of post wobble.
Check the post base first — most wobbly railings fail at the post-to-framing connection, not the balusters.
What you need
- 3/8 x 5-inch structural lag screws (for post tightening)
- Impact driver or heavy-duty drill
- Replacement balusters (match dimension and material)
- 2.5-inch exterior deck screws
- Tape measure (for 4-inch baluster spacing check)
Step 1: Test every post for wobble
Grab each post and push laterally. Any movement = connection failure. Mark wobbly posts.
Step 2: Add lag screws to wobbly posts
From inside the railing bay, drill through the post at 45 degrees angling into the rim joist or framing below. Drive a 3/8 x 5-inch lag screw. Add a second lag at a counter-angle for maximum restraint.
Step 3: Replace broken balusters
Remove broken balusters. Cut or order replacements to match height and cross-section. Pre-finish all six sides. Fasten with exterior screws, maintaining 4-inch or less gap between balusters.
Step 4: Verify code compliance
Measure railing height (36 inches for low decks, 42 inches for high decks). Check baluster spacing with a 4-inch test block — it must not pass through any opening.
Related guides
- How to Fix a Loose Stair Railing — newel post and interior railing lag screw repair
- How to Fix Deck Boards — replacing rotted and raised deck planks
- How to Stain a Deck — deck surface finishing after repairs
- Test every post for wobble
Grab each post and push firmly laterally in both directions. Any movement indicates a connection failure at the post base or bolts. Mark wobbly posts with tape before starting repairs.
- Tighten loose posts with lag screws
From inside the railing bay, drill through the post at 45 degrees angling into the rim joist or framing below. Drive a 3/8 x 5-inch structural hex-head lag screw. Add a second lag at a counter-angle (opposing 45 degrees) for maximum pull-out resistance. Tighten until snug. This stops the majority of post wobble without disassembly.
- Replace broken balusters
Pry out broken balusters with a flatbar at top and bottom. Measure the existing baluster height (top of bottom rail to bottom of top rail) and cross-section. Cut or order replacements to match. Pre-finish all six sides — especially end grain — before installation. Fasten with 2.5-inch exterior screws, toe-screwed at 45 degrees into the rail at top and bottom. Maintain 4-inch or less spacing between balusters.
- Verify code compliance
Measure railing height from deck surface to top of rail cap: 36 inches minimum for decks 30 inches or less above grade; 42 inches minimum for decks higher than 30 inches. Check baluster spacing with a 4-inch test block — it must not pass through any opening anywhere in the railing, including near the bottom rail and deck surface.
Free: 10-Point Home Maintenance Checklist
Prevent costly repairs with this seasonal checklist. Save hundreds every year by catching problems early.
Your checklist is ready!
Open Checklist →Something went wrong. View the checklist here.