How to Fix a Sunken Patio Paver
Learn how to lift, re-level, and reset a sunken or heaved patio paver so your outdoor surface is flat, safe, and looks like new again.
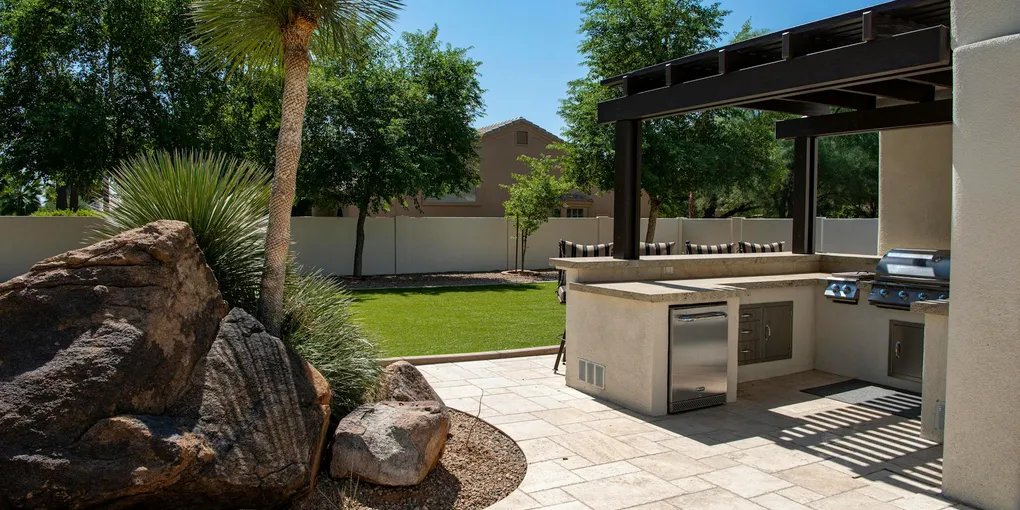
A sunken or heaved patio paver is a tripping hazard and an eyesore, but it is also one of the most satisfying DIY fixes in the yard. The repair is entirely reversible, requires no special equipment, and can be completed in a single afternoon.
A sunken or heaved patio paver is a tripping hazard and an eyesore, but it is also one of the most satisfying DIY fixes in the yard. The repair is entirely reversible, requires no special equipment, and can be completed in a single afternoon. This guide walks through pulling the paver, diagnosing what caused the problem, correcting the base, and resetting the paver level with the surrounding surface.
What You Need
- Flathead screwdriver or paver puller tool
- Rubber mallet
- Coarse concrete sand or leveling sand (for bedding layer)
- Polymeric jointing sand (for joints)
- 4-foot level or long straightedge
- Hand tamper or piece of scrap 2x4 lumber
- Garden hose or sprayer
- Stiff broom
- Gloves and safety glasses
Step 1: Identify the Full Extent of the Problem
Before pulling any paver, walk the full patio surface and press down on each paver near the sunken one. Pavers that rock, click against adjacent pavers, or feel soft underfoot have also lost support and should be reset at the same time.
Mark problem pavers with chalk or a small flag so you do not miss any during the repair. Resetting a tight cluster of 4 to 6 adjacent pavers takes only slightly more time than resetting one, and it produces a smoother, more consistent result.
Step 2: Remove the Sunken Paver
Pavers in a well-installed patio are held in place by the surrounding pavers and jointing sand — there is no adhesive. To remove a paver:
- Find a joint near the paver and insert a flathead screwdriver into the gap at a low angle. Pry upward gently to pop one corner of the paver above the surface.
- Once one corner is raised, use a paver puller tool (or two flathead screwdrivers on opposite corners) to lift the paver fully out of the bed.
- Set it face-down on a soft surface like grass so the face is not scratched.
Tip: If the joints are filled with hardened polymeric sand and the paver will not budge, use a utility knife to cut the polymeric sand along all four joint edges before prying. This releases the mechanical bond without damaging the paver edges.
Step 3: Diagnose the Cause of Settlement
Look into the void left by the removed paver. Common findings and their fixes:
Low sand bedding: The sand layer is thinner than the standard 1 inch in one area, causing the paver to sit lower than its neighbors. Fix: add sand and re-level.
Eroded or washed-out sand: The sand base has been displaced by water movement, leaving a cavity below. Fix: improve drainage (see Step 5), then add compacted gravel and fresh sand before resetting.
Tree root intrusion: A root is pushing one edge of the paver up while the other side has no support. Fix: cut the offending root section with a sharp saw, apply root barrier fabric if the tree is close, then re-level with sand.
Soft, soggy soil: The soil base is retaining moisture and compressing. Fix: excavate 6 to 8 inches deep, install a layer of compacted gravel base material (crushed stone), then replace the sand bedding layer on top.
Step 4: Correct the Base and Re-Level the Sand Bedding
For simple settlement (low sand only):
- Spread coarse concrete sand in the void to build the bedding level back up. The target bedding depth is approximately 1 inch of loose sand, which compacts to about 3/4 inch under the paver’s weight.
- Rough-level the sand with your hand or a small trowel.
- Place a scrap piece of 2x4 on the sand and tap it with a rubber mallet to pre-compact the sand layer.
- Set a level or long straightedge across the adjacent pavers and check how the sand surface relates to the required paver height.
- Add or remove sand in small amounts until the sand surface is at the right elevation to bring the reset paver flush with its neighbors.
For eroded or deep base problems:
- Excavate the void and the surrounding area to a depth of 6 to 8 inches.
- Fill with compacted gravel base (crushed stone or road base) in 2-inch layers, tamping firmly between layers.
- Top with 1 inch of coarse bedding sand and level as above.
Step 5: Improve Drainage (If Water Was the Cause)
If the sand washout was caused by water pooling beneath or running under the patio:
- Redirect surface runoff. Slope adjacent ground or garden beds away from the patio with a minimum 1/4-inch drop per foot of run.
- Install a gravel border. A 6-inch-wide gravel channel around the patio perimeter intercepts surface water before it migrates under the pavers.
- Clear obstructed drainage outlets. Make sure any existing drainage channels or gaps left in the paver border are clear of debris.
Skipping this step means the same paver will sink again within a few years.
Step 6: Reset the Paver
Place the paver back into the void face-up. Press it down firmly by hand, then set a level across it and the surrounding pavers in both directions. The paver should sit flush or no more than 1/8 inch above the adjacent pavers (a slight crown is acceptable; a dip creates a trip hazard).
If the paver sits too high, remove it and take out a small amount of sand. If it sits too low, add sand.
Once the height is correct, set a piece of scrap wood across the paver and strike it firmly several times with a rubber mallet to fully seat it into the sand. Check level again after seating.
Step 7: Fill the Joints with Polymeric Sand
Sweep polymeric jointing sand across the reset paver and surrounding area, pushing it into all the open joints with a stiff broom. Make multiple passes to ensure the joints are fully packed. Lightly mist the surface with a garden hose — do not use a hard spray that washes the sand back out. The water activates the polymer binder.
Allow the polymeric sand to cure undisturbed for at least 24 hours before foot traffic, and 48 to 72 hours before replacing patio furniture.
Cost Summary
| Repair Type | DIY Cost | Pro Cost |
|---|---|---|
| Single paver re-level (sand only) | $10–$25 | $75–$150 |
| 4–6 paver section reset | $30–$60 | $150–$400 |
| Deep base repair (excavate and repack) | $50–$150 | $300–$800 |
Related Reading
- How to Clean a Deck — maintain all your outdoor surfaces together
- How to Repair a Concrete Patio — address cracks in adjacent concrete areas
- Spring Home Maintenance Checklist — include paver inspection in your seasonal walkthrough
- Identify the Full Extent of the Problem
Before pulling any paver, walk the full patio surface and press down on each paver near the sunken one. Pavers that rock, click against adjacent pavers, or feel soft underfoot have also lost support and should be reset at the same time.
- Remove the Sunken Paver
Pavers in a well-installed patio are held in place by the surrounding pavers and jointing sand — there is no adhesive. To remove a paver:
- Diagnose the Cause of Settlement
Look into the void left by the removed paver. Common findings and their fixes:
- Correct the Base and Re-Level the Sand Bedding
For simple settlement (low sand only):
- Improve Drainage (If Water Was the Cause)
If the sand washout was caused by water pooling beneath or running under the patio:
- Reset the Paver
Place the paver back into the void face-up. Press it down firmly by hand, then set a level across it and the surrounding pavers in both directions.
Free: 10-Point Home Maintenance Checklist
Prevent costly repairs with this seasonal checklist. Save hundreds every year by catching problems early.
Your checklist is ready!
Open Checklist →Something went wrong. View the checklist here.