How to Fix a Rocking Toilet: Floor Bolts, Shims, and Wax Ring (2026)
A toilet that rocks or wobbles is a wax ring failure waiting to happen. This guide covers tightening floor bolts, shimming a toilet on an uneven floor, and inspecting the flange before committing to a full wax ring reset.
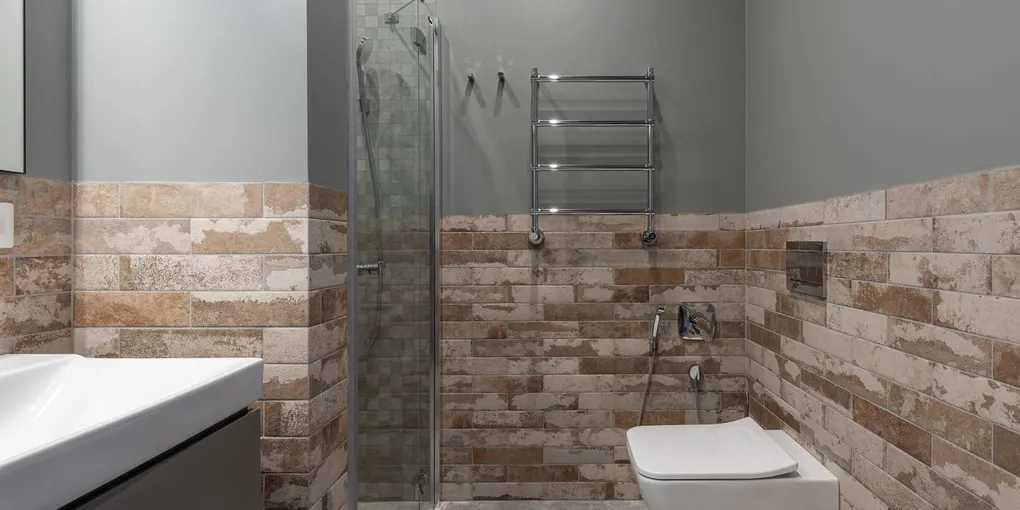
Fix a rocking toilet: (1) Tighten the floor bolts first — remove the plastic caps at the toilet base, find the nuts, and snug them gently. Never overtighten; porcelain cracks. If the toilet still rocks after tightening, the floor or flange is uneven. (2) Shim the toilet: slide plastic toilet shims under the low side of the base and tap in until the toilet is stable. Score and snap off the excess. Caulk around the base afterward. (3) If the toilet rocks badly and there is water at the base: the wax ring has failed. Replace the wax ring and inspect the flange.
Frequently Asked Questions
Why is my toilet rocking and is it a problem?
Toilet rocking causes and consequences: (1) Loose floor bolts (T-bolts or closet bolts): the toilet is held down by two bolts that slot into a channel on the toilet flange. These bolts can loosen over time from normal use. A loose bolt allows slight movement of the toilet. (2) Uneven floor: if the floor has settled, warped, or was never flat, one side of the toilet base sits higher than the other. The toilet rocks on the contact points. (3) Damaged toilet base: a cracked or chipped base foot can create a rocking point. (4) Failed flange: a cracked or settled toilet flange changes the mounting geometry. (5) Why it matters: a rocking toilet is not a cosmetic problem. Each time the toilet rocks, it compresses and releases the wax ring unevenly. Over months, this breaks down the wax seal, allowing sewer gas into the house and, eventually, sewage leakage at the base. Caulking around the base (which many homeowners do as a fix) actually makes it worse — it hides the leaking water inside the floor and accelerates rot.
How do I tighten the toilet floor bolts?
Tightening toilet floor bolts: (1) Locate the bolt caps: at the base of the toilet on both sides, there are two plastic caps (usually white or matching the toilet color). Pry them off with a flat screwdriver or fingernail. (2) Under the caps: a nut on a threaded bolt. The bolt slots into the toilet flange beneath the floor. (3) Use a wrench (adjustable or small socket wrench) to tighten the nut clockwise. Apply gradual, gentle pressure. (4) CRITICAL: do not overtighten. Porcelain is brittle and the toilet base will crack if you torque the nut too far. Tighten until you feel firm resistance, then stop. The toilet base should not move when you push side-to-side. If the nut spins without tightening (the bolt is spinning with it), the bolt is not seated in the flange — this happens when the bolt has rotated 90° out of its slot. (5) Spinning bolt fix: you will need to access the flange. Remove the toilet (see wax ring replacement guide), reseat the T-bolt in the flange channel with the head of the T properly locked in the flange slot, and reinstall the toilet. (6) After tightening: snap the caps back over the nuts. If the plastic nuts are corroded beyond reuse, a replacement bolt-and-cap kit is $3–$5.
How do I shim a rocking toilet?
Shimming a toilet for an uneven floor: (1) After tightening the floor bolts, if the toilet still rocks: the floor or flange is not level. Shimming is the fix. (2) Use plastic toilet shims (not wood — wood absorbs water and rots). Toilet shims are available at hardware stores in packs of 8–10 for $3–$8. They are tapered wedges that slide under the toilet base. (3) Identify the rocking side: press down on each corner of the toilet base to find the low point (where pressing down causes the other side to lift). The shim goes under the low side. (4) Slide the shims under the toilet base from the front or side until the rocking stops. Tap them in gently until snug. Test by pressing the toilet in all directions — it should not move. (5) Score and snap the excess: plastic shims extend beyond the toilet base. Score them with a utility knife at the edge of the toilet base, then snap them off flush. (6) Caulk the base: apply a bead of silicone caulk around the toilet base, BUT leave the back of the toilet un-caulked. The small gap at the back allows any future water leak from the base to escape visibly — a warning sign that the wax ring is failing. If you seal all the way around, a wax ring failure will route water under the floor rather than appearing at the toilet base.
How do I know if I need to replace the wax ring?
Signs the wax ring needs replacement: (1) Water at the base of the toilet: a visible ring of water, especially after flushing, means the wax seal has failed. This is sewer water. (2) Floor soft or discolored around the toilet: the subfloor has been absorbing leaked water. Check by pressing the floor with your foot — a soft, spongy floor around the toilet requires immediate wax ring replacement and possible subfloor repair. (3) Sewer gas smell: a persistent sewer smell in the bathroom that isn't coming from the toilet interior suggests the wax seal is compromised and sewer gas is entering at the base. (4) Toilet has been rocking for a long time: even if there is no visible water, a toilet that has rocked for months has likely compromised the wax ring through repeated compression. (5) Procedure: replacing the wax ring requires removing the toilet completely. The old wax ring is scraped off the flange, the flange is inspected for cracks, and a new wax ring is installed. A standard toilet wax ring costs $5–$10. Extended-funnel wax rings are needed when the flange sits below the finished floor level.
What if the toilet flange is damaged or broken?
Toilet flange repair: (1) The toilet flange is the round plastic or metal ring mounted to the floor that the toilet bolts to and the wax ring seals against. If the flange is cracked, broken, or sitting too low, the toilet cannot be properly stabilized regardless of bolt tightening or shimming. (2) Inspection: remove the toilet to inspect the flange. A cracked flange will have visible fractures. A sunken flange sits more than 1/4 inch below the finished floor surface. (3) Repair options: (a) Flange repair ring: a stainless steel repair ring or plastic repair ring bolts to the existing flange to provide new mounting slots for the T-bolts. Cost: $5–$15. Appropriate for a cracked or broken flange that is still at the right height. (b) Flange extension: if the flange is too low (floor was raised with tile or flooring over it), a flange extender ring raises the mounting surface to floor level. (c) Full flange replacement: requires cutting out the old flange and replacing it — this is a significant plumbing job involving the drain pipe and possible access from below. Requires a plumber unless you have plumbing experience. (4) Cost consideration: a repair ring or extension kit is a $10–$15 DIY fix. Full flange replacement is $200–$400 professionally.
Fix a rocking toilet: (1) Tighten the floor bolts first — remove the plastic caps at the toilet base, find the nuts, and snug them gently. Never overtighten; porcelain cracks.
Never caulk all the way around the toilet base — a gap at the back lets a wax ring failure escape visibly rather than rotting the subfloor.
What you need
- Adjustable wrench
- Plastic toilet shims ($3–$8 per pack)
- Utility knife
- Silicone caulk (for base seal after shimming)
Step 1: Tighten the floor bolts
Pry off the base caps. Hand-tighten the nuts, then snug gently with a wrench. Stop at firm resistance — never torque a porcelain toilet.
Step 2: Shim if the toilet still rocks
Slide plastic shims under the low side until stable. Score and snap flush with a utility knife.
Step 3: Caulk the base (leave a gap at back)
Seal around the base perimeter except the rear 2 inches — this lets a wax ring leak be visible rather than hidden.
Step 4: Watch for wax ring symptoms
If water appears at the base after flushing, or you smell sewer gas: replace the wax ring.
Related guides
- How to Replace a Toilet Wax Ring — full wax ring replacement when the seal has failed
- How to Fix a Leaky Toilet Base — diagnosing base leaks vs. tank condensation
- How to Install a Toilet — full toilet installation when replacement is needed
- Tighten the floor bolts
Pry off the plastic caps at the toilet base. Tighten the nuts clockwise with an adjustable wrench — gradual, gentle pressure only. Stop at firm resistance. Never overtighten; porcelain cracks under excessive torque.
- Shim if the toilet still rocks
Identify the low side by pressing each corner — the opposite side will lift. Slide plastic toilet shims under the low side until the toilet is stable. Tap gently until snug. Score the excess shim with a utility knife at the toilet base edge and snap off flush.
- Caulk the base leaving a gap at the rear
Apply silicone caulk around the base perimeter except the rear 2 inches. The unsealed gap at the back allows any future wax ring leak to escape visibly — a critical warning sign. Without the gap, leaked water routes under the floor and causes hidden rot.
- Watch for wax ring symptoms
If water appears at the toilet base after flushing, or you detect a persistent sewer gas smell: the wax ring has failed and must be replaced. A toilet that has rocked for months has likely already compromised the wax seal.
Free: 10-Point Home Maintenance Checklist
Prevent costly repairs with this seasonal checklist. Save hundreds every year by catching problems early.
Your checklist is ready!
Open Checklist →Something went wrong. View the checklist here.