How to Fix a Leaky Toilet Base: Wax Ring Replacement (2026)
Water around the base of a toilet is almost always a failed wax ring. This guide covers confirming the source of the leak, removing the toilet, replacing the wax ring, and reinstalling correctly.
Water at the toilet base during or after flushing: the wax ring that seals the toilet horn to the floor flange has failed. This requires removing the toilet, scraping off the old wax, and installing a new wax ring — a 2–3 hour project. Water around the base that is NOT connected to flushing (present all the time or getting worse in humid weather): condensation on the tank or supply line, not a wax ring issue. Dry the tank exterior and check condensation before doing the wax ring job.
Frequently Asked Questions
How do I confirm it is the wax ring and not condensation?
Condensation collects on the outside of the toilet tank in humid weather — the cold water inside the tank chills the porcelain and moisture condenses, then drips to the floor. It looks like a leak but is not one. Test: dry the floor completely and lay paper towels around the base. Don't use the toilet for 30 minutes. If paper stays dry: condensation is not the issue. Flush the toilet and watch immediately — if water appears at the base within seconds of flushing: wax ring failure confirmed.
Is a leaking wax ring dangerous?
Yes, over time. The immediate issue is floor damage: wax ring leaks let contaminated drain water seep under the floor — into the subfloor and floor framing — causing rot. Even a slow seep destroys wood subfloor over months. Additionally, sewer gas can enter the bathroom if the wax seal is broken. Fix a confirmed wax ring leak promptly. If the toilet has been rocking (moving side to side) or the floor around the toilet feels soft: the subfloor damage is already present and needs assessment along with the wax ring replacement.
What type of wax ring should I buy?
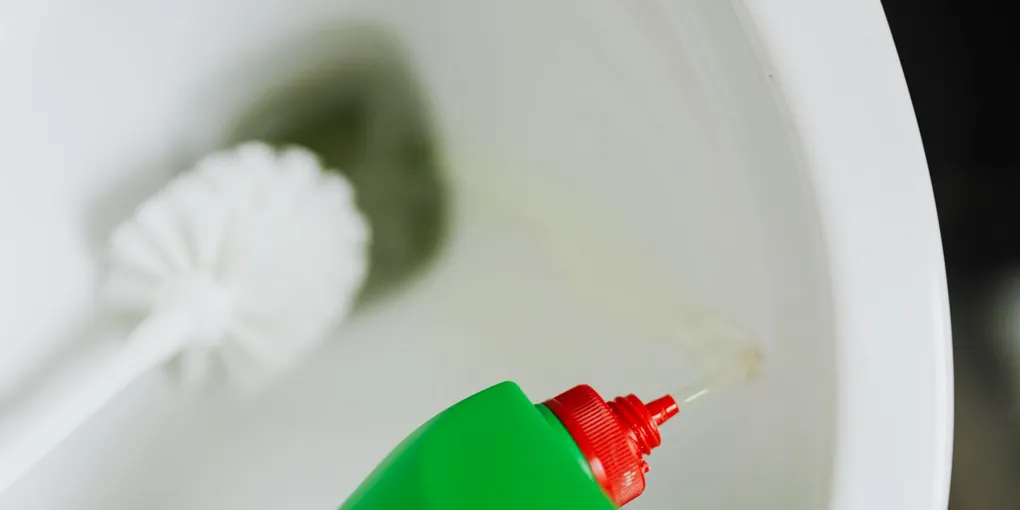
Standard wax rings fit most toilets and floor flanges. Options: plain wax ring ($5–$10) for a flange that sits flush with the finished floor. Wax ring with horn extension (a plastic collar inside the wax) — use this when the flange is below the finished floor level, as the extension bridges the gap. Jumbo or extra-thick wax rings — for flanges more than 1/4 inch below the floor. When in doubt: buy a wax ring with a horn extension — it works fine even when not strictly needed.
The toilet bolts are rusted and won't unscrew. What do I do?
Corroded toilet bolts (the T-bolts that secure the toilet to the floor flange) are extremely common. Use a hacksaw or oscillating multi-tool to cut the bolt below the nut. Hold the nut with a wrench to prevent the bolt from spinning while you cut. Once the toilet is off, pry the old T-bolts out of the flange slots and replace with new bolts (sold in kits with nuts and washers). Always install new T-bolts when replacing the wax ring — they're $3 and corrosion makes reuse unreliable.
After reinstalling the toilet, how tight should I tighten the nuts?
Snug the nuts alternating side to side (tighten left a little, then right a little, alternating) until the toilet feels stable and doesn't rock. Stop before you tighten with force — overtightening cracks the porcelain at the base. The toilet should not rock at all when you sit on it. If it still rocks slightly after tightening: slip plastic toilet shims under the base on the low side, trim the excess, and caulk around the base.
Water at the toilet base during or after flushing: the wax ring that seals the toilet horn to the floor flange has failed. This requires removing the toilet, scraping off the old wax, and installing a new wax ring — a 2–3 hour project.
Wax ring replacement is the most common toilet floor repair.
What you need
- Wax ring with horn extension
- Toilet bolt kit (T-bolts, nuts, washers)
- Adjustable pliers or small wrench
- Hacksaw or oscillating tool (for corroded bolts)
- Putty knife (to scrape old wax)
- Bucket and sponge
- Old newspapers or cardboard (to set toilet on)
- Gloves
- Toilet shims (if floor is not level)
Step 1: Disconnect the water supply
Shut off the valve behind the toilet. Flush to empty the tank. Use a sponge to remove remaining water from the tank and bowl.
Disconnect the supply line from the bottom of the tank.
Step 2: Remove the toilet
Remove the plastic caps at the base of the toilet, then unscrew or cut off the T-bolt nuts. Rock the toilet gently side to side to break the wax seal and lift straight up. Set the toilet on its side on cardboard.
Stuff a rag into the drain hole to block sewer gas.
Step 3: Inspect the flange
Scrape the old wax from the flange and the toilet horn. Inspect the floor flange: it should be solid, not cracked or broken, and at or just above floor level. If the flange is broken: repair or replace it before proceeding (flange repair rings are available for $10–$20 and can reinforce a cracked flange).
Install new T-bolts in the flange slots — slide them into position so they point straight up.
Step 4: Install new wax ring
Press the new wax ring onto the toilet horn (the round outlet at the bottom of the toilet) with the wax side facing down. Center the ring on the horn.
Alternatively: press the wax ring onto the floor flange with the wax side up. Either works.
Step 5: Set the toilet
Remove the rag from the drain hole. Lower the toilet straight down, aligning the base holes over the T-bolts. Press down firmly and evenly — this compresses the wax ring. Do not lift and re-set once the toilet touches the wax — repositioning breaks the seal.
Sit on the toilet briefly while you work — your weight helps seat the wax.
Step 6: Secure and test
Install washers and nuts on the T-bolts. Alternate tightening side to side until the toilet is solid and doesn’t rock. Snug — not forceful.
Reconnect the supply line and turn on the water. Flush several times. Inspect around the base immediately after each flush for any water.
Caulk around the base if desired (leave a small gap at the back to let any future leak be visible, not hidden).
Related guides
- How to Install a Toilet — full toilet replacement
- How to Fix a Running Toilet — tank repairs while the toilet is accessible
- How to Fix a Clogged Toilet — clear the clog before reinstalling
- Confirm the wax ring is the source
Dry the floor around the toilet base and flush several times. If water appears at the base only after flushing (not after mopping or during humid weather), the wax ring seal has failed. If water appears constantly or runs down from higher on the toilet, check the supply line connection and tank bolts first — those are simpler fixes. A foul odor at the base without visible water also indicates wax ring failure.
- Disconnect and empty the toilet
Shut off the water supply valve behind the toilet (clockwise to close). Flush to empty the tank, then sponge and bail the remaining water from the tank and bowl. Disconnect the supply line at the bottom of the tank. Place towels around the base to catch residual water in the drain.
- Remove the toilet
Pry off the plastic caps at the base to expose the closet bolts. Remove the nuts with an adjustable wrench. Rock the toilet gently side to side to break the wax seal, then lift straight up and set the toilet on its side on a drop cloth. Scrape the old wax ring residue from both the toilet horn (bottom of the toilet) and the floor flange using a putty knife. Clean the flange surface thoroughly — the new wax ring must seat against clean surfaces.
- Install the new wax ring and set the toilet
Inspect the floor flange — if it is cracked or sits below the floor surface, repair it before proceeding. Press the new wax ring onto the toilet horn (not the flange) with the wax side facing away from the toilet. Check that the closet bolts in the flange are upright and in position. Lower the toilet straight down, aligning the bolt holes with the bolts. Press down firmly and evenly — sit on the toilet and press down to fully seat the wax. Do not lift the toilet once the wax has contacted the flange.
- Secure and test
Thread the washers and nuts onto the closet bolts and tighten alternately, a little at a time, to draw the toilet down evenly. Stop when the toilet no longer rocks — do not overtighten, which cracks the porcelain base. Cut the bolts above the nuts if they are too long, then replace the plastic caps. Reconnect the supply line. Turn on the water and flush 5–6 times while watching the base for any moisture.
Free: 10-Point Home Maintenance Checklist
Prevent costly repairs with this seasonal checklist. Save hundreds every year by catching problems early.
Your checklist is ready!
Open Checklist →Something went wrong. View the checklist here.