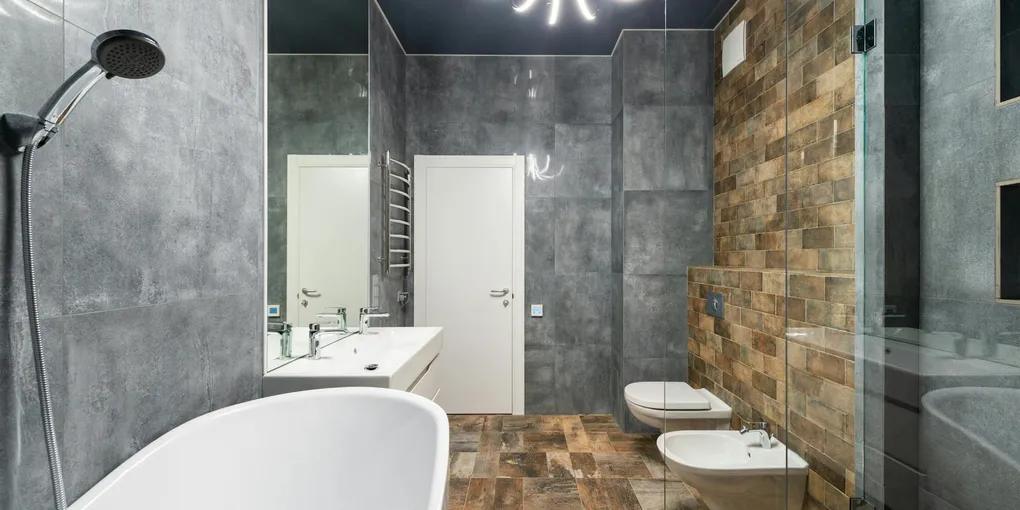
How to Fix a Peeling Bathroom Ceiling: Moisture, Mold Primer, and Mold-Resistant Paint
Bathroom ceiling paint peels when moisture has nowhere to go. This guide covers finding the moisture source, proper scraping, mold primer application, mold-resistant paint, and fixing a failing exhaust fan.
Fix a peeling bathroom ceiling by scraping all loose paint, priming with a stain-blocking primer (Zinsser BIN or Kilz Original), and repainting with bathroom-specific ceiling paint. Total materials cost: $30–$80. Never paint over peeling paint — it will peel again within a year. Root cause is almost always inadequate ventilation: if the bathroom fan doesn’t clear steam in 10–15 minutes, upgrade it first or the ceiling will peel again within a season.
Peeling paint on a bathroom ceiling is one of the most common cosmetic complaints in the house — and one of the most commonly mis-repaired. Painting over peeling paint without addressing the moisture source produces another round of peeling within a year. Do it right once: find the moisture source, scrape thoroughly, kill any mold, prime correctly, and use the right paint. The ceiling will stay intact for years.
This guide covers the complete process from diagnosis to final coat.
What You Need
- Mold-killing primer — Zinsser or Kilz, applied before finish paint
- Mildew-resistant bathroom ceiling paint — satin or semi-gloss, not flat
- Paint scraper — flexible blade for peeled areas
- Ceiling drywall repair compound — for skim-coating bare spots
- Bathroom exhaust fan replacement — if the existing fan is undersized or failing
- Painters tape and drop cloth — protect fixtures and floor during painting
Step 1: Find the Moisture Source
Before you touch a scraper, identify why the ceiling got wet in the first place. Repainting without solving the moisture problem is a guaranteed repeat repair.
Check the exhaust fan. Turn on the fan and hold a sheet of toilet paper next to the grille. If the paper isn’t pulled firmly to the grille, the fan isn’t moving enough air. A fan that runs but doesn’t exhaust adequately is the most common cause of chronic bathroom ceiling moisture. Also look inside the grille — thick dust buildup on the grille restricts airflow dramatically and cleaning it can restore performance.
Check where the duct goes. In homes where the exhaust fan duct was routed into the attic rather than through the roof or a soffit vent, all that humid air dumps into the attic — which can condense and drip back through the ceiling. An attic inspection will reveal this: look for a flex duct that terminates inside the attic insulation rather than connecting to a roof cap or wall vent.
Check for a roof or plumbing leak. If the peeling is concentrated in one spot — particularly at a corner or along a seam — probe the area with your finger. Drywall that has been repeatedly wetted by a leak feels soft or spongy, not just paint-damaged. A leaking plumbing stack, a compromised roof vent boot, or a failed attic vapor barrier can all produce ceiling water damage. These need to be repaired before any cosmetic work begins.
Check for an upstairs bathroom. In two-story homes, a consistently wet spot on a first-floor bathroom ceiling often traces to a wax ring failure or a supply line drip from the bathroom above. Check the floor of the upstairs bathroom for soft spots near the toilet.
Once you have confirmed the moisture source and addressed it (or confirmed it is purely a ventilation issue with no structural leak), proceed to the cosmetic repair.
Step 2: Scrape All Loose Paint
This is the most important and most skipped step. Every square inch of paint that is not firmly bonded to the ceiling must come off before you repaint.
Work the entire ceiling systematically. Use a flexible paint scraper held at a low angle and push it firmly across the surface. Paint that is well-adhered will resist the scraper; loose or bubbled paint will come off in sheets and flakes. Don’t stop at the obviously peeled areas — probe the entire ceiling, because paint that looks intact may be undermined.
Work in good light. Use a bright work light held at a low angle to the ceiling so the shadows reveal any bubbled or lifting areas that aren’t obvious from directly below.
Wear safety glasses and a dust mask during scraping. Older homes may have lead paint — if the home was built before 1978 and has never been repainted with modern latex, test for lead before scraping (lead test swabs are available at hardware stores for under $15).
After scraping, sand the edges where old paint meets bare substrate with 80-grit sandpaper to feather them smooth and remove any sharp edges that would telegraph through new paint.
Step 3: Assess and Repair the Substrate
After scraping, you will find one of three conditions:
Old paint on plaster or drywall with no damage: The substrate is intact, just stripped of paint. Proceed directly to priming.
Bare drywall paper with minor surface damage: The scraping or moisture has slightly lifted the paper face. Apply a thin skim coat of lightweight joint compound over these areas. Feather it smooth with a 6- or 8-inch drywall knife, let dry completely (typically 24 hours), sand lightly with 120-grit, and wipe with a damp cloth to remove dust.
Soft, crumbling, or stained drywall: Moisture has compromised the gypsum core. This section needs to be cut out and replaced. Cut back to the nearest joist on each side of the damaged area, patch with new drywall, tape and mud the joints, and skim coat flush. This adds a day to the project but it is the only correct repair — painting over soft drywall produces a surface that continues to degrade.
If you find mold staining on the drywall face after scraping — gray, black, or greenish spots — do not sand it. Sanding mold releases spores into the air. Spray the area with a mold-killing solution (diluted bleach or a commercial mold remover), let it dwell for 10 minutes, and wipe away. Allow the surface to dry fully before priming.
Step 4: Apply Mold-Killing Primer
Apply mold-killing primer to the entire ceiling — not just the repaired sections. Using spot primer only means the rest of the ceiling is still vulnerable.
Stir the primer thoroughly before use. Apply with a 3/8-inch nap roller for the field and a 2.5-inch angled brush to cut in at the walls. Work in sections and maintain a wet edge to avoid lap marks.
For ceilings with any visible mold staining, use two coats of mold primer. The first coat may not fully block dark staining; the second coat typically covers it. Allow each coat to dry per the product label — usually one to two hours at room temperature.
For the worst staining, consider a shellac-based stain-blocking primer (Zinsser BIN is the standard option). Shellac primer seals virtually any stain and provides an excellent base for topcoats. It is more odorous than water-based primers — ventilate the bathroom thoroughly and wear a respirator.
Step 5: Apply Mold-Resistant Ceiling Paint
Use a paint specifically formulated for bathroom environments. Look for these descriptors on the label: “kitchen and bath,” “bathroom formula,” “moisture resistant,” “mildew resistant,” or “antimicrobial.” These paints contain mildewcides that inhibit mold growth and typically have a satin or semi-gloss finish.
Do not use flat interior ceiling paint in a bathroom. Flat paint absorbs moisture, provides no washability, and will not last.
Apply two coats. Cut in at the walls first with a brush, then roll the field. Use a 3/8-inch nap roller for smooth or lightly textured ceilings. Allow the first coat to dry completely per the product instructions — rushing the second coat over a wet first coat traps moisture and causes the new paint to sag or peel.
Between coats, inspect the ceiling under good light for any areas where the paint has pulled away or dried with obvious texture differences. Sand these lightly with 150-grit and wipe clean before applying the second coat.
Step 6: Fix the Exhaust Fan
If the toilet paper test earlier showed inadequate fan performance, address it now so the new ceiling paint has a fighting chance.
Cleaning the fan: Remove the grille cover (usually two spring clips or screws) and wash it in warm soapy water. Inside the fan housing, use a soft brush or compressed air to clear dust from the fan blades and motor. Reinstall and re-test. A clogged fan that is cleaned often recovers to adequate performance.
Replacing the fan: If cleaning doesn’t help, or if the fan is more than 10 years old and runs loudly, replacement is worth it. Modern bathroom exhaust fans are dramatically quieter than older units. Size the replacement fan at minimum 1 CFM per square foot of bathroom floor area — a 5x8 bathroom needs at least 40 CFM. Many modern fans include a humidity sensor that runs the fan automatically after the shower ends, preventing the moisture buildup that caused the peeling in the first place.
Fan replacement requires accessing the junction box wiring — basic electrical work that most DIYers can handle. Turn off the circuit at the breaker before disconnecting any wiring.
Related Reading
- How to Fix a Peeling Bathroom Wall
- How to Fix Bathroom Mold
- How to Clean Mold in a Shower — clean shower grout and caulk mold before moisture reaches the ceiling
- How to Fix a Broken Bathroom Exhaust Fan — repair a failed fan that lets moisture damage the ceiling paint
- How to Caulk a Bathtub
- Find the Moisture Source
Before you touch a scraper, identify why the ceiling got wet in the first place. Repainting without solving the moisture problem is a guaranteed repeat repair.
- Scrape All Loose Paint
This is the most important and most skipped step. Every square inch of paint that is not firmly bonded to the ceiling must come off before you repaint.
- Assess and Repair the Substrate
After scraping, you will find one of three conditions:
- Apply Mold-Killing Primer
Apply mold-killing primer to the entire ceiling — not just the repaired sections. Using spot primer only means the rest of the ceiling is still vulnerable.
- Apply Mold-Resistant Ceiling Paint
Use a paint specifically formulated for bathroom environments. Look for these descriptors on the label: "kitchen and bath," "bathroom formula," "moisture resistant," "mildew resistant," or "antimicrobial." These paints contain mildewcides t...
- Fix the Exhaust Fan
If the toilet paper test earlier showed inadequate fan performance, address it now so the new ceiling paint has a fighting chance.
Free: 10-Point Home Maintenance Checklist
Prevent costly repairs with this seasonal checklist. Save hundreds every year by catching problems early.
Your checklist is ready!
Open Checklist →Something went wrong. View the checklist here.