How to Fix a Loose Electrical Junction Box
Learn how to secure a loose or sagging electrical junction box in walls or ceilings safely and correctly to protect your wiring connections.
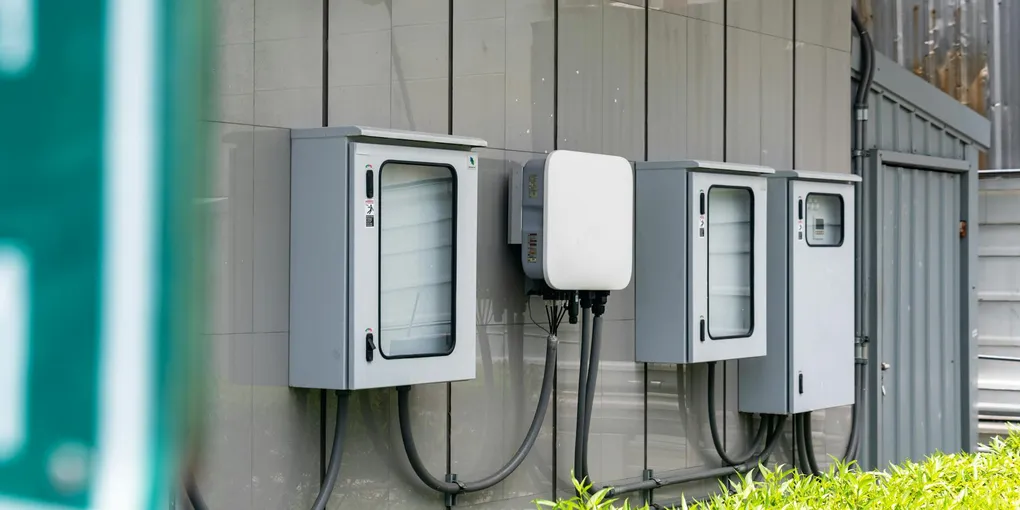
A loose electrical junction box is a code violation and a safety hazard that should not be ignored. Whether the box wiggles when you press a light switch, a ceiling box sags under a fixture, or a wall box has pulled away from the drywall, the fix is straightforward for most homeowners.
A loose electrical junction box is a code violation and a safety hazard that should not be ignored. Whether the box wiggles when you press a light switch, a ceiling box sags under a fixture, or a wall box has pulled away from the drywall, the fix is straightforward for most homeowners. This guide covers the most common causes and the best repair method for each situation.
Tools and Materials You Will Need
- Non-contact voltage tester
- Screwdrivers (Phillips and flathead)
- Needle-nose pliers
- Flashlight or headlamp
- Replacement remodel box (if needed)
- Adjustable brace bar for ceiling boxes (like a Westinghouse Adjustable Hanger Bar)
- Drywall anchors or toggle bolts
- Wire connectors (wire nuts)
Step 1: Turn Off the Power and Verify
Before touching anything, go to your electrical panel and switch off the breaker for the circuit.
- Flip the breaker to the off position.
- Return to the junction box and hold a non-contact voltage tester near the wires inside the box. The tester should show no voltage.
- If the tester indicates voltage, return to the panel and try additional breakers until the correct one is found.
- Tape the breaker in the off position with a strip of tape and a note so no one turns it back on while you work.
Never skip voltage testing. Breaker labels are sometimes incorrect.
Step 2: Remove the Cover Plate and Inspect
- Remove the cover plate, device (outlet, switch), or fixture to expose the junction box and wiring.
- Examine the box mounting. Look for:
- Broken plastic wings or ears (remodel box)
- Stripped mounting screws
- Crumbling drywall around the cutout
- A loose nail or screw connecting the box to a stud
- Pull the box gently toward you to gauge how much movement there is.
The repair method depends on what you find.
Step 3A: Repair a Loose Remodel Box With Broken Wings
If the plastic wings that clamp the drywall are cracked or broken, the box needs to be replaced.
- Disconnect all wiring from the device or splice.
- Unscrew the clamping mechanism and remove the damaged box from the wall.
- Thread the wires through the knockouts in a new same-size remodel box.
- Push the box into the opening until the flange is flush with the wall surface.
- Tighten the mounting screws — the wings will fold out behind the drywall and clamp it.
- Test by tugging: the box should feel solid with no movement.
Step 3B: Repair a Loose Remodel Box With Damaged Drywall
If the hole around the box is too large or crumbling, the wings have nothing solid to grip.
- Cut a piece of scrap drywall slightly larger than the opening.
- Screw it to the existing wall as a backer patch, creating a solid new surface.
- Cut the correct-sized hole in the patch.
- Install a new remodel box through the patched opening.
Alternatively, if a stud is within 12 inches of the existing opening, cut the opening to the stud, install a structural bracket, and mount the box directly to the bracket.
Step 3C: Repair a Loose Box Mounted to a Stud or Joist
If the box is nailed or screwed to framing and has come loose:
- Attempt to tighten the existing fasteners with a screwdriver or drill.
- If the screw holes are stripped, drive new 1-5/8 inch drywall screws at a slight angle into fresh wood next to the old holes.
- For a ceiling box, consider adding a second fastener on the opposite side of the box.
Step 3D: Repair a Loose Ceiling Box Supporting a Fixture
A ceiling box that supports any light fixture or ceiling fan must be rated for that weight and mounted securely. This is not just a code issue — a falling fixture is a serious injury risk.
- Turn off the power and remove the fixture.
- Assess whether the existing box is rated for a fixture (it will be stamped “Suitable for Fan Support” or show a weight rating).
- If the box is not rated or has failed, install an adjustable brace bar:
- Insert the brace bar through the ceiling hole.
- Expand it by rotating until both ends contact the joists on either side.
- Tighten the center collar per the manufacturer instructions.
- Mount the fixture-rated box to the bar center bracket.
- Reinstall the fixture using the new box.
Adjustable brace bars support fixtures up to 70 lbs without ceiling access and are the recommended fix when joists are not accessible.
Step 4: Reconnect the Wiring
- Before reconnecting, inspect all wire connections inside the box. Look for loose wire nuts, bare copper showing outside a connector, or discolored insulation that may indicate overheating.
- Replace any damaged connectors with new push-in wire connectors or wire nuts of the correct size.
- Reconnect all wires in the same configuration as before.
- Fold the wires neatly into the box, being careful not to pinch any insulation.
Step 5: Install the Cover Plate and Test
- Reinstall the device (outlet or switch) or light fixture.
- Install the cover plate.
- Go to the panel and restore power.
- Test the circuit to confirm it operates normally.
- Give the box a firm tug — it should feel as solid as the surrounding wall.
Safety Notes
- All junction boxes must remain accessible with a cover plate. Never seal a box inside finished drywall.
- If you find aluminum wiring (silver-colored rather than copper-colored) inside the box, consult a licensed electrician before proceeding. Aluminum wiring requires specific connectors and devices.
- If the wires inside the box are burned, brittle, or heavily corroded, stop work and call a licensed electrician.
Estimated Cost
| Task | DIY Cost |
|---|---|
| Replacement remodel box | $3–$8 |
| Adjustable ceiling brace bar | $12–$25 |
| Wire connectors (pack) | $5–$10 |
| Electrician (if hiring out) | $100–$250 per hour |
Related guides
- How to Add an Electrical Outlet — run a new outlet from an existing junction box
- How to Replace an Electrical Outlet — replace the device once the box is secured
- Electrician Cost — when to call a pro vs. DIY
Most junction box repairs take 30 to 60 minutes and cost under $30 in parts, making this one of the highest-value electrical fixes a homeowner can do themselves.
- Turn Off the Power and Verify
Before touching anything, go to your electrical panel and switch off the breaker for the circuit.
- Remove the Cover Plate and Inspect
Remove the cover plate, device (outlet, switch), or fixture to expose the junction box and wiring.
- Step 3A: Repair a Loose Remodel Box With Broken Wings
If the plastic wings that clamp the drywall are cracked or broken, the box needs to be replaced.
- Step 3B: Repair a Loose Remodel Box With Damaged Drywall
If the hole around the box is too large or crumbling, the wings have nothing solid to grip.
- Step 3C: Repair a Loose Box Mounted to a Stud or Joist
If the box is nailed or screwed to framing and has come loose:
- Step 3D: Repair a Loose Ceiling Box Supporting a Fixture
A ceiling box that supports any light fixture or ceiling fan must be rated for that weight and mounted securely. This is not just a code issue — a falling fixture is a serious injury risk.
Free: 10-Point Home Maintenance Checklist
Prevent costly repairs with this seasonal checklist. Save hundreds every year by catching problems early.
Your checklist is ready!
Open Checklist →Something went wrong. View the checklist here.