How to Fix a Loose Cabinet Knob or Pull
Learn how to tighten, repair, and replace loose cabinet knobs and drawer pulls so they stay secure and look great.
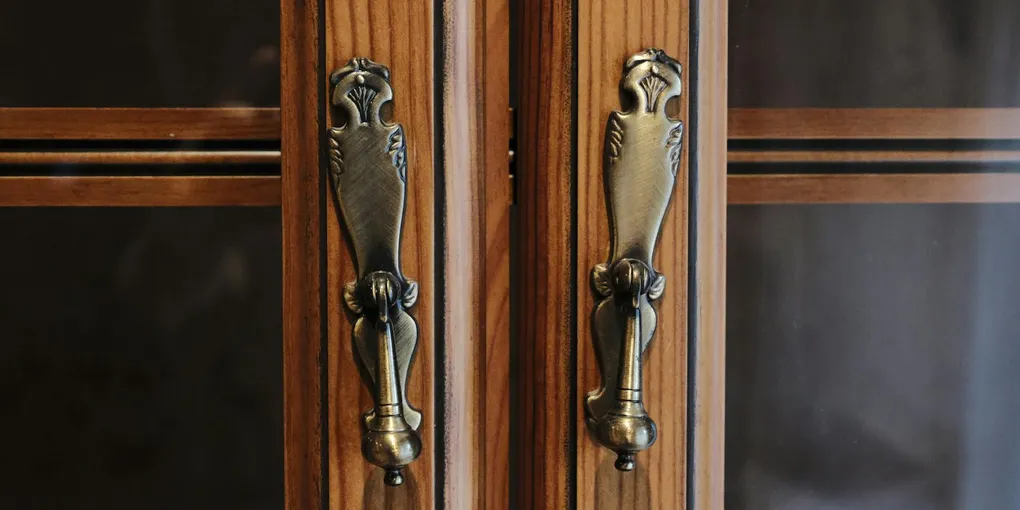
A wobbly cabinet knob or drawer pull is one of the most minor annoyances in a kitchen or bathroom, but it is also one of the easiest fixes.
A wobbly cabinet knob or drawer pull is one of the most minor annoyances in a kitchen or bathroom, but it is also one of the easiest fixes. Whether the screw has simply backed out, the hole has stripped, or you want to replace outdated hardware with something new, this guide covers every scenario in a few straightforward steps.
What You Need
- Screwdriver — flathead and Phillips
- Thread-locking compound — medium strength — the most reliable way to prevent screws from backing out
- Replacement cabinet knobs or pulls — if upgrading hardware
- T-nuts or barrel nuts (for stripped holes in thin panels)
- Wood toothpicks and wood glue (for moderate stripped holes)
- Cabinet hardware installation template/jig (for new hole locations)
Step 1: Diagnose the Looseness
Open the door or drawer and look at the back side while wiggling the hardware. You will find one of three situations:
The screw has backed out partially. The screw is still in place but has loosened. This is the most common scenario — the fix is simply tightening the screw, with optional thread-locker applied.
The screw hole is stripped. The screw turns freely without biting. The threads have been pulled out of the door or drawer material (common in MDF and particleboard). The fix requires rebuilding the hole before the screw will hold.
The hardware itself is damaged. The threaded insert inside the knob or pull has stripped, or the knob shank has broken. The fix is hardware replacement.
Step 2: Tighten a Loose Screw
If the screw simply needs tightening, access the back of the door or drawer face. Hold the knob or pull still with one hand (or have a helper hold it from the front) and tighten the screw clockwise with a screwdriver from the back.
Tighten firmly — snug but not over-tightened. Over-tightening a machine screw into wood or MDF crushes the material and accelerates stripping. If the screw reaches “snug” and then immediately starts spinning again, the hole is stripped — go to Step 3.
For a screw that tightens but keeps coming back loose after a few weeks of use, apply a small drop of thread-locking compound (Loctite Blue or equivalent) to the screw threads before tightening. Let it cure for 30 minutes before using the door or drawer. This prevents the screw from backing out without making removal difficult when you need it.
Step 3: Repair a Stripped Screw Hole
If the screw spins freely with no grip, the hole needs repair before the hardware will stay put.
Method 1 — Toothpick and glue (best for solid wood and plywood doors). Remove the hardware and screw completely. Apply wood glue to two or three toothpicks and insert them into the stripped hole, packing them in. Break the toothpicks off flush with the door surface. Allow the glue to cure for at least 4 hours. Once cured, drive the original screw back into the same hole — the toothpick material gives the screw threads fresh wood to grip.
Method 2 — T-nut insert (best for MDF, particleboard, or thin panels). A T-nut is a pronged metal nut that inserts through the hole from the back of the door. The four prongs press into the wood surface to hold the nut in place, and the barrel provides a solid threaded hole for the machine screw. T-nuts resist pull-out better than wood threads in soft panel materials. Drill the hole to the T-nut’s specified diameter, insert from the back, press the prongs in firmly with a clamp or by tapping with a hammer, and drive the hardware screw in from the front.
Method 3 — Drill and dowel. For badly damaged holes, drill the hole out to 1/4-inch diameter, cut a 1/4-inch wooden dowel to the depth of the panel, apply wood glue, insert the dowel, and let it cure overnight. Once fully cured, drill a fresh pilot hole through the center of the dowel and install the screw.
Step 4: Replace Damaged Hardware
If the hardware itself is cracked, the threaded barrel is stripped out, or you simply want to upgrade to a new style, replacement is straightforward at the same hole location.
Same hole spacing. Take one pull off and measure the center-to-center distance between the two holes (for pulls) or confirm the single hole position (for knobs). Bring this measurement when buying replacements — 3 inches (76mm) is the most common pull spacing, but 3-3/4, 4, and 5-inch spacings are all common.
New hardware at the same holes. If the new hardware uses the same hole location, it is a direct swap — remove the old screw, position the new hardware, and drive the new screw. Apply thread-locker for best long-term hold.
New hardware at different hole locations. Fill the old holes (toothpick method or a wood filler), let them cure and dry, sand flush, and touch up the finish. Use a cabinet hardware installation jig to mark the new holes accurately — these jigs position holes at a consistent height and distance from the door or drawer edge, which makes the finished result look intentional and professional. Drill pilot holes for the new hardware and install.
Step 5: Installing Hardware on Multiple Doors Consistently
If you are replacing hardware on an entire kitchen, consistency across all doors and drawers is what makes the result look professional versus DIY. Use a hardware installation template and set it to the same position for every door — typically centered top-to-bottom on the top rail of the door, and offset from the edge by a consistent amount (1-1/4 to 1-1/2 inches is the most common placement).
Mark all door positions before drilling any. Lay all the doors or open all the drawers and mark with the template, then drill all the holes in a single pass. This ensures consistent hardware placement across the whole kitchen.
Related Reading
- How to Fix a Sagging Cabinet Door
- How to Paint Kitchen Cabinets
- How to Fix a Broken Cabinet Shelf Pin
- Diagnose the Looseness
Open the door or drawer and look at the back side while wiggling the hardware. You will find one of three situations:
- Tighten a Loose Screw
If the screw simply needs tightening, access the back of the door or drawer face. Hold the knob or pull still with one hand (or have a helper hold it from the front) and tighten the screw clockwise with a screwdriver from the back.
- Repair a Stripped Screw Hole
If the screw spins freely with no grip, the hole needs repair before the hardware will stay put.
- Replace Damaged Hardware
If the hardware itself is cracked, the threaded barrel is stripped out, or you simply want to upgrade to a new style, replacement is straightforward at the same hole location.
- Installing Hardware on Multiple Doors Consistently
If you are replacing hardware on an entire kitchen, consistency across all doors and drawers is what makes the result look professional versus DIY.
Free: 10-Point Home Maintenance Checklist
Prevent costly repairs with this seasonal checklist. Save hundreds every year by catching problems early.
Your checklist is ready!
Open Checklist →Something went wrong. View the checklist here.