How to Fix a Leaking Skylight: Flashing, Sealant, and Condensation Diagnosis (2026)
A leaking skylight is usually a flashing failure, not a cracked lens — the seal where the skylight curb meets the roof is the most common failure point. This guide covers distinguishing condensation from water intrusion, resealing the skylight flashing, and knowing when to replace.
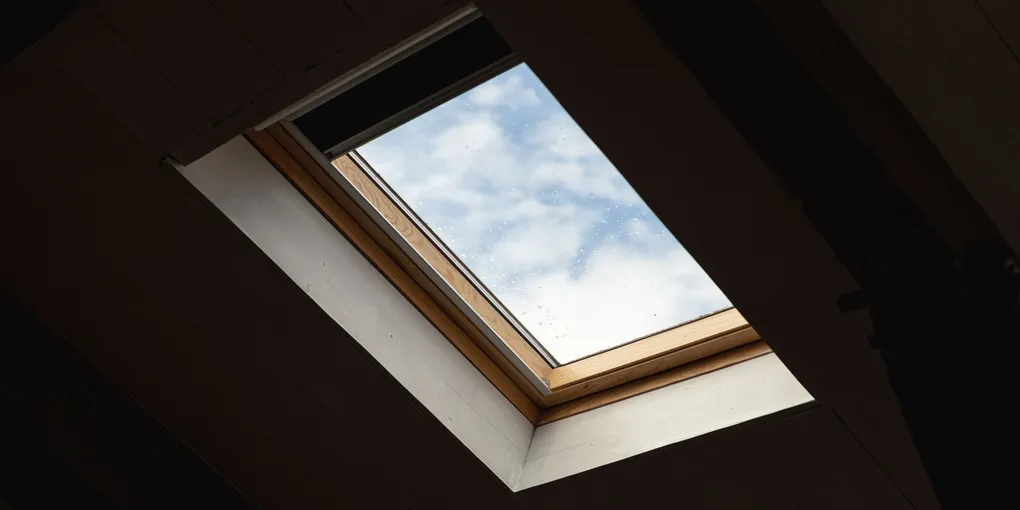
Leaking skylight diagnosis: (1) Check for condensation first — water dripping from a skylight in cold weather is often interior condensation on the cold glass surface, not a roof leak. Wipe the frame dry and mark the spot. If it reappears in humid conditions (shower steam, cold night): condensation. If it reappears after rain: leak. (2) Roof leak: the flashing around the skylight curb is the primary failure point — the metal step flashing woven into the shingles at the sides, and the counterflashing at the curb face. Reseal open flashing joints with roofing sealant (Geocel Pro Flex, Lexel). (3) Failed dome or glass seal: small hairline cracks or a failed perimeter sealant on the skylight lens require either lens resealing or skylight replacement.
Frequently Asked Questions
How do I tell if my skylight is leaking or just condensing?
Condensation vs. water intrusion diagnosis: (1) Condensation occurs when warm interior air contacts the cold skylight frame or glass and deposits moisture. It appears on the interior surface of the glass or on the frame, not from above. Condensation drips occur at the lowest point of the frame (corners and bottom edge) and are worst on cold nights and after showering. (2) Water intrusion from a roof leak comes from above — the water travels under the flashing and appears at the top edge of the frame or at the sides. It occurs after and during rain events, not in dry cold weather. (3) Test: dry the skylight frame completely on a dry day. Run a hose on the roof above the skylight for 5 minutes while a helper watches the interior. If water appears inside during the hose test: roof leak confirmed. If no water during the hose test but water appears on cold mornings: condensation.
How do I reseal the flashing around a skylight?
Skylight flashing reseal: (1) Access the roof and inspect the flashing around all four sides of the skylight curb. The curb is the raised wooden or metal frame the skylight dome or glass sits on. (2) Look for: gaps between the counterflashing (the apron at the skylight curb face) and the shingles; lifted step flashing at the skylight sides; open joints between the counterflashing and the curb face; missing or cracked lap sealant at step flashing overlaps. (3) Wire-brush all joints to remove debris and old sealant. (4) Apply flexible roofing sealant (Geocel Pro Flex, Loctite PL Roofing) to all gaps — force the sealant into any open joint between the flashing and the curb and between the flashing and the shingles. (5) For lifted step flashing: lift the shingle course above the step flashing, apply roofing sealant under the step flashing, press back down, and seal the exposed step edge. (6) Do not seal over the top of the curb-to-skylight lens joint — this seal is on the skylight itself and is handled separately.
What causes the seal between the skylight lens and the curb to fail?
Skylight lens seal failure: The perimeter seal between the skylight lens (glass or polycarbonate dome) and the curb or frame is typically a butyl tape or silicone bead that weathers over 10–20 years. Failure causes: (1) UV degradation — butyl tape becomes brittle and cracks after prolonged UV exposure, allowing water to enter between the lens and the frame. (2) Thermal cycling — the lens expands and contracts significantly between summer heat and winter cold. Over years, this movement fatigues the seal. (3) Hail impact — small impact cracks in a polycarbonate dome allow water entry but may not be visible from the interior. Inspect the dome surface closely in raking light from above. (4) Repair options: for a resealing-grade failure (loose seal but intact lens), the old sealant can be removed and replaced with a frame-compatible sealant (butyl tape or specified silicone). For a cracked dome or failed double-pane lens: order a replacement dome or lens assembly from the skylight manufacturer using the model number and rough opening dimensions.
How do I reduce condensation on my skylight?
Skylight condensation reduction: (1) Improve bathroom and kitchen ventilation — exhaust fans in bathrooms and over the stove reduce indoor humidity, the main driver of condensation on cold glass. Run the exhaust fan during and 20 minutes after showering. (2) Insulated skylight shafts — if the skylight shaft (the tunnel from the ceiling opening to the roof opening) is uninsulated, it creates a cold surface that promotes condensation on the shaft walls and runs down to the frame. Insulate the shaft with rigid foam board fastened to the shaft walls. (3) Upgrade to a low-e or triple-glazed skylight — warmer interior glass surface temperatures reduce condensation significantly. This is the only permanent solution for skylights in high-humidity climates. (4) Keep interior temperature from dropping dramatically at night — sharp temperature drops accelerate condensation formation on cold surfaces. (5) Ventilating skylights (operable skylights with an opening function) allow excess moisture to escape directly and are significantly less prone to condensation than fixed skylights.
Should I repair or replace a leaking skylight?
Skylight repair vs. replacement decision: (1) Repair (reseal flashing): if the skylight is less than 15–20 years old, the lens is intact, and the leak is at the flashing — reseal the flashing for $50–$100 in materials or $200–$400 professionally. This typically lasts 5+ years. (2) Replace the lens only: if the dome or glass has failed but the frame and curb are in good condition — order a replacement lens from the manufacturer for $100–$400, depending on size and glass specification. (3) Full skylight replacement: warranted when the skylight is over 20 years old, has a cracked curb, has failed flashing in multiple locations, or is an outdated curb-mounted style (curb-mounted skylights are more prone to leaking than modern deck-mounted designs). Full replacement costs $800–$2,500 installed. (4) Consider during re-roofing: skylights are most cost-effectively replaced when the roof is already being re-done — the labor is already there to remove and reset flashing, and the old skylight seal can be replaced at minimal additional cost.
Leaking skylight diagnosis: (1) Check for condensation first — water dripping from a skylight in cold weather is often interior condensation on the cold glass surface, not a roof leak. Wipe the frame dry and mark the spot.
Hose test first — most skylight drips in cold weather are condensation, not roof leaks.
What you need
- Flexible roofing sealant (Geocel Pro Flex or Lexel)
- Wire brush (for cleaning flashing joints)
- Caulk gun
- Roofing gloves and non-slip footwear
- Garden hose (for hose test from the ground)
Step 1: Confirm it is a leak, not condensation
Dry the skylight frame. Run a hose on the roof above for 5 minutes. Water inside = leak. No water, but drips on cold mornings = condensation.
Step 2: Inspect the flashing from the roof
Walk the roof and inspect all four sides of the skylight curb. Look for lifted step flashing, open counterflashing joints, and gaps at the curb face.
Step 3: Clean and reseal
Wire-brush all flashing joints. Force flexible roofing sealant into any gap between the counterflashing and the curb and between the step flashing and the shingles.
Step 4: Address condensation
Run bathroom exhaust fans during and after showers. Insulate the skylight shaft. Consider upgrading to a low-e glazed replacement at next re-roof.
Related guides
- How to Fix Chimney Flashing — same flashing sealing technique at chimney-roof junction
- How to Patch a Roof — roof deck leak repair
- How to Fix Water Damage on Ceiling — repairing the ceiling stain after fixing the leak
- Skylight Installation Cost — when repair isn’t enough: replacement pricing by skylight type
- Confirm leak vs condensation
On a dry day, use a garden hose to spray water at the skylight from the roof — have a helper watch inside. Spray the glass first, then the flashing, then the curb seam. If water appears inside only during roof spraying (not glass), the problem is flashing or caulk, not the skylight lens. If water appears on the inside glass surface on cold mornings without any rain, that is condensation — not a leak. Condensation means the interior humidity is too high or the skylight glass lacks adequate insulation value.
- Inspect the flashing from the roof
Safely access the roof and examine the skylight flashing — the metal that wraps around the curb where the skylight meets the roof. Look for: lifted or separated step flashing along the sides; cracked or missing caulk at the head (uphill) flashing seam; gaps between the counter-flashing and the skylight curb; cracked or missing sealant around fasteners. The uphill side (head flashing) is the most common failure point because water pools there before running under the flashing.
- Clean and reseal the flashing joints
Remove all old sealant from the flashing seams using a utility knife and plastic scraper — do not use metal tools that can scratch the flashing. Clean the joint with a rag and mineral spirits. Apply a continuous bead of roofing sealant (butyl-based or polyurethane, not silicone — silicone does not adhere to metal flashing reliably) along the joint where the flashing meets the skylight curb. Smooth with a wet finger. On the head flashing, also apply sealant under any lifted edges and press them flat.
- Address condensation sources
For condensation (not a leak): reduce interior humidity by running bath fans longer, improving attic ventilation, and confirming the skylight shaft is insulated. Install a vapor barrier if the shaft drywall is uninsulated. If the skylight is single-pane, condensation will continue until the unit is replaced with a double or triple-pane model. A dehumidifier in the room reduces interior moisture year-round.
Free: 10-Point Home Maintenance Checklist
Prevent costly repairs with this seasonal checklist. Save hundreds every year by catching problems early.
Your checklist is ready!
Open Checklist →Something went wrong. View the checklist here.