How to Fix a Leaking Roof Vent: Pipe Boot, Flashing, and Collar Repair
Fix a roof vent that is leaking — replacing a cracked or deteriorated pipe boot, resealing flashing, and installing a universal rubber collar over an old boot.
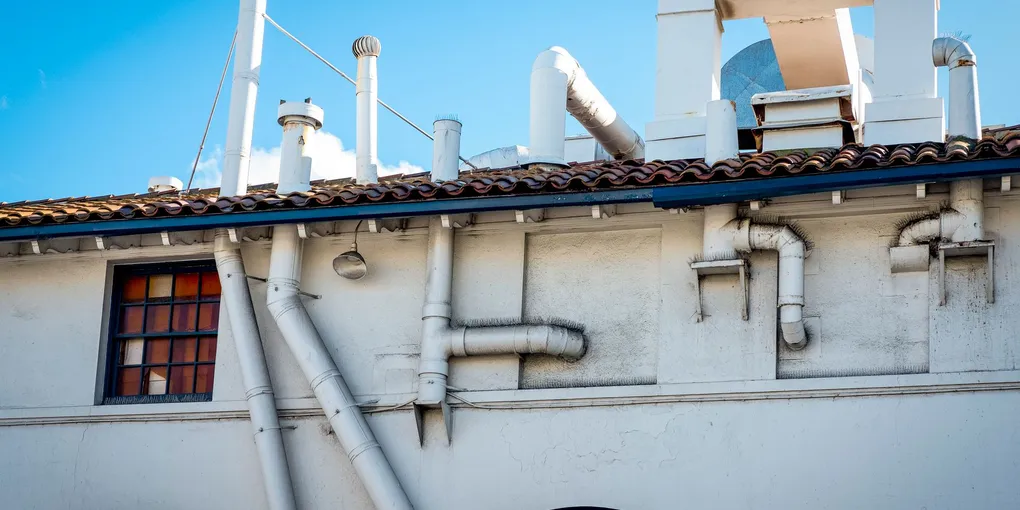
Vent pipe penetrations are the most common single-point leak source on a residential roof. There are only a handful of places where something passes through a roof — flues, skylights, attic fans, and plumbing vents — and each one is a potential failure point.
Vent pipe penetrations are the most common single-point leak source on a residential roof. There are only a handful of places where something passes through a roof — flues, skylights, attic fans, and plumbing vents — and each one is a potential failure point. Of these, plumbing vent boots fail most often because they rely on rubber that degrades over time from UV exposure.
The rubber sleeve that seals around the pipe shrinks and cracks as it ages. Once cracked, water channels down the gap between the rubber and the pipe, runs down the pipe into the attic, and eventually shows up as a stain on your ceiling — often several feet away from where the pipe actually exits the roof.
The repair is straightforward and has three options depending on how far gone the boot is.
How to Diagnose the Leak
Do not assume you have found the source until you have confirmed it. Water stains on ceilings can travel a significant distance along rafters and decking before dripping, so the stain location is rarely directly below the leak.
Attic inspection. The most reliable diagnosis is made from inside the attic. During or after rain, go into the attic with a flashlight and look at the underside of the roof deck around every vent pipe. Look for:
- Water stains (dark brown or gray discoloration) on the decking
- Wet or discolored insulation near a pipe
- Active water movement down the pipe itself
- Daylight visible around the base of the pipe (this indicates a major gap)
Mark the location of the leak with chalk or tape. Measure its position relative to the ridge and gable ends so you can find it from outside.
Exterior inspection. From the ground with binoculars, or safely from the roof, inspect each pipe boot. Visible problems include:
- Cracked rubber — look for radial cracks around the pipe opening where the rubber has shrunk
- Separated rubber — the sleeve has pulled away from the pipe, leaving a visible gap
- Missing sealant — the area around the base of the boot where it meets the shingles is dry or shows old, crumbled caulk
- Damaged flange — the metal base plate is lifted, corroded, or bent
A boot with any of these conditions needs attention. If the rubber is cracked or has pulled away from the pipe, replacement is the correct fix.
Tools and Materials
- Universal rubber pipe boot roof vent (size to match your pipe diameter — typically 1.5, 2, 3, or 4 inch)
- EternaBond roof repair tape
- Roofing tar sealant around vents
- Roof vent boot 3 inch 4 inch (size-specific replacement if not using universal)
- Rubber roof boot step flashing
- Geocel roofing sealant caulk
Additional tools: roofing nails, hammer or nail gun, pry bar, utility knife, wire brush, caulk gun, and fall protection equipment (harness and rope if on a steep pitch).
Safety first. Every year, falls from roofs cause serious injuries and deaths. If your roof pitch is greater than 6:12 (meaning for every 12 inches horizontal, the roof rises more than 6 inches), use a harness and roof anchor. If you are not comfortable on a roof, this is an appropriate job for a roofing contractor — boot replacement is inexpensive labor-wise.
Fix 1: Reseal with Geocel or EternaBond (Minor Leaks Only)
If the boot rubber is still structurally sound but the sealant around the base of the boot has failed or cracked, resealing without replacing the boot is a viable option.
When this is appropriate: The rubber is still soft and flexible, not cracked or shrunken. The boot is simply separating from the surrounding shingles at the edges.
When this is not appropriate: The rubber is cracked, split, or has pulled away from the pipe. Sealant applied over cracked rubber will not last.
Procedure:
- Remove all old sealant from around the base of the boot flange using a wire brush and putty knife. The surface must be clean and free of loose material for anything to adhere.
- Dry the area thoroughly. Sealant applied to wet surfaces fails quickly.
- Apply Geocel 2300 or a similar roofing-grade polyurethane sealant around the perimeter of the boot flange where it meets the shingles. Tool it into any gaps with a gloved finger.
- For the joint between the rubber sleeve and the pipe, apply EternaBond butyl tape around the circumference. EternaBond forms a true waterproof seal rather than just a surface coating.
- Allow to cure per the product instructions before rain.
This repair typically lasts two to five years and buys time before full boot replacement is needed.
Fix 2: Replace the Pipe Boot
This is the permanent fix for a cracked, shrunken, or separated boot.
Step 1: Expose the boot flange. The boot base flange (the flat plate that sits against the roof deck) is installed under the shingles on the uphill side and sides, and over the shingles on the downhill side. You need to lift the uphill shingles to remove and reinstall the flange correctly.
Use a pry bar or flat bar to gently lift the shingles overlapping the upper half of the boot flange. Work carefully to avoid cracking brittle shingles — on cold days, heat the shingles briefly with a heat gun to soften them before lifting. Remove the roofing nails holding the flange to the deck.
Step 2: Slide out the old boot. With the flange exposed, slide the old boot up and off the pipe. If the rubber has bonded to the pipe over many years, use a utility knife to carefully cut the old rubber free. Do not cut into the pipe.
Step 3: Prepare the surface. Inspect the roof decking under the old flange for rot or water damage. Soft or punky wood needs to be repaired before reinstalling a new boot. Use a wire brush to remove any old sealant or debris from the area.
Step 4: Slide on the new boot. Slide the new boot down over the pipe from above. Rubber boots have a tapered sleeve — purchase the correct size for your pipe diameter. Push the rubber sleeve down firmly until it compresses against the pipe and forms a tight seal. The rubber should feel firmly gripped around the pipe, not loose.
Step 5: Position the flange. Slide the base flange into position: the uphill half slides under the lifted shingles, and the downhill half rests over the existing shingles below the pipe. The pipe should exit through the center of the flange.
Step 6: Nail the flange. Drive roofing nails through the flange into the roof deck. Place nails in the upper half and sides of the flange. Do not nail through the downhill (lower) portion of the flange — nails there would be in the path of water flow and become leak points. Apply roofing sealant (Geocel or roofing tar) over each nail head to seal the fastener holes.
Step 7: Reseat the shingles. Press the lifted shingles back down over the upper portion of the flange. Apply a dab of roofing sealant under any shingle tabs that were damaged during lifting. Press firmly until the sealant grabs.
Step 8: Seal the sleeve-to-pipe joint. Apply a bead of Geocel around the circumference of the pipe where the rubber sleeve meets the pipe. On newer installations this may not be necessary if the rubber fits tightly, but it is cheap insurance.
Fix 3: Universal Rubber Collar Over Existing Boot (Easiest Option)
If the original boot is made of lead or metal (which will last decades more) but the rubber sleeve around the pipe has failed, you can install a universal rubber collar over the existing boot without removing any shingles.
These products — sold as pipe boot repair collars or universal rubber pipe boots — are essentially a replacement rubber sleeve with a wider base that slips over the pipe and overlaps the existing boot flange. They are designed specifically for this retrofit scenario.
Procedure:
- Remove any old sealant from around the pipe and the top of the existing boot flange.
- Slide the rubber collar down over the pipe. The collar has a tapered bore designed to seal tightly against the pipe.
- Push the collar down until its base flange overlaps the existing boot base completely.
- Apply EternaBond tape or roofing sealant around the perimeter of the new collar base where it overlaps the old boot.
- Apply sealant around the pipe-to-collar joint at the top.
This approach requires no shingle removal and takes less than 30 minutes. It is the right choice when the underlying flashing and boot base are in good condition but the rubber has failed.
When to Call a Roofer
Consider hiring a professional if:
- Your roof pitch is steep (greater than 6:12) and you are not comfortable with fall protection equipment
- The roof deck underneath the boot is soft, rotted, or shows structural damage
- The leak has caused interior damage beyond surface staining — wet insulation, visible mold in the attic, or sagging drywall
- The boot is not accessible because of a complicated roof geometry (valleys, multiple ridges) that requires removing many shingles
- Multiple boots are failing at the same time — this may indicate a roof that has reached the end of its service life and needs a full inspection
Pipe boot replacement is one of the cheapest roofing repairs a contractor will do — typically $150 to $400 per boot depending on location and roof complexity. Get at least two quotes.
For related roof leak repairs, see our guides on how to fix a leaking roof, how to fix chimney flashing, and how to replace a roof shingle. If you are seeing early signs of broader roof wear, signs you need a new roof can help you decide whether repair or replacement makes more sense.
- Fix 1: Reseal with Geocel or EternaBond (Minor Leaks Only)
If the boot rubber is still structurally sound but the sealant around the base of the boot has failed or cracked, resealing without replacing the boot is a viable option.
- Fix 2: Replace the Pipe Boot
This is the permanent fix for a cracked, shrunken, or separated boot.
- Fix 3: Universal Rubber Collar Over Existing Boot (Easiest Option)
If the original boot is made of lead or metal (which will last decades more) but the rubber sleeve around the pipe has failed, you can install a universal rubber collar over the existing boot without removing any shingles.
Free: 10-Point Home Maintenance Checklist
Prevent costly repairs with this seasonal checklist. Save hundreds every year by catching problems early.
Your checklist is ready!
Open Checklist →Something went wrong. View the checklist here.