How to Fix a Leaking Kitchen Faucet: Cartridge, Ball, and Ceramic Disc Repair
Diagnose and fix a dripping kitchen faucet based on faucet type — cartridge, ball valve, or ceramic disc — with step-by-step repair instructions for each.
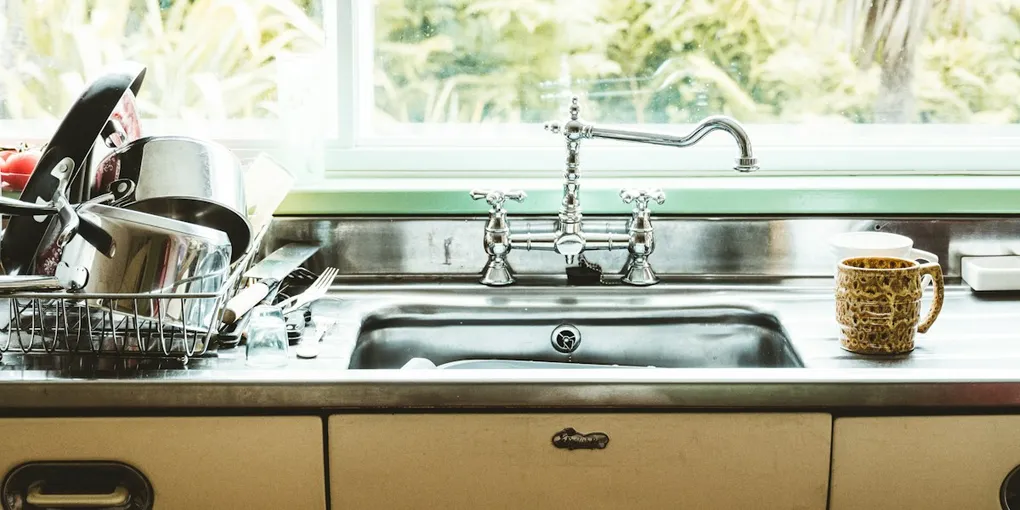
A dripping kitchen faucet wastes over 3,000 gallons of water per year and gets more annoying every day.
A dripping kitchen faucet wastes over 3,000 gallons of water per year and gets more annoying every day. The good news: most repairs take under an hour and cost less than $30 in parts — if you buy the right parts for your faucet type.
The most common mistake is buying the wrong repair kit. A ball faucet repair kit won’t work on a cartridge faucet, and a generic O-ring kit won’t fix a ceramic disc drip. Identify your faucet type first, then get the right parts.
Identifying Your Faucet Type
| Faucet Type | Handles | How It Works | Common Brands |
|---|---|---|---|
| Cartridge | 1 or 2 | Smooth up/down or rotary motion | Moen, Kohler, Glacier Bay |
| Ball | 1 | Single lever moves in all directions | Delta, Peerless |
| Ceramic Disc | 1 | Wide cylinder body, lever rotates flat discs | American Standard, Grohe |
| Compression | 2 | Tighten clockwise to stop flow, feel resistance | Older/budget faucets |
If you have two handles that require you to crank them tight to stop dripping, you have compression faucets — the oldest type. They use rubber washers that compress against a seat. Replace the washer at the bottom of the stem. This guide focuses on the three modern types.
Tools and Supplies You’ll Need
- Adjustable wrench or channel-lock pliers
- Phillips and flathead screwdrivers
- Allen wrench set
- Needle-nose pliers
- Replacement cartridge or repair kit (brand-specific)
- Plumber’s grease (silicone-based)
- Towels and a bucket
Before You Start: Turn Off the Water
Locate the two shut-off valves under the sink — one for hot, one for cold. Turn them clockwise until they stop. Turn the faucet on to release remaining pressure and drain the lines. Place a towel in the sink basin to catch any dropped screws.
Fix 1: Cartridge Faucet Drip
Cartridge faucets are the most common type in modern kitchens. A drip from the spout means the cartridge is worn.
Step 1: Remove the handle. Pry off the decorative cap on top of the handle with a flathead screwdriver. Remove the screw underneath (usually Phillips). Lift the handle straight off.
Step 2: Remove the cartridge retaining clip. You’ll see a plastic or brass cartridge in the faucet body. Look for a small metal clip at the top — pull it out with needle-nose pliers and set it aside. Some cartridges are held by a threaded nut instead; unscrew it with pliers.
Step 3: Pull the cartridge. Grip the cartridge stem and pull straight up. Some cartridges resist — use a cartridge puller tool if it won’t budge by hand. Note the orientation before pulling — the ears on the cartridge must align the same way on reinstallation.
Step 4: Match the replacement. Take the old cartridge to the hardware store for an exact match, or look up your faucet model number (usually on a tag under the sink or on the faucet body). Moen cartridges are sold by their proprietary model numbers.
Step 5: Install the new cartridge. Coat the new cartridge’s rubber seals lightly with plumber’s grease. Insert it in the same orientation as the old one — the ears must face the same direction or hot and cold will be reversed. Reinstall the clip or retaining nut, reassemble the handle, and turn the water back on slowly to test.
Fix 2: Ball Faucet Drip
Ball faucets have a single lever over a rounded cap. When the ball or its seats and springs wear out, water drips from the spout. Buy a complete brand-specific repair kit — not just the ball alone.
A Delta ball repair kit typically includes the ball, two rubber seats, two springs, cam and packing, and O-rings.
Step 1: Remove the handle. Loosen the set screw on the side of the handle with an Allen wrench. Lift the handle off.
Step 2: Remove the cap and collar. Unscrew the dome-shaped cap using a wrench (protect the finish with tape). Unscrew the collar underneath by hand or with pliers.
Step 3: Remove the cam, packing, and ball. Lift out the cam packing (a plastic piece with a tab), then lift out the ball. Set them aside — you’re replacing all of these.
Step 4: Remove the seats and springs. Look inside the faucet body — you’ll see two small rubber seats sitting in recessed holes. Use needle-nose pliers or a small flathead to pull them out along with the springs underneath. These are the most common failure points.
Step 5: Replace the O-rings. On the faucet body (not the cap), there are two O-rings around the body. Cut the old ones off with a knife. Coat the new ones with plumber’s grease and roll them into position.
Step 6: Reassemble. Install new springs and seats (seat goes on top of spring). Drop in the new ball, align the slot on the ball with the pin inside the faucet body. Place the new cam packing on top. Screw on the collar, then the cap. Reinstall the handle and set screw. Turn the water on and test.
Fix 3: Ceramic Disc Faucet Drip
Ceramic disc faucets have a wide cylindrical body and a single lever. They’re durable but can drip if mineral deposits build up on the discs.
Step 1: Remove the handle. Look for a set screw on the side or back of the lever. Remove it with an Allen wrench and lift the handle off.
Step 2: Remove the disc cylinder. Unscrew the retaining screws (usually two or three) and lift the cylinder straight up. This is the ceramic disc cartridge.
Step 3: Clean or replace the discs. Soak the cylinder in white vinegar for an hour. Use a soft brush to scrub the ceramic surfaces — never use abrasive pads. Rinse thoroughly.
If the discs are visibly cracked, chipped, or cleaning doesn’t stop the drip, replace the entire cylinder with an exact-match replacement.
Step 4: Reinstall. Ensure the openings in the cylinder align with the openings in the faucet body. Tighten the retaining screws snugly — don’t overtighten ceramic. Reassemble the handle and test.
Fix 4: Base Leak — O-Rings Under the Spout
If water pools at the base of the faucet spout (not from the supply lines), the O-rings on the spout body are worn. This is a separate repair from the valve.
Step 1: Remove the spout. Some spouts lift straight off after removing a collar nut or set screw. Others twist off. Look for a hex screw at the back of the spout base.
Step 2: Slide off the O-rings. You’ll find two or three rubber O-rings around the faucet body. Slip them off with a pick or flathead. Note their sizes.
Step 3: Install new O-rings. Take the old O-rings to the hardware store for an exact match, or buy a kitchen faucet O-ring repair kit for your brand. Coat new O-rings with plumber’s grease before installing — this prevents tearing and makes future removal easier.
Step 4: Reassemble and test. Slide the spout back on, reinstall the collar or set screw, turn the water on, and check for base leaks. Run both hot and cold to test thoroughly.
When to Call a Plumber
Most kitchen faucet repairs are DIY-friendly. Call a plumber if:
- You find corrosion or mineral buildup on the supply lines or shut-off valves
- The shut-off valves leak or won’t fully close
- You find damaged threads on the faucet body
- The faucet body itself is cracked
A basin wrench is useful if you’re working in tight spaces under the sink or need to remove the faucet entirely.
Related Reading
- How to Replace a Kitchen Faucet
- How to Fix a Leaky Faucet
- How to Install a Kitchen Sink
- How to Fix a Broken Kitchen Faucet Cartridge — replace the cartridge when a dripping faucet doesn’t respond to basic tightening
- Fix 1: Cartridge Faucet Drip
Cartridge faucets are the most common type in modern kitchens. A drip from the spout means the cartridge is worn.
- Fix 2: Ball Faucet Drip
Ball faucets have a single lever over a rounded cap. When the ball or its seats and springs wear out, water drips from the spout. Buy a complete brand-specific repair kit — not just the ball alone.
- Fix 3: Ceramic Disc Faucet Drip
Ceramic disc faucets have a wide cylindrical body and a single lever. They're durable but can drip if mineral deposits build up on the discs.
- Fix 4: Base Leak — O-Rings Under the Spout
If water pools at the base of the faucet spout (not from the supply lines), the O-rings on the spout body are worn. This is a separate repair from the valve.
Free: 10-Point Home Maintenance Checklist
Prevent costly repairs with this seasonal checklist. Save hundreds every year by catching problems early.
Your checklist is ready!
Open Checklist →Something went wrong. View the checklist here.