How to Fix a Broken Kitchen Faucet Cartridge
Learn how to replace a worn or broken single-handle kitchen faucet cartridge to stop drips, restore flow, and fix temperature control issues.
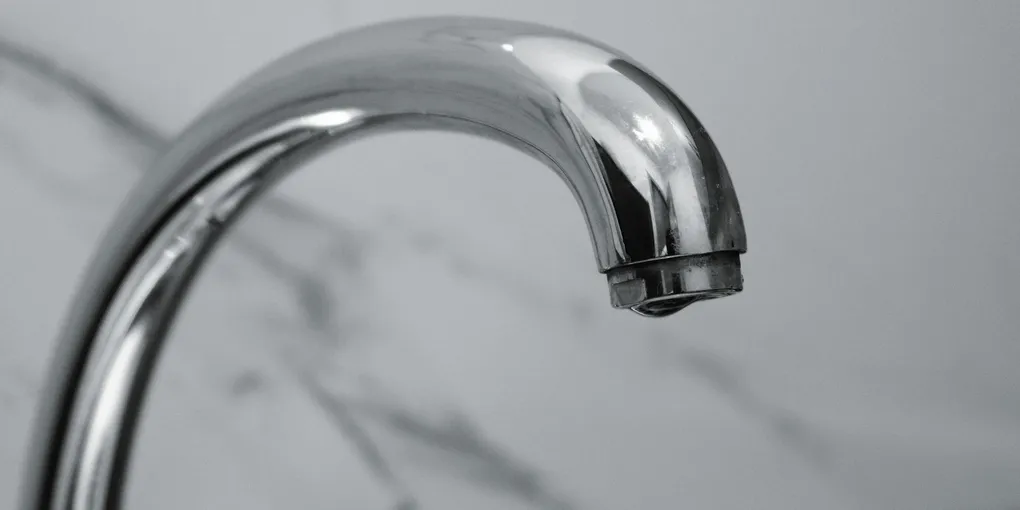
Replacing a kitchen faucet cartridge: (1) Symptoms: faucet drips when off, requires excessive force to turn, or doesn't shut off completely. A worn cartridge is almost always the cause in single-handle faucets. (2) Turn off hot and cold supply valves under the sink. Open the faucet to release pressure. (3) Remove the handle: pop off the decorative cap, unscrew the set screw underneath, pull the handle off. (4) Remove the cartridge: the cartridge retaining nut or clip sits beneath the handle. Unscrew or remove the clip, then pull the cartridge straight up. (5) Take the old cartridge to the hardware store or search the faucet brand + model number for an exact replacement ($10 to $30). Delta, Moen, and Kohler all sell OEM replacement cartridges. (6) Install new cartridge in the same orientation (tabs align with slots). Reassemble. Test before replacing the handle. A dripping faucet fixed with a $20 cartridge instead of a $200 service call.
Frequently Asked Questions
How do I know if my faucet cartridge is the problem?
A dripping faucet that will not stop, a handle that spins freely, or a faucet that cannot reach full hot or cold water are all classic signs of a worn cartridge.
Are faucet cartridges brand-specific?
Yes. Moen, Delta, Kohler, and Price Pfister all use proprietary cartridge designs. Find your faucet model number under the sink or on the faucet body, then match the part number.
Do I need to turn off the main water supply to replace a cartridge?
You only need to shut off the hot and cold supply valves under the sink. A full main shutoff is only necessary if those valves are missing or will not close.
How long does a faucet cartridge replacement take?
For most single-handle kitchen faucets, the repair takes 30 to 45 minutes for a first-time DIYer with basic tools.
What if I cannot pull the old cartridge out?
Use a cartridge puller tool designed for your faucet brand. Moen offers one free of charge through their customer service line. Avoid excessive force with pliers, which can damage the faucet body.
Should I replace both hot and cold cartridges at the same time?
Single-handle faucets use one cartridge that controls both hot and cold. Two-handle faucets have separate cartridges — if one fails, replace both since the other is usually the same age.
Replace a kitchen faucet cartridge by shutting off the water supply valves, removing the handle (usually one screw under a decorative cap), pulling out the old cartridge, and pressing in the new one — total repair time 20–40 minutes. Cartridges cost $10–$40 depending on the brand (Moen, Delta, Kohler each have proprietary designs). Most home improvement stores can identify your cartridge by the faucet brand and model. This fix costs $0 in labor vs. $150–$250 for a plumber.
A kitchen faucet that drips constantly, runs at half pressure, or refuses to deliver the right mix of hot and cold water almost always has one culprit: a worn-out cartridge. The cartridge is the valve at the heart of a single-handle faucet — when its rubber O-rings and seals degrade, water finds its way through gaps it should not. Replacing the cartridge restores full function and typically costs under $30 in parts.
Tools and Materials You Will Need
- Phillips and flathead screwdrivers
- Adjustable pliers or channel-lock pliers
- Allen wrench set (usually 1/8 or 3/16 inch for handle set screws)
- Replacement faucet cartridge matched to your brand and model
- Plumber’s grease or silicone grease
- Small flathead screwdriver or pick tool
- Old towel or bucket
- Needle-nose pliers
Step 1 — Shut Off the Water Supply
Open the cabinet below the sink and locate the hot and cold shut-off valves. Turn both clockwise until they stop. Open the faucet handle to release pressure and drain any water remaining in the lines into the sink. Place an old towel in the cabinet to catch drips.
Step 2 — Remove the Handle
Look for a decorative cap on top of or behind the handle — this hides the handle screw. Pop it off with a flathead screwdriver. Back out the Phillips or hex screw beneath it. Wiggle the handle upward and off the cartridge stem. Some handles have a slight friction fit; pulling straight up with firm, even pressure releases them.
Step 3 — Access the Cartridge
With the handle off, you will see either a cartridge retaining clip (a small horseshoe-shaped metal clip at the top of the cartridge) or a threaded packing nut. For clip-style cartridges, grip the clip with needle-nose pliers and pull it straight up — do not bend it, as you will need to reuse it. For nut-style cartridges, place a cloth over the nut and unscrew it counterclockwise with adjustable pliers to avoid marring the finish.
Step 4 — Remove the Old Cartridge
Grip the cartridge stem firmly with adjustable pliers (pad the jaws with tape to prevent scratching). Pull straight up with steady pressure. The cartridge should slide out of the faucet body. Note the orientation — the cartridge usually has a flat side or a tab that must align with the faucet body on reinstallation. Take a quick photo before removal.
If the cartridge is stubborn, a brand-specific cartridge puller tool makes this step trivial. Moen provides one free via their warranty program. For other brands, a universal cartridge puller is available at most hardware stores.
Step 5 — Inspect and Clean the Valve Seat
Look down into the cartridge socket with a flashlight. Rinse out any grit or mineral deposits with water. If the seat shows visible scoring or corrosion, clean it gently with a soft cloth. A severely damaged valve seat may need resurfacing with a seat grinder — a job best left to a plumber.
Step 6 — Install the New Cartridge
Apply a thin coat of plumber’s grease to the new cartridge’s O-rings before insertion. This prevents tearing during installation and extends the life of the seals. Orient the new cartridge to match the photo you took — tabs, flats, or alignment notches must line up with the corresponding slots in the faucet body. Press the cartridge firmly straight down by hand, then seat it fully by pressing on the stem with your thumb. Reinstall the retaining clip or packing nut.
Step 7 — Reassemble the Handle
Slide the handle back over the cartridge stem, aligning any keyway slots. Drive the handle screw snugly — do not overtighten or you will strip the threads in the handle. Snap the decorative cap back into place.
Step 8 — Restore Water and Test
Slowly reopen the supply valves and let the lines fill. Turn the handle slowly and check under the sink for leaks around the supply connections. Run the faucet through the full range of hot to cold and confirm the temperature responds correctly and the drip is gone.
With a new cartridge seated and properly greased, your kitchen faucet will operate smoothly and stay drip-free for years before the next replacement is needed.
Related Reading
- How to Fix a Loose Kitchen Faucet Handle — tighten a wobbly handle before it strips the cartridge stem
- How to Replace a Kitchen Faucet — full faucet swap when cartridge replacement isn’t enough
- Plumber Cost — what a pro charges for the same faucet repair
- Step 1 — Shut Off the Water Supply
Open the cabinet below the sink and locate the hot and cold shut-off valves. Turn both clockwise until they stop. Open the faucet handle to release pressure and drain any water remaining in the lines into the sink.
- Step 2 — Remove the Handle
Look for a decorative cap on top of or behind the handle — this hides the handle screw. Pop it off with a flathead screwdriver. Back out the Phillips or hex screw beneath it. Wiggle the handle upward and off the cartridge stem.
- Step 3 — Access the Cartridge
With the handle off, you will see either a cartridge retaining clip (a small horseshoe-shaped metal clip at the top of the cartridge) or a threaded packing nut.
- Step 4 — Remove the Old Cartridge
Grip the cartridge stem firmly with adjustable pliers (pad the jaws with tape to prevent scratching). Pull straight up with steady pressure. The cartridge should slide out of the faucet body.
- Step 5 — Inspect and Clean the Valve Seat
Look down into the cartridge socket with a flashlight. Rinse out any grit or mineral deposits with water. If the seat shows visible scoring or corrosion, clean it gently with a soft cloth.
- Step 6 — Install the New Cartridge
Apply a thin coat of plumber's grease to the new cartridge's O-rings before insertion. This prevents tearing during installation and extends the life of the seals.
Free: 10-Point Home Maintenance Checklist
Prevent costly repairs with this seasonal checklist. Save hundreds every year by catching problems early.
Your checklist is ready!
Open Checklist →Something went wrong. View the checklist here.