How to Fix a Broken Stair Tread
Learn how to repair or replace a cracked, split, or broken stair tread safely using basic woodworking tools and construction adhesive.
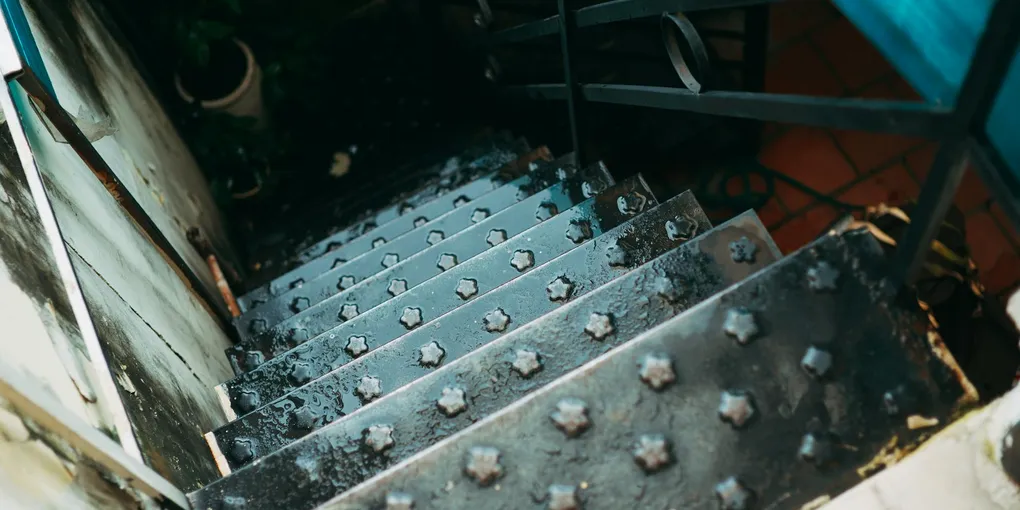
A broken stair tread is a safety hazard and a code violation. The good news: replacing or repairing a stair tread is a manageable DIY project that requires basic carpentry skills and a half-day of work.
A broken stair tread is a safety hazard and a code violation. The good news: replacing or repairing a stair tread is a manageable DIY project that requires basic carpentry skills and a half-day of work. This guide covers both repair of a cracked tread and full tread replacement.
What You Need
- Minwax High Performance Wood Filler — For filling gaps, splintered edges, and minor surface damage after repair. Accepts stain and sandpaper better than standard spackle.
- Titebond III Ultimate Wood Glue — Waterproof, strong, and fully sandable once cured. Use for gluing cracks and regluing loose tread sections.
- Liquid Nails Heavy Duty Construction Adhesive — For bonding the new or repaired tread to the stringers and risers during installation.
- A pry bar, oscillating multi-tool or circular saw (for cutting old tread), drill/driver, 2-inch and 3-inch finish screws, clamps, 80/120/180-grit sandpaper, stain and polyurethane to match.
Step 1: Diagnose the Damage
Stand on the tread and rock your weight forward and back while watching the tread from the side. Note:
Surface crack only: A hairline split that does not flex under load is cosmetic. Fill and refinish — no structural repair needed.
Crack that opens under load: The tread is structurally compromised. Inject glue, clamp, and reinforce from below, or replace the tread entirely.
Tread that bounces or flexes: The support (stringer ledger or support block underneath) has failed. Reinforcing just the surface crack will not solve it — address the support structure first.
Splintered or punched-through section: The wood fiber has failed. Replace the tread.
Step 2: Repairing a Cracked Tread (No Replacement)
If the crack runs with the grain and the tread is solid except for the split, a glue repair is appropriate.
Use a putty knife or small pry bar to open the crack slightly — just enough to work glue into the gap. Inject or brush Titebond III into the crack as deeply as possible. For a wide crack, use a syringe-style glue applicator for better penetration.
Close the crack by clamping across it with bar clamps or pipe clamps. Apply enough clamping pressure to close the gap fully, but not so much that you bow the tread. Wipe away squeeze-out immediately with a damp cloth.
Let the glue cure fully — at least 8 hours for Titebond III before light use, 24 hours before full load.
Once cured, reinforce from below by gluing and screwing a wood cleat (a piece of 1x2 or 2x2 cut to fit the tread width) across the underside of the crack. This cleat transfers load across the joint and prevents the crack from reopening.
Sand the top surface of the repaired tread flush, fill any remaining surface voids with wood filler, re-sand, and refinish to match.
Step 3: Removing an Old Tread (Full Replacement)
Cut the paint seal first. Run a utility knife along the joint where the tread meets the riser above it to cut through any paint or caulk. This prevents tearing the riser face when you pry the tread.
Remove any nosing trim. If there is a separate nosing molding on the front edge of the tread, pry it off carefully and set it aside — you can reuse it on the new tread.
Locate the fasteners. The tread is typically face-nailed or screwed from the top surface (look for filled nail holes along the front edge and back), and may also be nailed from below through the riser. If screwed from above, remove the screws. If nailed, cut the nails with an oscillating multi-tool (flush-cut blade at the joint between tread and riser) rather than trying to pry them out — prying almost always damages the riser face.
Pry the tread free. Work a flat pry bar under the tread nosing, protecting the riser face with a scrap of wood. Work across the full width of the tread rather than prying at one end — even pressure prevents splitting the riser.
Clean the stringer ledgers. Once the tread is out, scrape off old construction adhesive and nailing residue from the stringer ledger and the riser top. A clean, flat bearing surface is essential for the new tread to sit correctly.
Step 4: Cut and Fit the New Tread
Measure the tread opening: the width (between the two stringers or walls), and the depth (from the riser face to the back of the opening). Write these measurements down and add 1/4 inch to the depth for a snug fit.
Cut the new tread to width first. Test-fit it in the opening — it should slide in with light friction, not require forcing. Sand or plane the ends if needed.
Check that the tread sits flat on the stringer ledgers. If the stringers are not perfectly level, scribe and trim the back edge of the tread to match the floor profile using a compass scribe or a small plane.
Step 5: Install the New Tread
Apply a bead of construction adhesive to each stringer ledger and across the full top edge of the riser below. This adhesive line is what prevents the tread from squeaking — do not skip it.
Set the new tread in place. Press it down firmly along its full length to spread the adhesive. Check that the nosing overhang is between 3/4 inch and 1-1/4 inches beyond the riser face.
Drive 2-inch finish screws at a slight angle through the tread nosing into the riser face below (one screw every 10 to 12 inches). Then drive 3-inch screws straight down through the back edge of the tread into the stringer ledger. Set all screw heads slightly below flush.
Fill screw holes with wood filler. Let dry, sand flush, then sand the entire tread face through 80, 120, and 180 grit.
Step 6: Finish to Match
Apply stain or paint to match the existing treads. For an exact stain match, apply stain to a scrap piece of the same wood species first — new wood absorbs stain differently than aged wood. Build up thin coats until the color matches.
Finish with two coats of polyurethane (satin or semi-gloss for high-traffic stairs). Allow full cure before heavy use — typically 72 hours for water-based polyurethane, longer for oil-based.
When to Call a Pro
If the stringer itself is cracked, rotted, or pulling away from the wall framing, that is a structural repair beyond a tread replacement. A licensed contractor or structural engineer should evaluate the stair frame before you proceed.
Related Reading
- How to Fix Squeaky Floors — The same adhesive-and-screw technique applies to squeaky floors adjacent to the stair.
- How to Patch Drywall — Patch any wall damage from the pry bar while you have the tools out.
- Home Safety Checklist — Full inspection checklist including stair safety items.
- How to Fix a Broken Exterior Step — repair outdoor wood or concrete steps using the same techniques as interior stair treads
- How to Fix a Broken Handrail Bracket — repair or replace a loose or damaged wall bracket while you’re working on the stair system
- How to Fix a Broken Outdoor Step — repair wood or concrete outdoor steps using the same adhesive-and-screw technique
- How to Fix a Broken Outdoor Step Handrail — repair or replace the handrail on outdoor steps while you’re working on the stair system
- How to Fix a Broken Stair Railing Post — repair or replace a vertical railing post while you have the stair system open
- Diagnose the Damage
Stand on the tread and rock your weight forward and back while watching the tread from the side. Note:
- Repairing a Cracked Tread (No Replacement)
If the crack runs with the grain and the tread is solid except for the split, a glue repair is appropriate.
- Removing an Old Tread (Full Replacement)
Cut the paint seal first. Run a utility knife along the joint where the tread meets the riser above it to cut through any paint or caulk. This prevents tearing the riser face when you pry the tread.
- Cut and Fit the New Tread
Measure the tread opening: the width (between the two stringers or walls), and the depth (from the riser face to the back of the opening). Write these measurements down and add 1/4 inch to the depth for a snug fit.
- Install the New Tread
Apply a bead of construction adhesive to each stringer ledger and across the full top edge of the riser below. This adhesive line is what prevents the tread from squeaking — do not skip it.
- Finish to Match
Apply stain or paint to match the existing treads. For an exact stain match, apply stain to a scrap piece of the same wood species first — new wood absorbs stain differently than aged wood. Build up thin coats until the color matches.
Free: 10-Point Home Maintenance Checklist
Prevent costly repairs with this seasonal checklist. Save hundreds every year by catching problems early.
Your checklist is ready!
Open Checklist →Something went wrong. View the checklist here.