How to Fix a Broken Outdoor Step
Cracked or crumbling outdoor steps are a safety hazard — this guide covers concrete patching, wood step replacement, and when to rebuild from scratch.
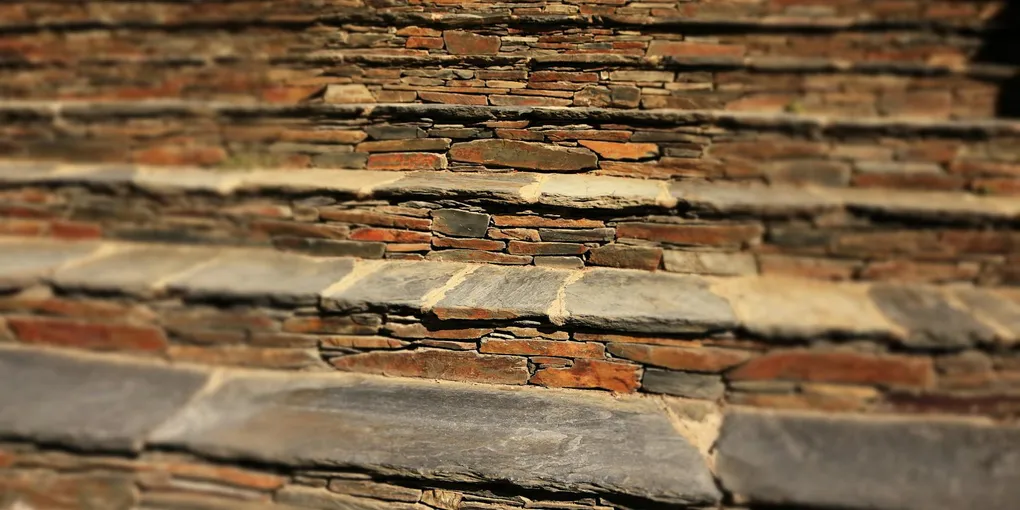
Broken outdoor steps are more than an eyesore — they are a genuine safety hazard for everyone who enters your home. A cracked tread catches a shoe heel.
Broken outdoor steps are more than an eyesore — they are a genuine safety hazard for everyone who enters your home. A cracked tread catches a shoe heel. A crumbled riser creates an uneven rise height that people trip on. A wobbly step shifts underfoot and can cause a serious fall. The good news is that most outdoor step damage falls into one of two repair categories: concrete patching for solid masonry steps, or tread and stringer replacement for wood frame steps. Both are well within DIY reach with the right materials and a weekend afternoon.
This guide walks through diagnosing the damage, choosing the right repair approach, and executing the fix correctly so it lasts.
What You Need
Gather supplies based on your step material:
For concrete step repair:
- Vinyl concrete patch compound — flexible, bonds to existing concrete, handles edges and corners; $10–$20 per container
- Concrete bonding adhesive — brush-on primer that ensures the patch adheres to old concrete; $8–$15
- Cold chisel and hammer (or angle grinder with masonry disc) — to remove loose and unsound concrete before patching
- Wire brush — to clean the repair area
- Trowel and margin trowel — for applying and finishing the patch
- Form boards (scrap wood) — to hold the patch material in place on vertical riser faces
For wood step repair:
- Pressure-treated 2x12 lumber or 5/4 deck boards — for tread replacement; buy at local lumber yard or big-box store; $8–$20 per board
- Structural exterior screws (3 inch, coated) — corrosion-resistant deck screws rated for pressure-treated wood; $15–$20 per box
- Circular saw — for cutting treads to length
- Drill/driver — for driving screws
- Pry bar — to remove old treads
- Pressure-treated joist hanger hardware — if stringers need reinforcing
Estimated total cost: $20–$50 for a concrete patch repair. $40–$100 for wood tread replacement depending on stair width.
Step 1: Assess the Damage
Walk the steps carefully and identify exactly what is failing. For concrete steps, the categories are:
- Surface spalling: The top layer of concrete has flaked or popped off, leaving a rough pitted surface. This is a cosmetic and weatherproofing issue. Patching works well here.
- Tread corner breaks: The front edge of a step tread has broken off. This is the most common concrete step failure and patches cleanly if done correctly.
- Through cracks: A crack that runs through the full depth of the step. Structural concern — patch it, but monitor for movement.
- Settled or shifted steps: One step has sunk relative to the adjacent step, or the entire stair has pulled away from the house foundation. This is a base failure (frost heave or settling) and patching the surface won’t fix it. A rebuild is needed.
For wood steps, check each tread for rot by probing with a screwdriver — if it sinks more than 1/4 inch easily, the wood is rotted through. Check the stringers (the angled side boards the treads rest on) for the same. Rotted treads can be replaced; rotted stringers require a full stair rebuild.
Step 2: Remove Loose and Damaged Material
For concrete: Never apply patch compound over loose or delaminated concrete — it will pop off within a season. Use a cold chisel and hammer to chip away all unsound concrete in the repair zone. Work until you reach solid concrete that rings clearly when tapped with the chisel handle. For spalled surfaces, chip back to a depth of at least 1/4 inch so the patch has thickness to bond. Feather-thin edges fail quickly.
Use a wire brush to scrub the repair area clean of dust, oil, and efflorescence (white mineral deposits). Blow out or vacuum all debris. Rinse the area and let it dry until just damp — damp, not soaking wet. A bone-dry surface pulls moisture from the patch too fast; a wet surface dilutes the bond.
For wood: Use a pry bar to remove rotted or broken treads. Work carefully to avoid damaging the stringers underneath. Once the tread is off, probe the stringers thoroughly. If the stringer is solid, you are replacing the tread only. If the stringer is soft or punky, that section needs to be sistered (a new pressure-treated board bolted alongside the old one) or replaced entirely before installing new treads.
Step 3: Apply Concrete Bonding Adhesive
For concrete repairs, brush concrete bonding adhesive liberally over the entire repair area — the chipped concrete face, the sides of the void, and 2 to 3 inches onto the surrounding intact concrete. Let the adhesive become tacky according to the manufacturer’s instructions — usually 5 to 15 minutes. Do not let it dry fully to a hard film; the patch must go down while it is still tacky.
This step is the single most important factor in patch longevity. Skipping it is why most DIY concrete patches fail within a year or two.
Step 4: Mix and Apply the Concrete Patch
Mix vinyl concrete patch compound to a stiff consistency — it should hold its shape when piled but still be workable. Too wet and it will sag on vertical surfaces and shrink excessively on horizontal ones.
For tread corners: Clamp a scrap board form against the riser face to hold the patch while it cures. Pack patch compound into the void firmly, working out air pockets. Overfill slightly, then strike off flush with the surrounding tread surface using a trowel. Shape the front corner to match the existing step profile.
For flat tread surfaces: Apply patch in lifts no thicker than 1/2 inch per application for deep repairs. Scratch the first lift before it hardens to give the second lift something to grip. Finish the top surface with a float for a smooth surface, or use a broom drag to add texture for slip resistance.
Keep the patch damp for 24 to 48 hours (mist with water or cover with plastic sheeting) to allow proper curing. Do not let it dry too fast in hot direct sun — this causes surface cracking. Keep foot traffic off for at least 24 hours; full cure strength takes 7 days.
Step 5: Replace Wood Treads
Cut new pressure-treated tread boards to length — the tread should extend at least 1 inch past the stringer face on each side. If matching existing steps, duplicate the nosing overhang (typically 1 to 1.5 inches past the riser face).
Drill two pilot holes at each stringer location before driving screws. Pressure-treated wood splits easily without pilot holes, especially near the ends. Drive 3-inch coated structural screws through the tread into the stringer top. Use two screws per stringer — three if the tread board is 12 inches wide or wider.
Check that all treads are level side to side, and that the rise height (vertical distance between treads) is consistent across all steps. An inconsistent rise height is what causes people to trip, even if each step looks fine individually.
Step 6: Seal and Protect
Apply a penetrating concrete sealer to repaired masonry steps after the patch has cured fully (wait at least 7 days). The sealer reduces water absorption and dramatically extends the life of the repair by blocking the freeze-thaw damage cycle.
For wood steps, apply a water-repellent exterior deck sealer or stain to exposed cut ends of pressure-treated lumber. The factory treatment protects the face grain; cut ends are vulnerable and should be sealed before installation.
What to Expect Long-Term
A well-executed concrete patch with bonding adhesive lasts 5 to 10 years. Pressure-treated wood treads with proper drainage and ventilation last 15 to 25 years. Inspect both types annually each spring — catching a small new crack or soft spot before it becomes a full structural failure is always easier and cheaper than a full rebuild.
Related Reading
- How to Build a Deck — if your steps connect to a wood deck that also needs attention
- How to Fix Concrete Driveway Cracks — apply the same patching technique to flat concrete surfaces
- How to Power Wash Your Home Exterior — prep concrete surfaces before sealing
- Assess the Damage
Walk the steps carefully and identify exactly what is failing. For concrete steps, the categories are:
- Remove Loose and Damaged Material
For concrete: Never apply patch compound over loose or delaminated concrete — it will pop off within a season. Use a cold chisel and hammer to chip away all unsound concrete in the repair zone.
- Apply Concrete Bonding Adhesive
For concrete repairs, brush concrete bonding adhesive liberally over the entire repair area — the chipped concrete face, the sides of the void, and 2 to 3 inches onto the surrounding intact concrete.
- Mix and Apply the Concrete Patch
Mix vinyl concrete patch compound to a stiff consistency — it should hold its shape when piled but still be workable. Too wet and it will sag on vertical surfaces and shrink excessively on horizontal ones.
- Replace Wood Treads
Cut new pressure-treated tread boards to length — the tread should extend at least 1 inch past the stringer face on each side. If matching existing steps, duplicate the nosing overhang (typically 1 to 1.5 inches past the riser face).
- Seal and Protect
Apply a penetrating concrete sealer to repaired masonry steps after the patch has cured fully (wait at least 7 days). The sealer reduces water absorption and dramatically extends the life of the repair by blocking the freeze-thaw damage cycle.
Free: 10-Point Home Maintenance Checklist
Prevent costly repairs with this seasonal checklist. Save hundreds every year by catching problems early.
Your checklist is ready!
Open Checklist →Something went wrong. View the checklist here.