How to Fix a Broken Shower Diverter
Learn how to diagnose and repair a faulty shower diverter valve that won't redirect water from the tub spout to the showerhead — including tub spout diverter replacement and three-way valve repair.
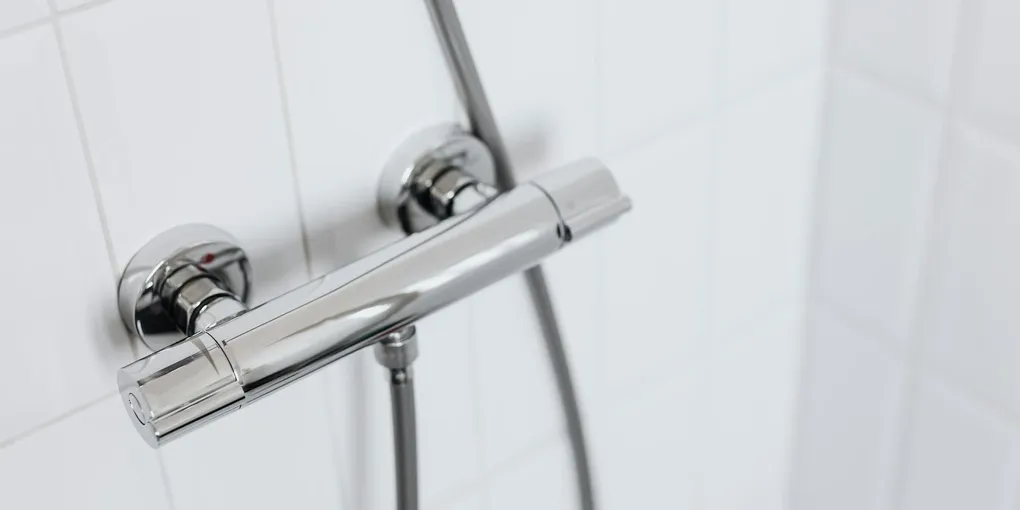
When you pull up the knob on your tub spout and water keeps pouring into the tub instead of surging through the showerhead, you have a diverter problem. The shower diverter is a simple valve that redirects water flow from the tub spout to the showerhead — and when it fails, your shower becomes frustrating or unusable.
When you pull up the knob on your tub spout and water keeps pouring into the tub instead of surging through the showerhead, you have a diverter problem. The shower diverter is a simple valve that redirects water flow from the tub spout to the showerhead — and when it fails, your shower becomes frustrating or unusable. Most diverter repairs are accessible DIY fixes that take under an hour.
What You Need
Gather your supplies before starting. The exact parts depend on your diverter type, which you’ll identify in Step 1.
- Replacement tub spout with diverter ($15–$35, for tub spout diverter replacement)
- Shower diverter valve cartridge ($20–$55, for wall-mounted diverter valve repair)
- Allen wrench set ($8–$15, for set screws and handle hardware)
- Adjustable wrench or channel-lock pliers
- Plumber’s tape (Teflon tape)
- Flathead and Phillips screwdrivers
- Utility knife or scoring tool
- Old towels and a bucket
Step 1: Identify Your Diverter Type
Before buying any parts, identify which type of shower diverter you have — the repair approach is completely different for each.
Tub Spout Diverter (most common): A metal or plastic knob on top of the tub spout. You pull it up to divert water to the showerhead, and it drops back down when you turn off the water. If this knob no longer stays up, or if water still pours from the spout even when raised, the spout needs replacement.
Two-Valve Diverter: A separate handle mounted in the wall between the hot and cold controls, turned to redirect flow. Less common in residential bathrooms.
Three-Way Diverter: A separate valve body with its own handle that routes water to multiple outputs — common in showers with both a fixed showerhead and a handheld wand. The valve body is in the wall behind a trim plate.
Step 2: Turn Off the Water Supply
For tub spout replacement, you do not need to shut off the main water — the tub spout connects to an always-on stub-out pipe inside the wall, and water only flows when the faucet handles are open. As long as the faucet handles are in the off position, no water will reach the spout.
For wall-mounted diverter valve repair, shut off the water at the bathroom shutoff valves or at the main house shutoff. Turn on the shower handles to release any pressure and drain the supply lines.
Step 3: Replace a Tub Spout Diverter
Find the set screw. Look underneath the spout where it meets the tile or wall. If there is a small hex screw (typically 1/8-inch Allen), the spout is slip-fit. If there is no screw, the spout is threaded.
Slip-fit removal: Use a 1/8-inch Allen wrench to loosen (do not fully remove) the set screw. Once loose, pull the spout straight off the copper stub-out pipe — it should slide off with moderate pulling force. If it’s stuck, wiggle it gently side to side while pulling outward.
Threaded removal: Grip the spout firmly and rotate it counterclockwise. If it won’t budge by hand, wrap the spout in a cloth to protect the finish and use channel-lock pliers. Expect some resistance if the threads haven’t been disturbed in years.
Measure the stub-out pipe. For slip-fit: measure the outside diameter of the copper pipe (almost always 1/2 inch or 3/4 inch) and the distance from the wall to the end of the pipe. Your replacement spout must be long enough to cover the pipe with the set screw reaching the flat section of the pipe. For threaded: note the thread size and pipe length protruding from the wall.
Install the new spout. Slip-fit: Slide the new spout onto the pipe until the set screw hole aligns with the flat spot on the pipe (some pipes have a notch; others are smooth). Tighten the set screw firmly — snug but not overtightened. Threaded: Wrap the threads with 2–3 layers of Teflon tape, then thread the spout on clockwise. Stop when it is snug against the wall with the spout opening pointing straight down.
Test: Turn on the cold water at the faucet handle. Water should flow from the spout. Pull up the diverter knob — flow should shift almost entirely to the showerhead with only a small drip remaining at the spout. Release the knob — flow should return to the spout.
Step 4: Repair a Wall-Mounted Diverter Valve
Wall-mounted diverter valves have a cartridge inside the valve body that can be replaced without cutting into the wall.
Remove the diverter handle. Most handles are held by a screw under a decorative cap — pry the cap off with a flathead screwdriver, then remove the screw with a Phillips driver. Pull the handle straight off the stem.
Remove the trim sleeve. Behind the handle is a round trim sleeve or escutcheon plate that covers the valve body. Unscrew or pull off the trim (some pop off; others have hidden screws).
Extract the cartridge. The cartridge is a cylindrical or rectangular plastic and rubber assembly inside the valve body. It may be held by a retaining clip, a threaded nut, or simply press-fit. Retaining clips pull straight out with needle-nose pliers. Threaded nuts unscrew counterclockwise. Note the orientation of the cartridge before removal — a photo with your phone helps.
Take the old cartridge to the hardware store or look up the brand. Shower valve cartridges are brand and model-specific. Knowing the brand (Moen, Delta, Kohler, Price Pfister, American Standard) and the valve model number (often on a sticker inside the trim or on the cartridge itself) lets you find the exact replacement. Generic cartridges sometimes fit but brand-specific ones are more reliable.
Install the new cartridge. Insert it in the correct orientation. Engage the retaining clip or thread the nut back on. Reassemble the trim and handle.
Turn the water back on and test. Operate the diverter through its full range of motion. Check that water routes correctly to each outlet and that no water drips from the valve behind the trim.
Caulking After Spout Replacement
If removing the old tub spout left a gap between the spout base and the wall tile, apply a thin bead of white silicone caulk around the spout base before or after testing. This prevents water from seeping behind the tile during normal use. Smooth the bead with a wet finger. Allow it to cure for 24 hours before running water.
When to Call a Plumber
Call a licensed plumber if:
- The valve body itself is cracked or corroded — valve body replacement requires opening the wall
- The stub-out pipe is damaged, corroded, or the wrong type for the spout you need
- You cannot identify the diverter valve brand or find a matching cartridge
- Water is escaping from inside the wall, indicating a pipe connection failure behind the valve
Related Reading
- How to Fix Low Water Pressure
- How to Replace a Bathroom Faucet
- How to Unclog a Drain
- Identify Your Diverter Type
Before buying any parts, identify which type of shower diverter you have — the repair approach is completely different for each.
- Turn Off the Water Supply
For tub spout replacement, you do not need to shut off the main water — the tub spout connects to an always-on stub-out pipe inside the wall, and water only flows when the faucet handles are open.
- Replace a Tub Spout Diverter
Find the set screw. Look underneath the spout where it meets the tile or wall. If there is a small hex screw (typically 1/8-inch Allen), the spout is slip-fit. If there is no screw, the spout is threaded.
- Repair a Wall-Mounted Diverter Valve
Wall-mounted diverter valves have a cartridge inside the valve body that can be replaced without cutting into the wall.
Free: 10-Point Home Maintenance Checklist
Prevent costly repairs with this seasonal checklist. Save hundreds every year by catching problems early.
Your checklist is ready!
Open Checklist →Something went wrong. View the checklist here.