How to Touch Up Paint on Walls: Matching Existing Paint and Blending Scuffs (2026)
Wall touch-ups fail when the new paint doesn't match the original — in color, sheen, or both. This guide covers finding the original paint color, applying touch-up correctly, and why touch-ups sometimes need the entire wall painted to look right.
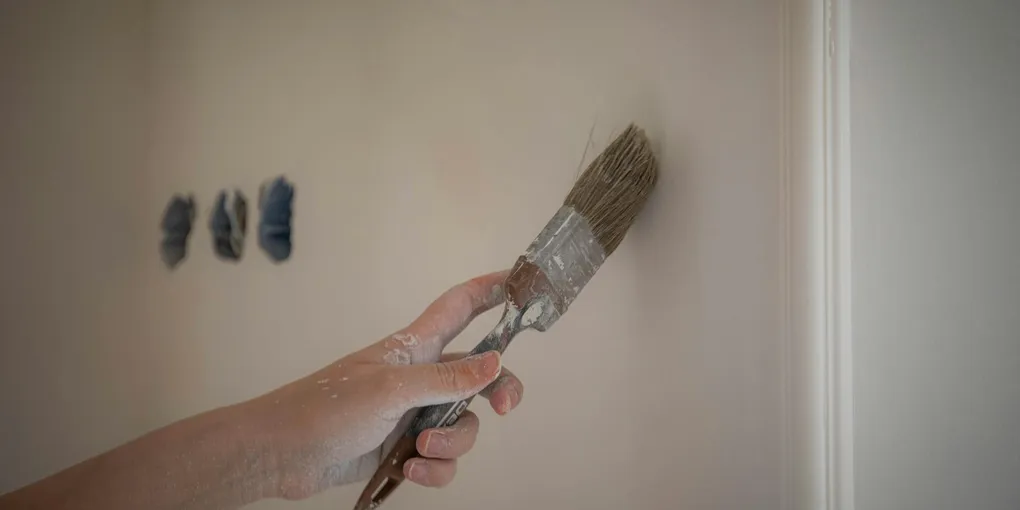
Wall touch-up: (1) Use the original paint if you have it — even stored paint that's a few years old. Stir well. (2) For fresh scuffs (no paint removed): spot prime bare drywall, then touch up. (3) Apply a small amount with a small roller (2-inch) or sponge — never apply with a brush if the wall was roller-painted, the different texture is visible. (4) Feather the edges: apply a thin coat that extends 2–3 inches past the repair in every direction and thins to nothing at the edges. (5) If the touch-up looks different from the wall: paint the entire wall from corner to corner — 'spot blending' on aged paint rarely disappears.
Frequently Asked Questions
Why does my touch-up paint look different from the rest of the wall?
Touch-ups look different for several reasons: (1) The paint has aged and oxidized — the original paint on the wall has been exposed to light and air for months or years and has shifted slightly in color and sheen. Fresh paint from the same can will look slightly different. (2) Sheen mismatch — if you use eggshell paint in a spot that was painted with flat, or apply with a brush on a rolled surface, the light reflectance is different even with identical paint. (3) Lap marks — applying too thick a coat that dries with a visible edge. The older the paint on the wall, the less likely a spot touch-up will blend invisibly. For paint that is more than 2–3 years old: painting an entire wall from corner to corner gives a uniform look.
How do I find the original paint color if I don't have any left?
Options: (1) Check for paint cans stored in the garage or utility room — paint companies often label cans with the color code and finish. Photograph the label. (2) Pull a switch plate or outlet cover: paint is usually darker (less sun exposure) behind the plate, but the color is the original. (3) Take a chip sample to the hardware store: use a putty knife to chip off a small flake of paint from a hidden area (inside a closet, behind a door). Paint stores can scan the chip and produce a matching formula. (4) If you know the builder or the previous owner: new construction homes often use specific builder standard colors (often Benjamin Moore, Sherwin-Williams, or PPG builder lines) that the builder can provide.
How do I repair a deep scuff that has removed paint and exposed drywall?
Deep scuffs that expose drywall paper need extra steps: (1) Apply a thin skim coat of joint compound over the exposed area. Let dry. Sand smooth with 220-grit. (2) Spot prime with drywall primer — this is critical. Bare drywall paper is highly porous and absorbs paint differently than painted walls. Without priming, even the correct paint color will look flat or different in sheen at the repair spot. (3) Let primer dry fully. (4) Apply touch-up paint. (5) If the texture around the repair was applied (orange peel, knockdown): you need to replicate it. Orange peel: use aerosol orange peel texture spray. Knockdown: diluted joint compound applied with a brush or roller and knocked down with a drywall knife.
How do I match the sheen as well as the color?
Sheen is equally important to color for a match. Common wall finishes: flat (no sheen), matte (very low), eggshell (slight sheen), satin (more sheen), semi-gloss (high sheen, used on trim). Identify your current sheen by looking at the wall from an angle with a raking light — no reflection = flat, moderate reflection = eggshell or satin, bright reflection = semi-gloss. The sheen of a spot repair depends on the application method as well as the paint: a thick coat dries glossier than a thin one. Always use the same sheen level as the original. When in doubt: test the touch-up in a hidden area first (inside a closet) before doing the visible wall.
How should I store leftover paint for future touch-ups?
Store leftover paint properly so it is usable in 2–3 years: (1) Press plastic wrap directly onto the paint surface before putting the lid on — this seals out air and prevents skinning. (2) Tap the lid closed firmly. Store upside down — the seal is better when the paint is against the lid. (3) Store at room temperature: no freezing (latex paint is ruined by one freeze cycle), no excessive heat. A basement or interior closet is ideal. (4) Label the can with the room name, paint brand, color name, and finish level. A simple piece of tape on the side works. When re-using stored paint: look for lumps or a rubbery skin. Skin on top = skim off and discard the skin, then stir. Lumps throughout = paint may be unusable.
Wall touch-up: (1) Use the original paint if you have it — even stored paint that’s a few years old. Stir well.
Use a small roller, not a brush — the texture difference between brush and roller is visible on a rolled wall, even with matching paint.
What you need
- Original paint (or color-matched replacement)
- 2-inch mini roller and handle
- Small sponge or artist brush (for very small repairs)
- Drywall primer (if bare drywall is exposed)
- Fine sandpaper (220-grit)
- Joint compound (for deep scuffs)
Step 1: Assess the damage
Is the paint just scuffed (still on the wall) or actually removed (bare drywall visible)? Scuffed paint = clean and repaint directly. Bare drywall = prime first.
Step 2: Repair the surface (if needed)
For a deep gouge: apply a thin skim of joint compound, let dry, sand smooth with 220-grit. For bare drywall: apply drywall primer and let dry fully before painting.
Step 3: Apply touch-up paint
Load a 2-inch mini roller with a small amount of paint — roll off the excess on a paper plate. Apply to the damaged area with the roller, then feather the edges by extending the coat 2–3 inches past the repair and thinning to nothing at the boundary. Do not apply too thick — thin coats blend better.
Step 4: Evaluate the blend
Step back and check at normal viewing distance in natural light. If the touch-up is visible (different sheen or slight color difference): apply another thin feathered coat. If the touch-up is still obvious after two coats: plan to paint the full wall from corner to corner for a uniform result.
Related guides
- How to Paint a Room — full room repaint when touch-ups don’t blend
- How to Patch Drywall — repairing the wall before painting
- How to Fix Nail Pops in Drywall — drywall repairs that need painting after
- Assess the damage
Determine whether the paint is scuffed (paint still present, just marred) or removed (bare drywall visible). Scuffed paint can be repainted directly. Bare drywall paper requires priming first — unpainted drywall is highly porous and absorbs paint differently, causing a visible flat or discolored spot.
- Repair the surface if needed
For a deep gouge: apply a thin skim of joint compound, let dry fully, and sand smooth with 220-grit. For bare drywall: apply drywall primer and let dry completely before painting. Skip priming and the touch-up color will look different even with an exact paint match.
- Apply touch-up paint with a mini roller
Load a 2-inch mini roller with a small amount of the original paint — roll off excess on a paper plate first. Apply to the damaged area with the roller, then feather the edges by extending the coat 2–3 inches past the repair, thinning to nothing at the boundary. Do not apply a thick coat — thin coats blend better than thick ones.
- Evaluate the blend and repaint if needed
Step back and check the touch-up in natural light at normal viewing distance. If a second thin feathered coat doesn't blend the repair invisibly — especially on paint more than 2–3 years old — plan to paint the full wall from corner to corner for a uniform result.
Free: 10-Point Home Maintenance Checklist
Prevent costly repairs with this seasonal checklist. Save hundreds every year by catching problems early.
Your checklist is ready!
Open Checklist →Something went wrong. View the checklist here.