How to Stain Wood Furniture: Prep, Application, and Finishing for a Professional Result
Complete guide to staining wood furniture — sanding, applying pre-conditioner, choosing stain type, wiping technique, and applying a protective topcoat.
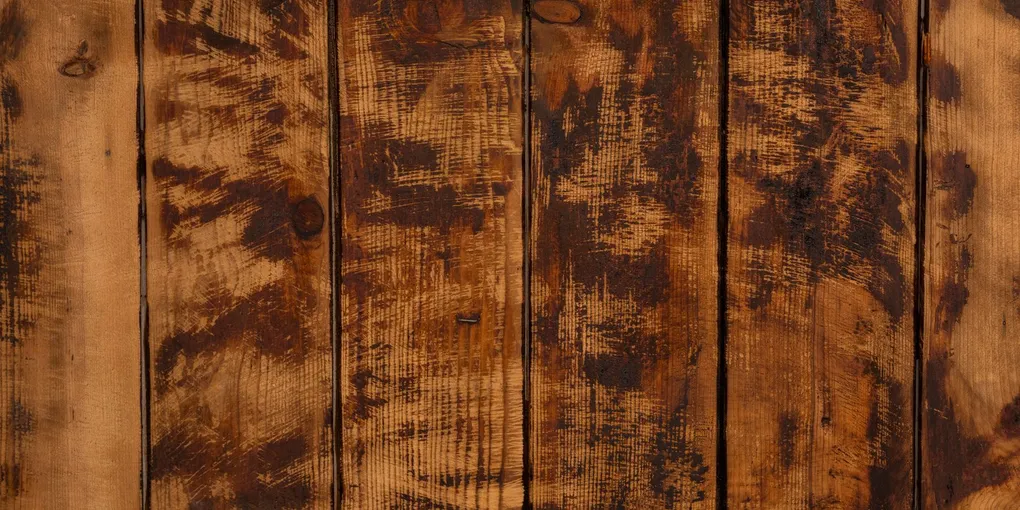
Staining wood furniture is 90% prep. Sand with progressively finer grit — 80, 120, 180, then 220 — finishing with the grain. Wipe with a tack cloth. Apply pre-conditioner on pine, birch, or any soft or porous wood to prevent blotching. Apply stain with a brush or rag, working in sections. Wipe off excess with a clean rag after 1–3 minutes — shorter dwell time gives a lighter color, longer gives a deeper tone. Let dry fully, then apply 2–3 coats of polyurethane for protection.
Frequently Asked Questions
What is the difference between oil-based and water-based wood stain?
Oil-based stains penetrate deeper into wood grain, produce richer, warmer color, and are more durable. They require mineral spirits or paint thinner for cleanup and take 8–24 hours to dry between coats. Water-based stains dry faster (1–2 hours), have lower odor, clean up with water, and tend toward cooler tones. Water-based finishes have improved significantly and work well for most furniture projects. Oil-based is the traditional choice for furniture that needs maximum depth and durability — dining tables, outdoor pieces. Water-based is easier to work with and better for lighter woods where you want to preserve natural tone.
Do I need to sand wood before staining?
Yes, always. Stain penetrates open wood pores. If the surface has an old finish, paint, or mill glaze (the smooth compressed surface left by planing at the mill), the stain won't penetrate evenly. Sand to bare wood using progressively finer grits: start at 80 or 100 for old finish removal, 120 to smooth, 150 to refine, finish at 180 or 220. Always sand with the grain, not across it. Cross-grain scratches become very visible after staining. Finish by wiping with a tack cloth to remove all dust — residual dust shows up as bumps under stain.
What is wood conditioner and do I need it before staining?
Wood conditioner is a thin sealer that partially fills wood pores before staining, causing the stain to absorb more evenly. It is essential for pine, fir, birch, alder, aspen, and other soft or porous woods that tend to absorb stain unevenly, creating a blotchy or streaky appearance. Hardwoods like oak, walnut, and mahogany generally don't need conditioner. Apply conditioner with a brush or rag, let sit 5–15 minutes, wipe off excess, and apply stain within 2 hours before the conditioner fully cures. Minwax Pre-Stain Wood Conditioner is the standard product. Without conditioner on soft wood, blotching is nearly impossible to fix after the fact.
How do I get an even stain on pine or softwood?
Four steps prevent blotching on pine and other soft woods: (1) Sand thoroughly through fine grits, finishing at 220. (2) Apply a generous coat of wood conditioner and let it penetrate for 10–15 minutes, then wipe off all excess. (3) Apply stain within 2 hours of the conditioner application, before it fully cures. (4) Keep your wipe-off time consistent across the whole piece — apply stain to one section at a time and wipe before moving to the next. Letting stain sit longer in some areas while others are wiped quickly creates color variation. Gel stain is also an option for pine — its thicker consistency doesn't penetrate as aggressively, which reduces blotching.
How many coats of stain do I apply?
Usually one coat of stain is sufficient if you let it sit long enough before wiping (3–5 minutes for deeper color). A second coat can deepen color on open-grain woods like oak, but on pine and other soft woods a second coat often creates uneven buildup. If you want a deeper color than one coat gives, extend the dwell time before wiping rather than adding a second coat. Between coats, the first coat must be fully dry per the manufacturer's instructions. After staining is complete, the color protection comes from the topcoat — not from adding more stain coats.
What topcoat should I use over wood stain on furniture?
Polyurethane is the most durable and most commonly used topcoat for stained furniture. Oil-based polyurethane is harder and more resistant to heat and water — better for tabletops and surfaces that take abuse. Water-based polyurethane dries faster and stays clearer (oil-based yellows slightly over time), making it better for lighter stain colors. Apply 2–3 thin coats, sanding lightly with 320-grit between coats and wiping with a tack cloth before the final coat. Lacquer dries faster than polyurethane but is less durable and requires good ventilation. Furniture wax is easy to apply and gives a natural look but needs reapplication every 1–2 years and offers less protection against water and heat.
Staining wood furniture is 90% prep. Sand with progressively finer grit — 80, 120, 180, then 220 — finishing with the grain.
Staining wood furniture is 90% prep. Get the surface right and the application is straightforward. Rush the prep and no application technique will fix the result.
Oil-based vs water-based stain
| Feature | Oil-Based | Water-Based |
|---|---|---|
| Dry time between coats | 8–24 hours | 1–2 hours |
| Cleanup | Mineral spirits | Soap and water |
| Odor | Strong — ventilate | Low |
| Color tone | Warm, rich | Cooler, cleaner |
| Durability | Excellent | Very good |
| Yellowing over time | Slight | Minimal |
For most indoor furniture, either works. Oil-based gives a warmer, deeper result. Water-based is easier to work with and dries fast enough to complete a project in one day.
Shop Minwax oil-based wood stain
Step 1: Prep the surface
Prep is where the project is won or lost.
Sanding sequence:
Start with the grit that matches your starting condition:
- Old finish or paint: begin at 80-grit to cut through the finish
- Bare wood in good condition: begin at 120-grit
- Always finish at 180 or 220-grit
Between grits, wipe off all dust before moving to the next. Sand in the direction of the grain — cross-grain scratches become highly visible under stain and are nearly impossible to hide.
After the final sanding, wipe the entire surface with a tack cloth. Don’t skip this. Residual sanding dust sits in the pores and creates a gritty finish under stain.
Shop orbital sanders for furniture | Shop tack cloth
Step 2: Apply pre-conditioner (soft and porous woods)
If your piece is pine, fir, birch, alder, aspen, or any soft or porous wood: apply wood conditioner before staining. Without it, soft woods absorb stain unevenly — dark blotches in soft-grain areas, light patches in dense grain. There is no way to fix significant blotching after the stain is applied.
- Apply conditioner liberally with a brush or lint-free rag, working it into the grain.
- Let it penetrate for 10–15 minutes.
- Wipe off all excess with a clean rag.
- Apply stain within 2 hours — the conditioner must still be slightly wet when stain goes on, or it won’t work as intended.
Hardwoods like oak, walnut, cherry, and mahogany typically don’t need conditioner — their denser, more consistent grain accepts stain evenly.
Shop Minwax pre-stain wood conditioner
Step 3: Apply stain
Work in sections sized so you can apply and wipe before the stain starts to dry.
- Stir the stain thoroughly — pigment settles to the bottom.
- Apply with a foam brush, bristle brush, or lint-free rag. Work with the grain.
- Apply generously enough to wet the whole section. Don’t let any areas dry before wiping.
- Wipe off excess with a clean lint-free rag, wiping with the grain.
Dwell time controls color depth: The longer the stain sits before you wipe, the darker the result. For light color, wipe after 1 minute. For medium color, wipe after 2–3 minutes. For deep color, wipe after 5 minutes. Keep dwell time consistent across the piece — varying it in different sections creates visible color variation.
Apply stain to one section, wipe it off, then move to the next. Don’t apply stain to the whole piece and then try to wipe it all at once — you won’t be able to keep up.
Shop foam brushes for stain application
Step 4: Second coat vs single coat
For most furniture, one coat of stain applied with a 3–5 minute dwell is sufficient.
A second coat can deepen color on open-grain hardwoods like oak or ash. Let the first coat dry completely (per manufacturer’s instructions — typically 8 hours for oil-based, 2 hours for water-based), then apply the second coat with the same technique.
On pine and soft woods, a second coat tends to create uneven buildup rather than a uniform deeper color. If you want more depth on soft wood, extend the dwell time on the first coat rather than adding a second.
Step 5: Apply a topcoat
Stain alone offers no protection. All stained furniture needs a topcoat.
Polyurethane (recommended for most furniture):
Apply 2–3 thin coats. Thin coats dry faster, level better, and are less prone to bubbles than thick coats.
- Apply with a high-quality synthetic bristle brush or a foam applicator.
- Brush with the grain in long, even strokes. Don’t overwork — polyurethane self-levels.
- Let dry fully between coats.
- Sand lightly with 320-grit between coats to remove dust nibs or brush marks.
- Wipe with a tack cloth before each subsequent coat.
- The final coat does not need sanding (unless you want an ultra-smooth matte finish — 400-grit followed by paste wax).
Lacquer: Dries in 30–60 minutes, very smooth finish, but less durable than polyurethane and requires excellent ventilation. Best applied by spray.
Wax: Easy and forgiving, beautiful natural appearance. Needs reapplication every 1–2 years. Poor heat and moisture resistance — not suitable for dining or kitchen surfaces.
Shop Minwax polyurethane topcoat
Related guides
- How to Paint Kitchen Cabinets
- How to Stain a Deck
- How to Strip Paint
- Sand the surface through progressive grits
Start at 80-grit for old finish removal or 120-grit for bare wood in good condition. Progress through 120, 150, and finish at 180 or 220-grit. Always sand with the grain — cross-grain scratches become highly visible under stain. Between each grit, wipe off all dust. After the final pass, wipe the entire surface with a tack cloth to remove residual sanding dust from the pores.
- Apply wood conditioner on soft or porous woods
For pine, fir, birch, alder, aspen, or any soft wood: apply wood conditioner liberally with a brush or lint-free rag. Let penetrate 10–15 minutes, then wipe off all excess. Apply stain within 2 hours — the conditioner must still be slightly wet when stain goes on. Hardwoods like oak, walnut, and mahogany generally do not need conditioner.
- Apply stain in sections and wipe to control color depth
Stir the stain thoroughly before starting. Apply with a foam brush, bristle brush, or lint-free rag working with the grain. Apply to one section, then wipe off excess with a clean lint-free rag. Dwell time controls color: 1 minute for light color, 2–3 minutes for medium, 5 minutes for deep. Keep dwell time consistent across the piece — variation creates visible color differences.
- Apply 2–3 coats of polyurethane topcoat
Stain offers no protection alone — apply 2–3 thin coats of polyurethane. Brush with the grain in long even strokes, working with a high-quality synthetic brush or foam applicator. Let dry fully between coats. Sand lightly with 320-grit between coats to remove dust nibs, then wipe with a tack cloth before the next coat. The final coat does not need sanding unless you want an ultra-smooth matte finish.
Free: 10-Point Home Maintenance Checklist
Prevent costly repairs with this seasonal checklist. Save hundreds every year by catching problems early.
Your checklist is ready!
Open Checklist →Something went wrong. View the checklist here.