How to Replace a Light Fixture: Wiring, Mounting, and Safety
Step-by-step guide to safely replacing an overhead light fixture — turning off power, removing old wiring, connecting new fixture, and testing.
Replacing a light fixture: (1) Turn off the breaker for that circuit — not just the light switch. Verify with a non-contact voltage tester before touching any wires. (2) Remove the old fixture: unscrew the canopy, disconnect the wires (note which color connects to which). (3) Connect new fixture: black to black (hot), white to white (neutral), bare copper or green to the ground screw. Use wire nuts and pull-test each connection. (4) Secure the mounting bracket to the ceiling box, attach the fixture, restore power and test. Total time: 30–45 minutes. Tools needed: non-contact voltage tester ($15), wire stripper, screwdrivers.
Frequently Asked Questions
How do I know if the power is off before replacing a light fixture?
Turn off the breaker that controls the fixture, then use a non-contact voltage tester on the wires inside the ceiling box. Hold the tester near each wire — if it beeps or lights up, there is still live voltage somewhere. Do not rely on the light switch alone. Switches cut the hot wire, but the neutral is still in the box. Only the voltage tester confirms true safety.
What do the wire colors mean when wiring a light fixture?
Black is the hot wire — it carries current from the breaker to the fixture. White is the neutral — it completes the circuit back to the panel. Bare copper or green is the ground — a safety path that trips the breaker if a fault occurs. Connect black to black, white to white, and ground to ground. Never reverse hot and neutral.
What if my light fixture has a ground wire but the ceiling box does not?
You can still install the fixture safely. If the box is metal, wrap the fixture ground wire around one of the mounting screws on the box — metal boxes are grounded through the conduit or armored cable. If the box is plastic and has no ground wire, cap the fixture ground wire with a wire nut and leave it in the box. The fixture will work, though it will not be fully grounded.
How do I replace a light fixture if there are more wires than expected?
Multiple cables in the ceiling box are normal — the fixture is likely in the middle of a circuit feeding power to other lights or outlets. You will typically see two sets of black and white wires, plus grounds. Connect all grounds together, connect all whites together (including the fixture neutral), and connect all blacks together with the fixture hot wire. Use one wire nut per group. If you see a red wire, that is usually a switched hot — connect it the same way as the black.
How heavy a light fixture can I hang from a standard ceiling box?
A standard ceiling electrical box rated for fixtures supports up to 35 pounds. Fixtures between 35 and 70 pounds require a fan-rated box or a brace kit installed between joists. Anything over 70 pounds — large chandeliers, heavy pendants — needs to be anchored directly to a ceiling joist or with a heavy-duty brace rated for the load. Check the box label for its rating.
Do I need a permit to replace a light fixture?
In most jurisdictions, replacing an existing light fixture with a new one of the same type does not require a permit. You are swapping like for like on an existing circuit. Adding a new fixture location, running new wiring, or converting to a ceiling fan installation where none existed before may require a permit. Check with your local building department if you are unsure.
Replacing a light fixture: (1) Turn off the breaker for that circuit — not just the light switch. Verify with a non-contact voltage tester before touching any wires.
Replacing a light fixture is one of the most common DIY electrical jobs homeowners tackle — and one of the most manageable. No new wiring, no permits in most cases, and the job is usually done in under an hour. The tools are basic, the skills required are minimal, and the payoff is immediate: a new fixture transforms the look of a room.
The one area where this job demands respect is electricity. A ceiling box has live voltage until you turn off the breaker and verify with a tester. Get that part right and the rest is straightforward.
What You Need
- Non-contact voltage tester — essential, non-negotiable
- Wire nuts / electrical connectors
- Wire stripper
- Electrical tape
- Phillips and flathead screwdrivers
- Ladder tall enough to work comfortably at the ceiling
- A helper (optional but useful when mounting heavier fixtures)
If your new fixture is heavier than 35 pounds, you may also need a fan-rated ceiling box and brace kit.
Step 1: Turn Off Power and Verify
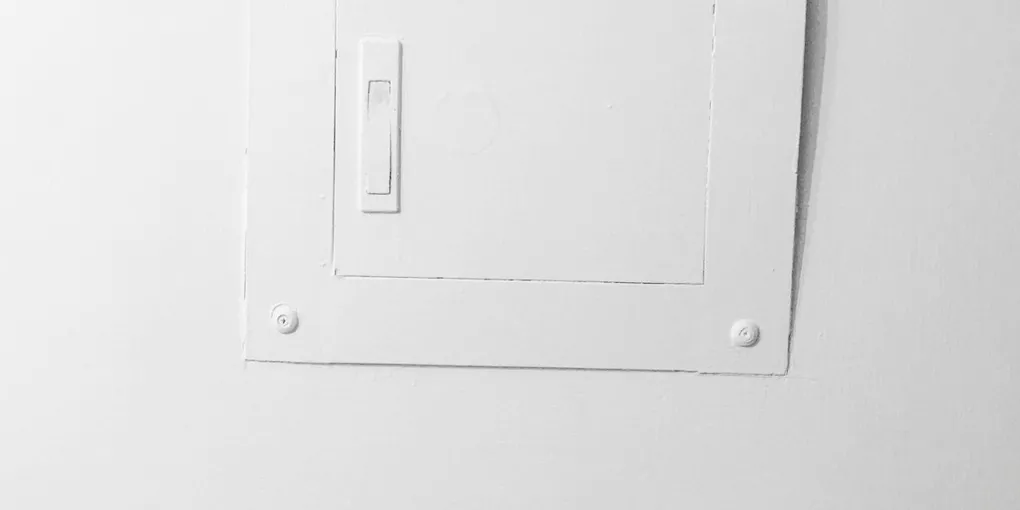
Go to your breaker panel and flip the breaker that controls the room where the fixture is. If the labels in your panel are unreliable, turn the fixture on first — when the right breaker trips, the light goes off.
After flipping the breaker:
- Flip the wall switch to confirm the light is off.
- Climb the ladder and remove the fixture’s glass shade or diffuser if there is one.
- Unscrew the canopy or base that covers the ceiling box.
- Pull the fixture down enough to expose the wires.
- Use your non-contact voltage tester on each wire — black, white, and bare ground. The tester should give no signal on any of them.
If the tester beeps or lights up on any wire, stop. You have the wrong breaker. Go back to the panel and find the right one.
Do not skip the voltage tester. Switches cut only the hot wire — neutral is always in the box. And mislabeled breakers are common in older homes.
Step 2: Remove the Old Fixture
Once you have confirmed zero voltage:
- Disconnect the wire nuts holding the fixture wires to the ceiling wires. Twist them counterclockwise to remove, then untwist the wires.
- Unscrew the mounting bracket or strap from the ceiling box if the new fixture uses a different mounting system.
- Lower and set aside the old fixture.
Take a photo of the wiring before you disconnect anything. You will thank yourself if you need a reference later.
Step 3: Identify the Wires
Inside the ceiling box you will see:
- Black wire (hot) — carries power from the breaker through the switch
- White wire (neutral) — the return path completing the circuit
- Bare copper or green wire (ground) — a safety conductor that trips the breaker in a fault
In some older homes, both wires in the ceiling box are white. In that case, the hot wire is typically marked with black electrical tape or a black marker at the end. If neither wire is marked, restore power briefly at the breaker and use your voltage tester to identify which wire goes hot when the wall switch is on — that is the switched hot. Turn power back off before continuing.
If there are two separate cables in the box (two sets of wires), the fixture is mid-circuit. See the FAQ below for how to handle that.
Step 4: Connect the New Fixture
Most fixtures come with a mounting bracket and lead wires. Install the mounting bracket to the ceiling box first — it threads onto the box screws or uses a crossbar depending on the fixture style.
Then connect the wires:
- Black to black (fixture hot to ceiling hot) — twist the bare copper ends together and screw on a wire nut clockwise until snug.
- White to white (fixture neutral to ceiling neutral) — same process.
- Ground to ground — bare copper to bare copper, or to the green screw on the mounting bracket if the fixture has a grounding screw rather than a lead wire.
Pull each wire nut gently to confirm it will not come off. A loose wire nut means a loose connection — reconnect and tighten.
Wrap each wire nut with a half-turn of electrical tape for extra insurance, especially on the hot connection.
Step 5: Mount the Fixture and Restore Power
Tuck the connected wires up into the ceiling box — fold them accordion-style rather than cramming them. Wire nuts should point up, not sideways.
Slide the fixture canopy up against the ceiling and secure it with the mounting screws or medallion nut. Make sure no wires are pinched between the canopy and the ceiling.
Install any bulbs the fixture requires, then:
- Turn the wall switch off.
- Go to the breaker and restore power.
- Flip the wall switch on.
The fixture should light up immediately. If it does not, turn the breaker off, check your wire connections, and confirm the wire nuts are tight and color-matched correctly.
Common Problems
Too Many Wires in the Box
If you pull out the old fixture and find four or more wires, the box is mid-circuit — power comes in from the panel and continues on to other lights or outlets. This is normal. Connect all grounds together, all whites together (including the fixture’s white lead), and all blacks together (including the fixture’s black lead), using a single wire nut per group. A wire stripper helps if any wire ends need to be re-stripped.
No Ground Wire in the Ceiling Box
Older homes, especially pre-1960 construction with conduit wiring, sometimes have no ground wire. If the box is metal and mounted in metal conduit, the box itself is grounded — wrap the fixture’s ground wire around a mounting screw on the box. If the box is plastic with no ground wire, cap the fixture’s ground wire with a wire nut and tuck it into the box. The fixture will operate safely but without a ground path.
Flickering After Installation
Flickering usually points to a loose wire connection. Turn off the breaker, remove the canopy, and check that each wire nut is fully tight and that no strands of copper are left outside the nut. Also confirm the bulbs are fully seated if the fixture uses screw-base bulbs. LED bulbs on dimmer switches can also flicker if the dimmer is not rated for LED — check the dimmer’s compatibility.
Related Reading
- How to Install a Ceiling Light Fixture
- How to Install Recessed Lighting
- How to Replace a Light Switch
- How to Fix a Light Fixture That Flickers
- Turn Off Power and Verify
Go to your breaker panel and flip the breaker that controls the room where the fixture is. If the labels in your panel are unreliable, turn the fixture on first — when the right breaker trips, the light goes off.
- Remove the Old Fixture
Once you have confirmed zero voltage:
- Identify the Wires
Inside the ceiling box you will see:
- Connect the New Fixture
Most fixtures come with a mounting bracket and lead wires. Install the mounting bracket to the ceiling box first — it threads onto the box screws or uses a crossbar depending on the fixture style.
- Mount the Fixture and Restore Power
Tuck the connected wires up into the ceiling box — fold them accordion-style rather than cramming them. Wire nuts should point up, not sideways.
Free: 10-Point Home Maintenance Checklist
Prevent costly repairs with this seasonal checklist. Save hundreds every year by catching problems early.
Your checklist is ready!
Open Checklist →Something went wrong. View the checklist here.