How to Change a Recessed Light Bulb: BR30, PAR30, and LED Retrofit (2026)
Replacing bulbs in recessed can lights is simple once you know the right bulb type. This guide covers identifying your trim type, choosing the right BR30 vs PAR30 vs GU10, and installing LED retrofit kits to upgrade old fixtures.
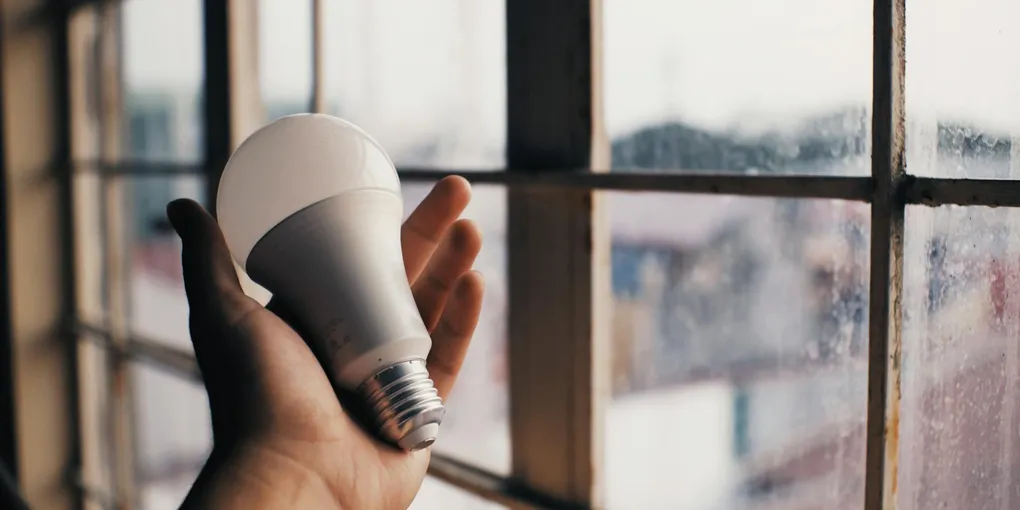
To change a recessed light bulb: turn off the switch, let the bulb cool (halogen bulbs run very hot), and twist or pull the old bulb out. Most recessed cans use medium base (E26) screw-in bulbs — replace with a standard BR30 or BR40 LED for a perfect fit. Measure the trim opening diameter: 4-inch cans use BR30, 6-inch cans use BR30 or BR40. If the fixture is an old halogen with a GU10 pin-type bulb: replace with a GU10 LED of matching size. Never use more wattage than the fixture's maximum rating.
Frequently Asked Questions
What is the difference between BR30, BR40, PAR30, and PAR38 bulbs?
BR (Bulged Reflector) bulbs have a soft, wide flood beam — good for general room lighting. BR30 fits 6-inch cans perfectly; BR40 is slightly larger. PAR (Parabolic Aluminized Reflector) bulbs have a harder, more focused beam — better for accent or task lighting. PAR30 fits 6-inch cans; PAR38 is larger and used in larger 6-inch cans and exterior fixtures. Both types come in LED — choose based on beam angle (flood vs spot) and can diameter.
My recessed light has a spring clip trim that pulls out. How do I remove the bulb?
Some recessed lights have a baffle trim that is held in place by spring clips rather than screws. To remove: grip the trim ring with both hands and pull straight down — the springs compress and release. Once the trim is out, you can access the socket and bulb. To reinstall: compress the clips, align with the can, and push up until the clips catch. Some pull-down trims also expose a screw-in socket that can be rotated out for easier bulb access.
My recessed light uses a GU10 or bi-pin base. Where do I find replacement bulbs?
GU10 (two-pin twist-lock) and MR16 (bi-pin) bulbs are used in low-voltage halogen and some LED fixtures. To remove: push in slightly and rotate counterclockwise (GU10) or pull straight out (MR16). GU10 LED replacements are widely available and fit the same socket. MR16 LED replacements are also available but require a compatible driver — not all MR16 LEDs are compatible with existing halogen transformers. If LEDs flicker or don't light in an MR16 fixture: the transformer needs to be replaced or a compatible LED driver installed.
What wattage LED should I use to replace a 65-watt halogen?
A 65-watt halogen (standard recessed can replacement) is replaced by an 8–11 watt LED producing 650–800 lumens. The key number is lumens, not watts: 650 lumens = rough equivalent of 65W incandescent/halogen. For brighter output (previously had multiple bulbs or want more light): use a 1,000-lumen (13W) LED. Check the fixture's maximum wattage rating — LED wattage is much lower so this is rarely a concern, but the fixture label will specify.
What is an LED retrofit kit and should I use one?
An LED retrofit kit replaces the old bulb AND the trim ring in one unit. The LED module, driver, and trim are integrated — you remove the old trim, disconnect the socket, connect the new retrofit kit, and push up into the can. Advantages: better looking finished result, higher efficiency, longer life (50,000+ hours), often dimmable. Cost: $15–$30 per fixture vs. $5–$15 for an LED bulb. Worth it for: old halogen cans that run hot, cans with recessed sockets where standard bulbs don't sit at the right depth, or rooms where you want a uniform upgraded look.
To change a recessed light bulb: turn off the switch, let the bulb cool (halogen bulbs run very hot), and twist or pull the old bulb out. Most recessed cans use medium base (E26) screw-in bulbs — replace with a standard BR30 or BR40 LED for a perfect fit.
Changing a recessed light bulb is a 5-minute job once you have the right replacement.
What you need
- Replacement LED bulb (BR30 for 6-inch cans, BR30 or PAR30 for 4-inch cans) — or an LED retrofit kit
- Step stool or ladder
- Gloves (halogen bulbs should not be touched bare-handed — skin oils cause hot spots that shorten bulb life)
Step 1: Turn off the light
Turn off the wall switch. If it was recently on, wait 5–10 minutes for halogen bulbs to cool — they run at 500–700°F and will burn skin on contact.
Step 2: Remove the old bulb
Screw-in bulb: Turn counterclockwise and pull down.
Spring-clip trim: Grip the trim ring and pull straight down to release the spring clips. The socket and bulb are now accessible. Remove the bulb.
GU10 (twist-lock): Push in slightly, rotate counterclockwise 1/4 turn, pull out.
MR16 (pin base): Pull straight down.
Step 3: Check the fixture rating
Inside the can or on the socket, look for the maximum wattage rating. With LED bulbs (typically 8–13W), you are well within any rating — but confirm.
Also check: is the can marked “IC” (insulation contact rated)? IC-rated cans are designed to be covered by insulation in the attic. Non-IC cans must have 3 inches of clearance from insulation. LED bulbs produce far less heat than halogens, reducing the fire concern of non-IC cans with LEDs.
Step 4: Install the replacement
Standard LED bulb: Insert and turn clockwise until snug. Don’t over-tighten.
LED retrofit kit:
- Remove old trim (unscrew or unclip from the can).
- Disconnect the old socket from the can’s wiring — usually a twist-lock connector or wire nut connection.
- Connect the new retrofit kit’s connector (plug-in, usually color-coded).
- Push the retrofit module up into the can — spring clips hold it.
Step 5: Test
Restore power. Test the switch. If the LED flickers or doesn’t light on a dimmer: check that the LED is labeled as dimmable and that the dimmer is LED-compatible. Dimmers designed for incandescent bulbs often cause LED flicker — an LED-compatible dimmer (like Lutron Caseta) is needed.
Related guides
- How to Install Recessed Lighting — adding new cans where none exist
- How to Install a Dimmer Switch — dimmer compatibility with LED bulbs
- How to Install Under-Cabinet Lighting — task lighting in kitchen
- Turn off the light and let it cool
Turn off the wall switch. If the fixture recently had a halogen bulb, wait 5–10 minutes before touching it — halogen bulbs run at 500–700°F and cause burns on contact. LED replacements run cool and can be handled immediately.
- Remove the old bulb
Screw-in bulb (E26 medium base): turn counterclockwise and pull down. Spring-clip trim: grip the trim ring with both hands and pull straight down to release the spring clips, then access the socket. GU10 twist-lock: push in slightly, rotate counterclockwise 1/4 turn, pull out. MR16 pin base: pull straight down. Handle halogen bulbs with gloves — skin oils on the glass cause hot spots that shorten bulb life.
- Check fixture rating and choose replacement
Look inside the can or on the socket for the maximum wattage rating. Standard 6-inch cans use BR30 LEDs (8–11 watts, 650–800 lumens). 4-inch cans use BR30 or PAR30. For a GU10 fixture: replace with a GU10 LED. For a complete upgrade: an LED retrofit kit ($15–$30) replaces both the bulb and trim ring for a cleaner result and better efficiency.
- Install the new bulb or retrofit kit
Standard LED bulb: insert and turn clockwise until snug. LED retrofit kit: remove the old trim, disconnect the old socket connector, connect the new retrofit kit (usually a plug-in color-coded connector), and push the module up into the can where spring clips hold it in place.
- Restore power and test
Restore power and test the switch. If the LED flickers on a dimmer: verify the LED is labeled as dimmable and the dimmer is LED-compatible. Dimmers designed for incandescent bulbs often cause LED flicker — an LED-compatible dimmer (Lutron Caseta or similar) resolves this.
Free: 10-Point Home Maintenance Checklist
Prevent costly repairs with this seasonal checklist. Save hundreds every year by catching problems early.
Your checklist is ready!
Open Checklist →Something went wrong. View the checklist here.