How to Reattach a Gutter Downspout: Step-by-Step Guide
Reattach a loose or separated gutter downspout to the wall and reconnect it to the gutter outlet in under an hour with basic tools.
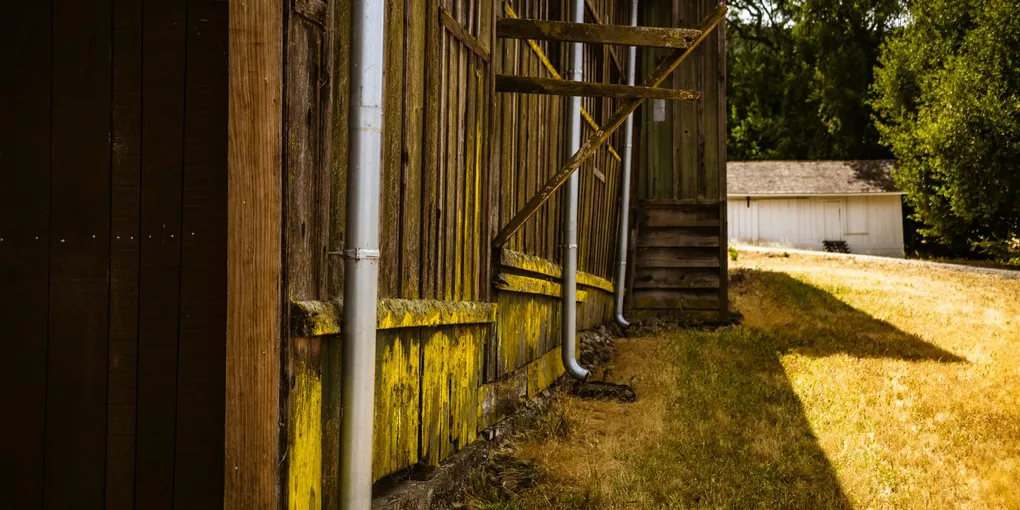
Reattaching a gutter downspout: (1) Determine what separated: the downspout from the gutter outlet (top connection), sections of downspout from each other (mid-run), or the downspout from the wall (wall strap). (2) For a top connection: re-insert the downspout elbow into the outlet, seal the joint with gutter sealant, and secure with sheet metal screws. (3) For separated sections: overlap the upper section inside the lower by at least 2 inches, secure with two sheet metal screws per joint, and seal with gutter sealant. (4) For a loose wall strap: drill new holes in the siding (use a masonry bit for brick), insert anchors, and reattach straps with screws. Add a strap every 6 feet maximum. (5) Check that the downspout outlet at the bottom extends at least 6 inches from the foundation — add a downspout extension if needed to direct water away from the house.
Frequently Asked Questions
Why do downspouts pull away from the wall or separate from the gutter?
Downspout straps fail when the screws pull out of soft or rotten wood siding, or when the strap itself rusts through. Downspout sections also separate at the seams when original rivets corrode, when downspout hangers are spaced too far apart for wind loads, or when ice buildup inside the downspout pulls sections apart. In climates with hard freezes, a downspout extension that cannot drain freely causes ice to back up and separate upper sections.
What screws should I use to fasten downspout straps to the wall?
Use 1-1/2 to 2-inch exterior-grade screws for wood siding or wood sheathing. For vinyl siding, drill a pilot hole and use pan-head sheet metal screws. For stucco or masonry, use a masonry bit to drill an anchor hole and install a plastic anchor before driving the screw. Never use drywall screws outdoors — they corrode quickly.
How far apart should downspout straps be spaced?
Space straps every 6 feet maximum, with one strap within 12 inches of each downspout section joint. In areas with heavy snow or ice loads, space straps every 4 feet. More straps mean more rigidity and less chance of the downspout separating or pulling away during storm events.
How do I reconnect downspout sections that have come apart?
Slide the upper section into the lower section so the upper piece is on the inside at the joint. This is the correct overlap direction for water to flow inside the joint rather than out through it. Secure the joint with two or three sheet metal screws or pop rivets. Apply a bead of gutter sealant on the inside of the joint before reassembling for a watertight connection.
What if the siding behind the downspout is rotten?
Rotten siding will not hold a screw regardless of the fastener type. You must repair or replace the damaged siding section before the downspout strap will hold. As a temporary measure, you can drive long screws through the rotten section into solid sheathing or framing behind it, but the correct fix is siding replacement.
Can I use gutter screws instead of rivets to join downspout sections?
Yes. Hex-head sheet metal screws are actually more reliable than pop rivets for downspout joints because they can be tightened over time if the joint loosens. Use number 8 or 10 sheet metal screws, 1/2 inch long, and drive two screws per side at each joint for a secure connection.
Reattaching a gutter downspout: (1) Determine what separated: the downspout from the gutter outlet (top connection), sections of downspout from each other (mid-run), or the downspout from the wall (wall strap). (2) For a top connection: re-insert the downspout elbow into the outlet, seal the joint with gutter sealant, and secure with sheet metal screws.
A downspout that has pulled away from the siding or separated at a joint is more than an eyesore. It directs water against your foundation, erodes landscaping, and can undercut a concrete walkway over time. Reattaching a downspout typically takes less than an hour and costs under $20 in hardware.
Diagnose the Problem First
Walk the perimeter of your house after a rain and look at every downspout. Common problems include:
- Strap pulled from wall — the screw hole in the siding is stripped or the wood behind it has softened
- Section separated at a joint — the upper section slid out of the lower section, or a rivet corroded through
- Downspout disconnected from gutter outlet — the elbow at the top has come loose from the gutter drop outlet
Identify which issue (or combination of issues) you are dealing with before going up the ladder.
What You Will Need
- Downspout straps or brackets — match to your downspout size (2x3 or 3x4 inch)
- Exterior screws 1-1/2 to 2 inch — for attaching straps to wood siding
- Sheet metal screws number 8 or 10 half inch — for joining downspout sections
- Gutter sealant — seals section joints from the inside
- Pop rivet gun and aluminum rivets — alternative fastener for section joints
- Cordless drill with Phillips and hex bits
- Ladder tall enough to reach the work area safely
- Safety glasses
Step 1: Reconnect the Downspout to the Gutter Outlet
Start at the top and work down.
The gutter drop outlet is the hole in the gutter trough that feeds water into the downspout. The first elbow connects the outlet to the wall and turns the flow downward.
If the elbow has separated from the outlet:
- Slide the elbow back onto the outlet so the outlet fits inside the elbow (the outlet should be inside at the joint, not outside, so water flows in rather than out of the seam).
- Apply a bead of gutter sealant around the interior of the joint.
- Secure with two sheet metal screws or two pop rivets spaced evenly around the joint.
Step 2: Rejoin Separated Downspout Sections
Downspout sections should telescope together with the upper section inside the lower section. This directs water into the tube rather than through the seam.
If sections have come apart:
- Identify which piece is the upper section and which is the lower section by looking at the taper — downspout sections are slightly tapered so one end slides into the other.
- Apply a bead of gutter sealant inside the lower section at the connection point.
- Slide the upper section into the lower section until fully engaged (typically 1 to 2 inches of overlap).
- Drive two sheet metal screws through both layers at each side of the joint to lock them together.
Step 3: Reattach Downspout Straps
Downspout straps hold the downspout against the wall. Start at the top and work down.
If the old screw holes are still solid: Simply position the strap around the downspout, align with the old hole, and drive a new screw.
If the old hole is stripped: Move the strap 2 to 3 inches up or down to hit fresh wood. Drive the new screw into an untouched area of siding.
If the siding is vinyl: Drill a pilot hole slightly smaller than the screw shank to avoid cracking the vinyl. Drive a pan-head sheet metal screw — the pan head grips the vinyl strap securely without pulling through.
If the siding is stucco or masonry: Drill an anchor hole with a masonry bit, insert a plastic wall anchor, and drive the screw into the anchor.
Space straps at least every 6 feet, and within 12 inches of every section joint.
Step 4: Add a Downspout Extension
If the downspout currently terminates at ground level without directing water away from the foundation, add a downspout extension while you are at it. Extensions attach to the bottom of the downspout and direct water 3 to 6 feet away from the foundation wall, which is the minimum recommended clearance to protect the foundation from water infiltration.
Step 5: Test with a Garden Hose
Run a garden hose into the gutter at the far end from the downspout. Watch the water flow through the gutter and into the downspout. Check every joint and strap for leaks or movement. Walk around the base of the downspout and confirm water is discharging away from the foundation.
If water drips from a joint, mark it, let it dry, and apply gutter sealant from the inside.
Related Guides
- How to Clean Gutters
- How to Fix a Clogged Downspout
- How to Extend a Gutter Downspout
- How to Fix a Sagging Gutter
- How to Fix a Broken Gutter Downspout — repair a cracked section while the downspout is detached
- Reconnect the Downspout to the Gutter Outlet
Start at the top and work down.
- Rejoin Separated Downspout Sections
Downspout sections should telescope together with the upper section inside the lower section. This directs water into the tube rather than through the seam.
- Reattach Downspout Straps
Downspout straps hold the downspout against the wall. Start at the top and work down.
- Add a Downspout Extension
If the downspout currently terminates at ground level without directing water away from the foundation, add a downspout extension while you are at it.
- Test with a Garden Hose
Run a garden hose into the gutter at the far end from the downspout. Watch the water flow through the gutter and into the downspout. Check every joint and strap for leaks or movement.
Free: 10-Point Home Maintenance Checklist
Prevent costly repairs with this seasonal checklist. Save hundreds every year by catching problems early.
Your checklist is ready!
Open Checklist →Something went wrong. View the checklist here.