How to Fix Roof Drip Edge: Replace, Resecure, and Seal Properly
A missing or damaged drip edge lets water wick under your shingles and rot your fascia board. Learn how to identify failed drip edge, remove damaged sections, install replacement metal, and seal the gutter-to-roof junction correctly.
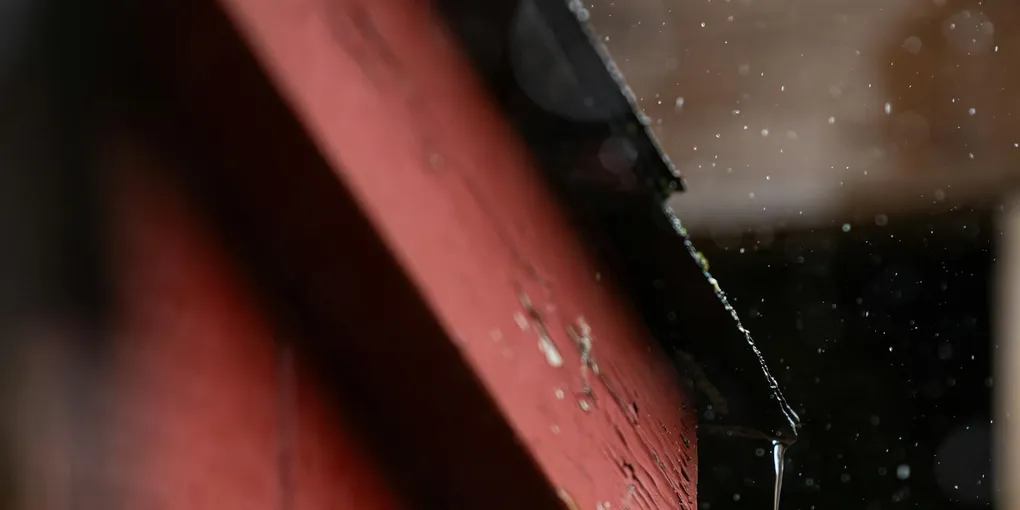
Drip edge is the least-glamorous roofing component and the one most likely to be missing or wrong on older homes.
Drip edge is the least-glamorous roofing component and the one most likely to be missing or wrong on older homes. A $2-per-foot aluminum strip at the roof edge prevents thousands of dollars in fascia and soffit rot — and fixing it is a straightforward ladder-and-tin-snips job.
What You Need
Before you go up on the ladder, assemble everything in a tool bag or bucket you can bring up with you.
- Aluminum drip edge (5-inch face, standard L profile) — buy 10% more linear footage than your measurement to account for overlaps and cuts ($1.50–$3.00 per foot, sold in 10-foot sticks)
- Roofing nails (1.25-inch, galvanized) — for nailing the drip edge to the fascia or roof deck ($8–$12 per pound)
- Tin snips (straight-cut aviation snips) — for cutting drip edge to length and mitering corners ($15–$30)
- Roofing pry bar / flat bar — for lifting shingle edges without cracking them ($12–$25)
- Flexible roofing sealant — for sealing drip edge overlaps and the drip-edge-to-gutter gap ($12–$18 per tube)
- Hammer or roofing hatchet — for driving roofing nails ($20–$40)
Total material cost estimate: $60–$130 for a typical eave-edge repair on one side of the house.
Understanding Drip Edge: Types and Positions
There are two places drip edge is installed on a standard gabled roof, and they install differently:
Eave drip edge runs along the horizontal bottom edge of each roof slope (the edge above the gutter). It is installed first — on top of the roof deck boards, under the underlayment (felt or synthetic), and under the first course of shingles. Water running off the bottom of the shingles hits the drip edge and drops into the gutter.
Rake drip edge runs along the sloped edges at the gable ends of the roof. It is installed after the underlayment — on top of the underlayment, under the shingles. This order is reversed from the eave because water on a rake wants to run downhill along the edge, not drip off the bottom.
The standard “Type C” or “Type D” drip edge profiles (the most common shapes) have:
- A horizontal leg that rests on the roof deck
- A face that covers the fascia edge
- A small kick-out at the bottom that directs water away from the fascia face
When drip edge is missing or has slipped out, the shingle overhang is all that protects the fascia — and shingles alone allow capillary wicking under their bottom edge.
Step 1: Assess the Damage
Set up your ladder safely at the eave. A standoff (ladder stabilizer) that holds the ladder away from the gutter protects the gutter and gives you better access to the roof edge.
Look along the full length of the eave. You are checking for:
- Missing drip edge: Visible bare fascia between the shingle bottom and the top of the gutter — no metal visible at all.
- Slipped drip edge: The drip edge has slid or blown out of position so the face leg is no longer covering the fascia edge.
- Rusted or corroded drip edge: The metal has rusted through, particularly at the nail holes and cut ends. Small rust streaks on the fascia are the telltale sign.
- Bent or crushed drip edge: From ladder placement, ice, or debris — the profile has been flattened so it no longer directs water correctly.
- Fascia rot: Press your screwdriver into the fascia wood behind the drip edge. If the wood is soft, spongy, or crumbles, the fascia needs to be replaced before new drip edge will be effective.
Mark damaged sections with masking tape flags as you walk the length of the roof. You may be repairing a single section or the entire perimeter.
Step 2: Remove Damaged Drip Edge
Work from the top down — lift shingles, then remove the drip edge, then address any fascia issues before reinstalling.
- Starting at one end of the damaged section, slide your flat pry bar gently under the bottom edge of the lowest shingle course, approximately 6 inches from the edge. Pry up slowly to break the seal strip adhesion without cracking the shingle.
- Look for the roofing nails securing the drip edge to the fascia. They are typically every 10–12 inches along the face of the drip edge and at overlaps. Use the pry bar claw to back out each nail.
- With the nails removed, slide the drip edge out from under the shingles. If it is under the underlayment as well (eave position), you will need to lift both the shingles and the underlayment edge to extract it.
- Check the fascia board now exposed. If it is sound (probe with a screwdriver — firm, dry wood), proceed. If soft, schedule a fascia replacement before continuing.
Step 3: Repair or Replace Fascia (If Needed)
If the fascia board has surface rot only (top 1/4 inch soft but the rest is solid), you can treat it with a penetrating wood hardener (such as Minwax Wood Hardener) and fill the void with exterior wood filler before installing new drip edge. This is a temporary solution — monitor it and plan a full fascia replacement within 2–3 years.
If the fascia is rotted through, replace it before installing new drip edge:
- Remove the gutter (detach from the fascia hangers) and set it safely aside.
- Remove the rotted fascia board — it is typically a 1×6 or 2×6 cedar or pine board nailed to the rafter tails.
- Cut a new fascia board from pressure-treated pine or cedar to the same dimensions. Prime all four sides before installation.
- Nail the new fascia to the rafter tails with 16d galvanized nails. Predrill near ends to prevent splitting.
- Prime and paint the new fascia to match.
- Rehang the gutter. Now install new drip edge.
Fascia material cost: $3–$8 per linear foot for a 1×6 cedar board. A 20-foot run costs $60–$160 in materials.
Step 4: Cut and Fit New Drip Edge
Measure the length of the section you are replacing. Cut drip edge sticks to length with aviation tin snips. Cut at a clean 90-degree angle for mid-run pieces, or at 45 degrees for outside corners where eave and rake meet.
At corners: The eave piece goes first. Cut its end at 45 degrees to create a neat miter. Then cut the rake piece at the matching 45-degree angle. The two pieces should meet cleanly at the corner. Seal the joint with roofing sealant before installing the rake piece.
At overlaps: Each new piece overlaps the previous piece by at least 2 inches. The uphill (or toward-the-gutter-end) piece laps over the downhill piece so water sheds over the joint. Never butt two drip edge pieces end-to-end with no overlap.
Color matching: If you are repairing a section and the existing drip edge is painted, take a photo to a paint store for color matching. Aluminum drip edge accepts spray paint well — prime with a self-etching primer and apply two coats of exterior enamel.
Step 5: Install New Drip Edge
At the eave (bottom edge):
- Position the drip edge with its horizontal leg on the roof deck, the face covering the fascia edge, and the kick-out directed away from the fascia.
- Nail the face of the drip edge to the fascia every 10–12 inches using 1.25-inch galvanized roofing nails. Drive nails straight — angled nails can cause the drip edge to bow.
- At overlaps, nail through both layers.
- Lay the underlayment back down over the drip edge horizontal leg (or lay new underlayment if the old was damaged).
- Re-secure the shingle edge with roofing cement / roofing sealant dabbed under any lifted shingle tabs, and press them down firmly.
At the rake (sloped gable edge):
- Underlayment goes down first (unlike at the eave).
- Position the rake drip edge on top of the underlayment.
- Nail every 10–12 inches. The top nail of each rake piece should go through the horizontal leg into the roof deck, not just the fascia.
- Shingles are installed over the rake drip edge.
Step 6: Seal and Verify
Run a bead of roofing sealant along each drip edge overlap joint — not over the full length of the drip edge, just at the overlaps and at any point where the drip edge meets another material (valley flashing, step flashing at a wall, etc.).
Check the gap between the bottom kick-out of the drip edge and the front lip of the gutter. This gap should be small — 1/4 inch or less — so that water drops directly from the drip edge into the gutter rather than behind it. If the gap is large, the gutter hanger height may need adjustment, or a gutter apron (an extension piece) can bridge the gap.
Run a hose along the roof edge for two minutes and watch from below to confirm water flows from the shingles, onto the drip edge face, and directly into the gutter with no dripping behind the gutter.
Cost Summary
| Repair Scope | DIY Material Cost | Professional Cost |
|---|---|---|
| Single-section resecure (10–15 ft) | $20–$50 | $150–$250 |
| Full eave drip edge (one side, 40 ft) | $60–$130 | $250–$450 |
| Full perimeter including rakes | $120–$250 | $400–$800 |
| With fascia board replacement | Add $60–$160 per 20 ft run | Add $200–$400 per 20 ft run |
A drip edge repair during a full roof replacement is typically included in the roofing quote at no extra charge — roofers install new drip edge as a standard part of a re-roofing job.
Maintenance Tips to Prevent Future Problems
- Clean gutters twice a year. Clogged gutters back up water against the drip edge and fascia. Even properly installed drip edge cannot handle standing water at the roof edge.
- Reposition ladder standoffs. Always use a ladder standoff (stabilizer bar) so the ladder rests against the wall, not against the gutter or fascia. Ladder pressure is one of the main causes of bent drip edge and cracked gutters.
- Paint cut ends. Any time you cut aluminum drip edge, brush cut edges with aluminum primer or roofing sealant. This prevents white chalky oxidation at the cut and slows corrosion.
- Inspect after major storms. High winds can lift and separate drip edge sections, especially on the rake edges of gabled roofs. A quick ladder inspection after any storm above 50 mph catches problems before they become rot.
Related Reading
- How to Fix a Sagging Gutter — gutter slope and hanger issues that cause water to pool at the drip edge
- How to Fix a Leaking Roof Vent — another common roof penetration leak source
- How to Clean Gutters — keeping gutters clear so water flows freely off the drip edge
- Assess the Damage
Set up your ladder safely at the eave. A standoff (ladder stabilizer) that holds the ladder away from the gutter protects the gutter and gives you better access to the roof edge.
- Remove Damaged Drip Edge
Work from the top down — lift shingles, then remove the drip edge, then address any fascia issues before reinstalling.
- Repair or Replace Fascia (If Needed)
If the fascia board has surface rot only (top 1/4 inch soft but the rest is solid), you can treat it with a penetrating wood hardener (such as Minwax Wood Hardener) and fill the void with exterior wood filler before installing new drip edge.
- Cut and Fit New Drip Edge
Measure the length of the section you are replacing. Cut drip edge sticks to length with aviation tin snips. Cut at a clean 90-degree angle for mid-run pieces, or at 45 degrees for outside corners where eave and rake meet.
- Install New Drip Edge
Position the drip edge with its horizontal leg on the roof deck, the face covering the fascia edge, and the kick-out directed away from the fascia.
- Seal and Verify
Run a bead of roofing sealant along each drip edge overlap joint — not over the full length of the drip edge, just at the overlaps and at any point where the drip edge meets another material (valley flashing, step flashing at a wall, etc.).
Free: 10-Point Home Maintenance Checklist
Prevent costly repairs with this seasonal checklist. Save hundreds every year by catching problems early.
Your checklist is ready!
Open Checklist →Something went wrong. View the checklist here.