How to Fix Popped Drywall Screws and Nails
Eliminate those small round bumps on your walls for good by driving a new screw, dimpling the old fastener, and applying two coats of joint compound for an invisible repair.
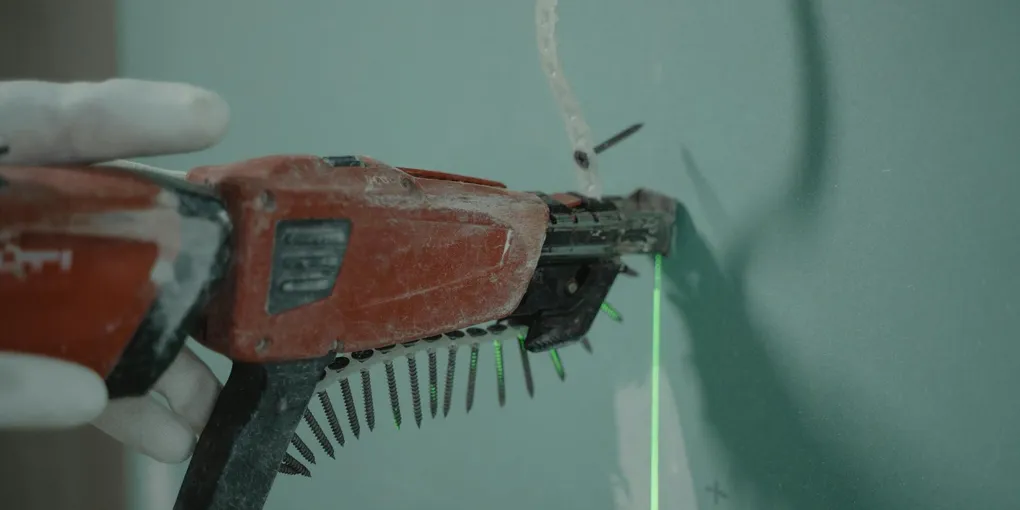
Popped drywall nails and screws are one of the most common cosmetic complaints in homes of all ages. That small circular bump or dimple on the wall — often with a ring of cracked paint around it — is a fixable problem that costs almost nothing and takes about 15 minutes of active work per fastener (plus drying time).
Popped drywall nails and screws are one of the most common cosmetic complaints in homes of all ages. That small circular bump or dimple on the wall — often with a ring of cracked paint around it — is a fixable problem that costs almost nothing and takes about 15 minutes of active work per fastener (plus drying time). The key is fixing it the right way so it does not come back.
Why Fasteners Pop
Drywall panels are held to the wall studs by either nails or screws driven through the drywall into the framing behind it. When the lumber framing shrinks as it dries — or moves seasonally with humidity changes — the wood pulls away from the fastener head, and the drywall compound covering the fastener loses its bond. The result is a small raised bump on the wall surface.
Simply pushing the fastener back in or driving it deeper into the drywall does not solve the problem because the fastener is no longer holding well in the wood. The permanent fix is to add new screws that bite firmly into the stud while leaving the old fastener recessed below the surface.
What You Need
- Drywall screws — 1-1/4 inch coarse thread — for securing the drywall to the stud
- Pre-mixed joint compound (lightweight) — a small tub is plenty for multiple repairs
- Drywall primer sealer — essential before painting the repair
- Drill or drywall screw setter (a Phillips bit with a depth-stop attachment)
- 4-inch and 6-inch drywall finishing knife (or flexible putty knife)
- Stud finder (or locate the stud by tapping)
- 120-grit and 220-grit sandpaper
- Matching paint and roller/brush
Step 1 — Locate the Stud
Before installing new screws, you need to confirm exactly where the wall stud is. The popped fastener tells you there is a stud nearby — but if the original nail missed the center of the stud, your new screws need to hit it squarely.
Use a stud finder or probe with a finish nail to locate the center of the stud. Mark it lightly with pencil. You will drive your new screws here.
Step 2 — Recess the Popped Fastener
Use a drill (with a Phillips bit) to drive the old fastener back down just below the drywall surface — creating a small dimple without breaking through the face paper. If it is a nail, use a nail set and hammer to do the same thing. The goal is to get the fastener head recessed about 1/32 inch below the surface so compound can fill over it.
Do not try to pull nails out. Attempting to extract a nail from a wall stud often tears the drywall paper significantly, creating a bigger repair than you started with. Recessing and covering is almost always the better approach.
Step 3 — Drive New Drywall Screws
Drive one new 1-1/4-inch drywall screw approximately 2 inches above the popped fastener and one approximately 2 inches below it, both aimed into the center of the stud. Use a drywall screw setter bit (which automatically stops at the right depth) or use a light touch with your drill to dimple the screw head just slightly below the surface without breaking the paper.
If you feel the screw spinning without catching — it is missing the stud. Adjust the position until you feel the screw biting firmly into solid wood.
Feel each screw head with your fingertip. You should feel a small dimple, not a raised bump and not a hole. That dimple is exactly what joint compound fills cleanly.
Step 4 — Apply the First Coat of Joint Compound
Open your pre-mixed joint compound and stir it slightly to bring it to a smooth, lump-free consistency. With the 4-inch knife, press a small amount of compound firmly into each dimple — the old nail spot and both new screw spots. Use a firm stroke across the surface to fill the dimple and leave the area as flat as possible.
Feather the edges of the compound out slightly from the dimple so there is no hard ridge at the repair edge. The patch should be thin — barely proud of the wall surface.
Allow the first coat to dry completely. Joint compound changes from gray-white to white as it dries. In a heated home, this typically takes 4 to 6 hours for a thin application. Rushing to the second coat before the first is fully dry leads to cracking.
Step 5 — Sand and Apply the Second Coat
Once fully dry, lightly sand the repair with 120-grit sandpaper. You are knocking down any ridges or tool marks, not sanding the whole thing flat. Wipe away the dust with a barely damp cloth.
Apply the second coat with the 6-inch knife. This coat should be slightly thinner than the first — the goal is to blend the repair into the surrounding wall, not to build more material. Feather the edges out a bit further. Allow to dry fully, then sand with 220-grit for a final smooth surface.
Run your hand lightly across the repair. You should feel no bump, no ridge, and no depression. If there is still a slight imperfection, apply a third thin skim coat and sand again after drying.
Step 6 — Prime and Paint
Do not paint directly over the joint compound without priming. Fresh compound is highly porous and absorbs paint unevenly, causing the repair to appear slightly different in sheen from the surrounding wall — called “flashing.”
Apply one coat of drywall primer sealer over the repair. Once the primer dries (about an hour), apply your finish paint. Two coats of paint after primer will reliably blend the repair into the surrounding surface.
Tackling Multiple Pops Efficiently
If your home has many popped fasteners — common in houses that are several decades old or built with green lumber — work through all of them at once. Drive all the new screws and recess all the old nails in one session, then coat all the repairs at the same time. You will only need to open one can of compound, make one primer run, and paint once, which saves significantly more time than repairing each one individually.
Related Reading
- How to Patch Drywall Holes
- How to Fix a Cracked Drywall Corner Bead
- How to Texture a Wall to Match Existing Finish
- Step 1 — Locate the Stud
Before installing new screws, you need to confirm exactly where the wall stud is. The popped fastener tells you there is a stud nearby — but if the original nail missed the center of the stud, your new screws need to hit it squarely.
- Step 2 — Recess the Popped Fastener
Use a drill (with a Phillips bit) to drive the old fastener back down just below the drywall surface — creating a small dimple without breaking through the face paper. If it is a nail, use a nail set and hammer to do the same thing.
- Step 3 — Drive New Drywall Screws
Drive one new 1-1/4-inch drywall screw approximately 2 inches above the popped fastener and one approximately 2 inches below it, both aimed into the center of the stud.
- Step 4 — Apply the First Coat of Joint Compound
Open your pre-mixed joint compound and stir it slightly to bring it to a smooth, lump-free consistency. With the 4-inch knife, press a small amount of compound firmly into each dimple — the old nail spot and both new screw spots.
- Step 5 — Sand and Apply the Second Coat
Once fully dry, lightly sand the repair with 120-grit sandpaper. You are knocking down any ridges or tool marks, not sanding the whole thing flat. Wipe away the dust with a barely damp cloth.
- Step 6 — Prime and Paint
Do not paint directly over the joint compound without priming. Fresh compound is highly porous and absorbs paint unevenly, causing the repair to appear slightly different in sheen from the surrounding wall — called "flashing."
Free: 10-Point Home Maintenance Checklist
Prevent costly repairs with this seasonal checklist. Save hundreds every year by catching problems early.
Your checklist is ready!
Open Checklist →Something went wrong. View the checklist here.