How to Fix an Oven Not Heating: Bake Element, Broil Element, and Igniter Repair (2026)
An oven that won't heat has a failed heating element (electric) or igniter (gas) in most cases. This guide covers diagnosing which component failed, testing with a multimeter, and replacing bake and broil elements as a DIY repair.
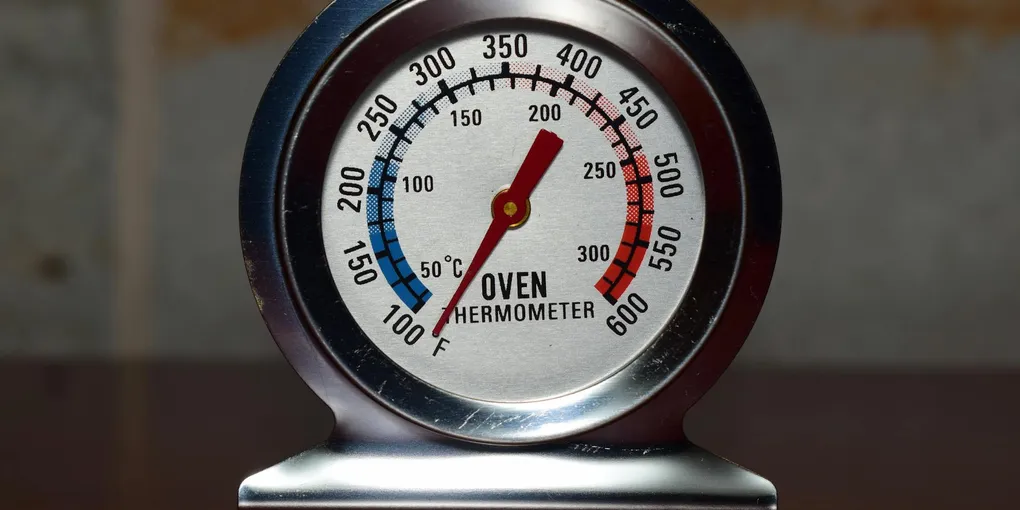
Oven not heating: (1) Electric oven — check the bake element first. It is at the bottom of the oven cavity. If it shows visible damage (crack, blister, burn hole) or glows only partially: it has failed. Replacement is straightforward — unplug the oven, remove 2 screws at the back of the element, pull it forward, disconnect 2 wires, connect to new element. (2) Gas oven — if the burner ignites at all, the igniter is working. If you hear clicking but no flame, or no ignition at all: the igniter is failing or the thermocouple/oven safety valve is failing. A weak glow with no ignition is the most common gas oven symptom — the igniter glows but isn't hot enough to trigger the gas valve.
Frequently Asked Questions
How do I tell if my electric oven's bake element has failed?
Visual inspection: with the oven off and cool, look at the bake element (bottom of the oven). A failed element often shows: a visible crack or hole burned through the element coil, a blistered or charred spot on the coil surface, or an area where the coil surface has a burned-white chalky area. If the element looks intact but the oven doesn't heat: test it with a multimeter. Set to ohms (Ω). Disconnect the power. Touch the probes to the two element terminals (accessible from inside the oven). A working bake element reads 15–30 ohms. An open circuit (OL or 'infinite') reading means the element is broken internally and needs replacement even if it looks fine.
My electric oven heats but not to the right temperature. Is that the element?
Incorrect temperature (oven runs cool or hot) is usually a failed oven temperature sensor (RTD probe), not a failed element. The temperature sensor is a thin probe inside the oven cavity, usually at the back upper corner. It reads the oven temperature and controls cycling. Test: with the oven at room temperature, the sensor should read approximately 1100 ohms. As the oven heats, resistance rises. A sensor reading very high (over 1500 Ω) or very low (under 900 Ω) at room temperature: it has drifted and needs replacement. Sensors cost $10–$25 and are a simple 2-screw removal from inside the oven.
How do I replace a bake element in an electric oven?
Steps: (1) Unplug the oven or turn off the circuit breaker. (2) Remove the oven racks. (3) Locate the bake element at the oven floor — it is usually held by 2 screws at the rear (the element has two connection terminals at the back wall). (4) Remove the screws. Pull the element forward 2–3 inches — the wire terminals will become visible from the back wall. (5) Disconnect the two wire terminals (they pull off, or sometimes use a small clip). Note the wire positions — usually one is at each side of the element mounting bracket. (6) Order the replacement element by oven brand and model number (found on a label inside the door frame). (7) Connect wires to the new element, push it back, secure with screws.
My gas oven clicks but doesn't light. Is the igniter bad?
If the clicking is from the igniter sparking but there is no flame: check first whether the burner holes are clogged (food debris in the burner ports blocks gas flow — clean with a wire or toothpick). If the burner is clean and still won't light: the igniter spark electrode may be cracked or positioned incorrectly — the spark must arc to within 1/8 inch of the burner. If there is no clicking at all: the spark module (ignition controller) may be bad. The classic gas oven igniter failure (glow-bar igniter) is a slow glow with no ignition — the ceramic glow-bar igniter draws current and glows orange/red, but the glow-bar must reach 2500°F to open the gas safety valve. A weak igniter glows but never gets hot enough. Replace the glow-bar igniter.
How do I know if my oven problem requires a professional or is a DIY repair?
DIY-appropriate oven repairs: replacing the bake element, broil element, or temperature sensor on an electric oven — these involve unplugging the unit and swapping parts; no gas lines or high-voltage wiring work required. Replacing the glow-bar igniter on a gas oven — the oven must be unplugged (gas ignition uses 120V), and the gas line remains undisturbed. Call a professional when: the control board needs replacement (diagnosis requires reading error codes), the gas valve is faulty (requires licensed work in some areas), or you hear gas smell without ignition (shut off gas and call immediately). A failed control board is a judgment call — boards cost $100–$300 and installation is DIY-feasible, but diagnosis is harder without error code access.
Oven not heating: (1) Electric oven — check the bake element first. It is at the bottom of the oven cavity.
Check the visible surface of the bake element first — a crack or burn hole is a definitive failure sign without needing a multimeter.
What you need
- Multimeter (for testing elements and sensors)
- Replacement bake element (match to oven model)
- Phillips screwdriver
- Needle-nose pliers
Step 1: Test the bake element visually
Turn off the oven. Let cool completely. Look at the bake element at the oven floor. Check for cracks, blisters, burn spots, or chalky white areas. Any visible damage: the element needs replacement.
Step 2: Test with multimeter (if no visible damage)
Unplug the oven. Set the multimeter to ohms. Access the bake element terminals from inside the oven (remove any cover panel). Touch probes to the two terminals. Reading of 15–30 ohms: element is working. Open circuit (OL): element is internally broken — replace it.
Step 3: Replace the bake element (electric oven)
Remove the oven racks. Remove the screws holding the element to the rear wall (usually 2 screws). Pull the element forward to expose the wire terminals. Disconnect the two wire spade connectors. Connect the same wires to the new element. Push element back into position, secure with screws.
Step 4: Gas oven — check the igniter
Watch the igniter glow through the oven window when calling for heat. Orange-red glow that lasts 90 seconds or more without gas igniting: the glow-bar igniter is too weak. Turn off gas and power. Access the igniter below the burner (remove the bottom panel). Disconnect the igniter wiring connector and remove the mounting screws. Install the new igniter in reverse.
Step 5: Check the temperature sensor
If the oven heats but runs too hot or too cold: test the sensor at room temperature — should read approximately 1100 ohms. Replace if out of range.
Related guides
- How to Fix a Gas Stove Igniter That Keeps Clicking — related ignition system repairs
- How to Fix a Furnace Not Heating — similar diagnostic approach for heating systems
- Identify the symptom (electric oven)
For electric ovens: if the bake element (at the bottom of the oven) does not glow red within 5 minutes of setting to bake: the bake element has failed. If the broil element (at the top) doesn't glow on broil: the broil element has failed. Both can fail independently. Visually inspect the element — a failed element often has a visible hole, crack, or burn mark. If no visible damage: test with a multimeter set to resistance (a working element reads 20–60 ohms; OL = open circuit = failed element).
- Replace the bake or broil element (electric)
Turn off the circuit breaker for the oven. Pull the oven away from the wall to access the rear panel, or access from inside the oven. The element is held by 2 screws to the oven back wall and has 2 wire connectors. Remove the screws, gently pull the element forward to expose the connectors, and unplug them (or unscrew the terminal connections). Search the oven model number (inside the door frame) for the replacement element — it must match exactly. Connect the wires to the new element, position it, drive the screws, push back in place, and restore power.
- Diagnose a gas oven igniter
For gas ovens: if the oven doesn't heat but the stovetop burners work, the oven igniter has failed. The igniter does two jobs: it glows to ignite the gas, and its resistance drop opens the gas valve. Watch the igniter through the oven window or with the bottom panel removed when you set the oven to bake. It should glow orange within 60 seconds. If it glows but the burner never lights (after 90 seconds): the igniter is weak and no longer draws enough current to open the gas valve — replace it. No glow at all: the igniter has failed completely.
- Replace the oven igniter (gas)
Turn off the gas supply valve at the oven connection or at the main. Turn off the circuit breaker. Remove the oven bottom panel (usually 2 screws). The igniter is a small ceramic and metal component mounted near the burner tube, connected by 2 wires with a molex-style connector. Disconnect the wire connector. Remove the 1–2 mounting screws holding the igniter to the burner bracket. Install the new igniter (search by oven brand and model number — $15–$40). Do not touch the ceramic igniter element with bare hands — oils from skin reduce its service life. Reconnect the wire connector, reinstall the bottom panel, restore gas and power, and test.
- Check for a blown thermal fuse
If neither element nor igniter replacement resolves the issue, or if the oven started failing after a cleaning cycle or overheating event: a thermal fuse may have blown. The thermal fuse is a safety device in the oven wiring that opens permanently when the oven overheats. Locate it by searching the model number — it is typically on the back of the oven behind the rear panel. Test with a multimeter (continuity: working = ~0 ohms; open = OL). A blown thermal fuse is replaced by disconnecting the old one and connecting the new one to the same wires. Use an exact replacement rated for the same temperature.
Free: 10-Point Home Maintenance Checklist
Prevent costly repairs with this seasonal checklist. Save hundreds every year by catching problems early.
Your checklist is ready!
Open Checklist →Something went wrong. View the checklist here.