How to Fix an Air Conditioner That Wont Cool: Step-by-Step Guide
Diagnose and fix a central or window air conditioner that runs but does not cool, covering dirty filters, frozen coils, refrigerant issues, and thermostat problems.
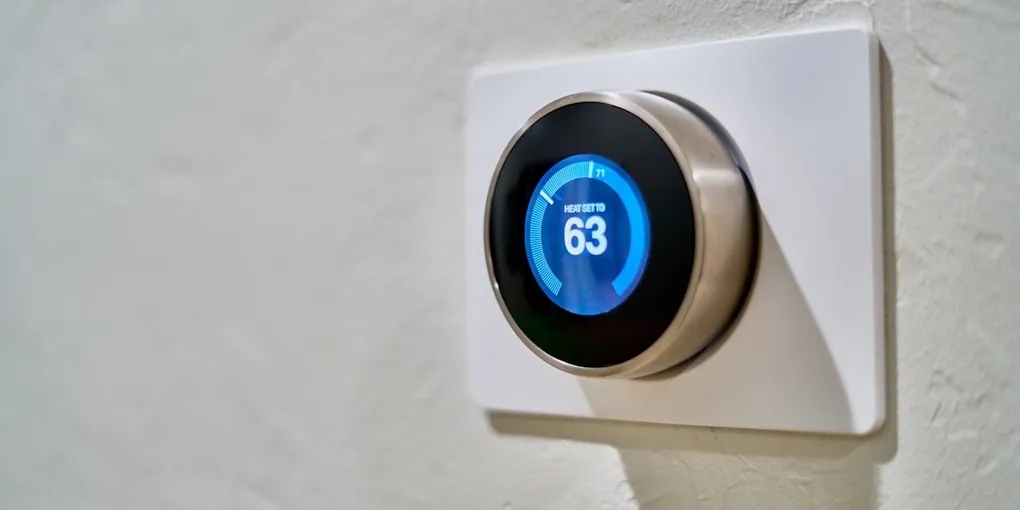
An air conditioner that runs but does not cool is one of the most frustrating summer problems. The system sounds like it is working, but the temperature in the house stays high.
An air conditioner that runs but does not cool is one of the most frustrating summer problems. The system sounds like it is working, but the temperature in the house stays high. Before calling an HVAC technician, work through these diagnostic steps — the most common causes are simple fixes that take under an hour and cost nothing or very little.
Before You Start: Safety Basics
Always turn the system off at the thermostat before doing any hands-on work on the unit. For work on or near the outdoor condenser, also shut off power at the outdoor disconnect box (the gray box on the wall near the condenser) or trip the AC breaker in the electrical panel.
Do not reach inside the outdoor unit with your hands while power is on. The condenser fan blade is sharp.
Step 1: Check the Thermostat Settings
This sounds obvious, but thermostat settings cause a surprising number of “AC not cooling” calls.
Check the mode. The thermostat should be set to “Cool,” not “Fan Only” or “Heat.” In Fan Only mode, the system circulates air without cooling it — the air coming out of the vents will feel room temperature.
Check the setpoint. The setpoint temperature must be lower than the current room temperature for cooling to engage. If the room is 74 degrees and the setpoint is 75, the system has nothing to do.
Check the fan setting. Set the fan to “Auto,” not “On.” With the fan set to “On,” the blower runs continuously even when the compressor is off, circulating warm air during the off cycle and making the house feel warmer than it is.
Check for a blank screen or dead thermostat. If the thermostat screen is blank, replace the batteries. Most thermostats use AA or AAA batteries accessible from the front panel.
If the thermostat settings are all correct, move on.
Step 2: Inspect and Replace the Air Filter
The single most common cause of an AC not cooling is a clogged air filter. A dirty filter blocks airflow through the evaporator coil, which causes the coil temperature to drop, ice to form on the coil, and cooling capacity to drop to zero.
Locate the filter. In central systems, it is typically in the return air duct — either at the air handler unit or at a return grille on the wall or ceiling. Pull the filter out and hold it up to a light source.
A filter that is gray, dense, and blocking visible light needs to be replaced. A clean filter is nearly transparent to light and off-white in color.
Replace with a high-quality pleated air filter of the same size. The size is printed on the edge of the old filter (example: 16x25x1). Do not use a filter thicker than the slot is designed for — a 4-inch filter in a 1-inch slot crushes the filter and restricts airflow just as badly as a dirty one.
After replacing the filter, wait 30 minutes and check whether cooling has improved.
Step 3: Check for a Frozen Evaporator Coil
If the filter was dirty, or if the system has been low on refrigerant, the evaporator coil inside the air handler may be frozen solid in ice. You cannot cool a house effectively with a frozen coil.
How to check. Look at the refrigerant line running from the outdoor unit into the air handler or wall (the larger insulated copper line). If it is covered in ice or frost, the coil inside is frozen.
How to thaw it. Turn the system to “Fan Only” at the thermostat — this keeps air circulating across the coil to thaw it without running the compressor. Do not turn the system completely off; the fan helps the thaw happen faster. The thaw takes 2 to 4 hours. You may see water dripping from the air handler drain line as the ice melts.
After thawing. Switch back to “Cool” and test the system. If it cools normally for a few hours and then stops again, the root cause (dirty filter or low refrigerant) is still present. If you replaced the filter and the coil refreezes, the system is low on refrigerant and needs a technician.
Step 4: Check the Condensate Drain Line
Central AC systems pull moisture from the air as part of the cooling process. That water collects in a drain pan below the evaporator coil and flows out through a condensate drain line — typically a white PVC pipe that drains to a floor drain, utility sink, or outside.
If the condensate drain line becomes clogged with algae or debris, the drain pan overflows. Many modern systems have a float switch in the drain pan that shuts the system off when the water level rises too high — this is a safety feature to prevent water damage. If your system is not cooling and you see water in the drain pan, a clogged drain line is the likely cause.
Clear the drain line. Find where the drain line terminates (outside or at a drain). Use a wet/dry vacuum to suction the end of the drain line for 1 to 2 minutes. This often pulls the clog free.
For a more thorough cleaning, pour a cup of undiluted white vinegar into the cleanout port on the drain line (a T-shaped fitting with a cap near the air handler). Let it sit for 30 minutes, then flush with water. Repeat quarterly to prevent algae buildup.
After clearing the drain line, mop up any standing water in the drain pan and confirm the float switch has reset. The system should restart normally.
Step 5: Inspect the Outdoor Condenser Unit
The outdoor unit rejects heat from inside the house to the outdoor air. If the condenser coils are clogged with dirt, leaves, or cottonwood fluff, or if the condenser fan is not running, the system cannot reject heat efficiently — the compressor overheats, and cooling capacity drops.
Check for debris. Walk around the unit. Clear away any vegetation, leaves, or debris within 2 feet of the unit on all sides. Plants growing into the condenser restrict airflow and overheat the unit.
Check the fins. The condenser fins are the thin metal fins surrounding the unit. They should be relatively clean and straight. If they are heavily coated with dirt and cottonwood, clean them with a garden hose spraying from inside the unit outward (after turning off power at the disconnect box). Gentle water pressure only — high pressure bends the fins.
Check that the fan is running. With the system calling for cooling (thermostat set below room temperature and mode set to “Cool”), go outside and listen. The fan on top of the condenser should be running. If the compressor is humming but the fan is not spinning, the condenser fan motor has failed. This requires a technician or an intermediate-level DIY motor replacement.
Give the unit room. After cleaning, the unit needs at least 2 feet of clearance on all sides and at least 5 feet of open space above the fan for adequate airflow.
Step 6: Window AC Specific Checks
If you have a window air conditioner rather than central AC:
Clean the filter. Window AC filters are washable. Remove the front panel, pull out the foam filter, rinse it under warm water, let it dry fully, and reinstall. A clogged window AC filter reduces airflow dramatically.
Check the coil fins. The evaporator fins on the back of the front panel and the condenser fins on the rear of the unit should both be clean. Use a fin comb to straighten any bent fins and a soft brush or vacuum to remove dust.
Confirm proper installation. The unit should tilt slightly outward (about 1/2 inch back-to-front) so condensate drains out the back rather than into the room. A unit tilted inward pools water inside the cabinet and reduces efficiency.
Check the room seal. Gaps between the window AC unit and the window frame let hot outside air in directly. Use foam weatherstripping or the accordion side panels provided with the unit to seal all gaps.
When to Call an HVAC Technician
Call a licensed technician if:
- The system is cooling but never reaching setpoint despite clean filters and clean condenser coils
- The evaporator coil refreezes after thawing and filter replacement
- You hear a hissing or bubbling sound from the refrigerant lines (possible refrigerant leak)
- The outdoor compressor does not run or is making a grinding or rattling noise
- The system repeatedly trips the breaker
Refrigerant handling, compressor replacement, and electrical diagnosis of the control board require professional equipment and in most cases require a licensed HVAC technician.
Related Reading
- How to Install a Smart Thermostat — upgrading to a programmable thermostat for better efficiency
- How to Clean a Furnace Filter — HVAC filter maintenance year-round
- How to Winterize Your HVAC System — preparing heating and cooling equipment for winter
- Central Air Conditioning Installation Cost — replacement pricing if your system can’t be repaired
- How to Seal Leaky Ductwork — leaky ducts are a common cause of uneven cooling
- How to Fix a Window Air Conditioner — troubleshoot a window unit that won’t cool a room
- Check the Thermostat Settings
This sounds obvious, but thermostat settings cause a surprising number of "AC not cooling" calls.
- Inspect and Replace the Air Filter
The single most common cause of an AC not cooling is a clogged air filter. A dirty filter blocks airflow through the evaporator coil, which causes the coil temperature to drop, ice to form on the coil, and cooling capacity to drop to zero.
- Check for a Frozen Evaporator Coil
If the filter was dirty, or if the system has been low on refrigerant, the evaporator coil inside the air handler may be frozen solid in ice. You cannot cool a house effectively with a frozen coil.
- Check the Condensate Drain Line
Central AC systems pull moisture from the air as part of the cooling process. That water collects in a drain pan below the evaporator coil and flows out through a condensate drain line — typically a white PVC pipe that drains to a floor drain, utilit...
- Inspect the Outdoor Condenser Unit
The outdoor unit rejects heat from inside the house to the outdoor air. If the condenser coils are clogged with dirt, leaves, or cottonwood fluff, or if the condenser fan is not running, the system cannot reject heat efficiently — the compressor over...
- Window AC Specific Checks
If you have a window air conditioner rather than central AC:
Free: 10-Point Home Maintenance Checklist
Prevent costly repairs with this seasonal checklist. Save hundreds every year by catching problems early.
Your checklist is ready!
Open Checklist →Something went wrong. View the checklist here.