How to Fix a Stuck Garage Door
Diagnose and fix a garage door that will not open or close, covering common causes like misaligned tracks, broken springs, dead openers, and frozen weather seals.
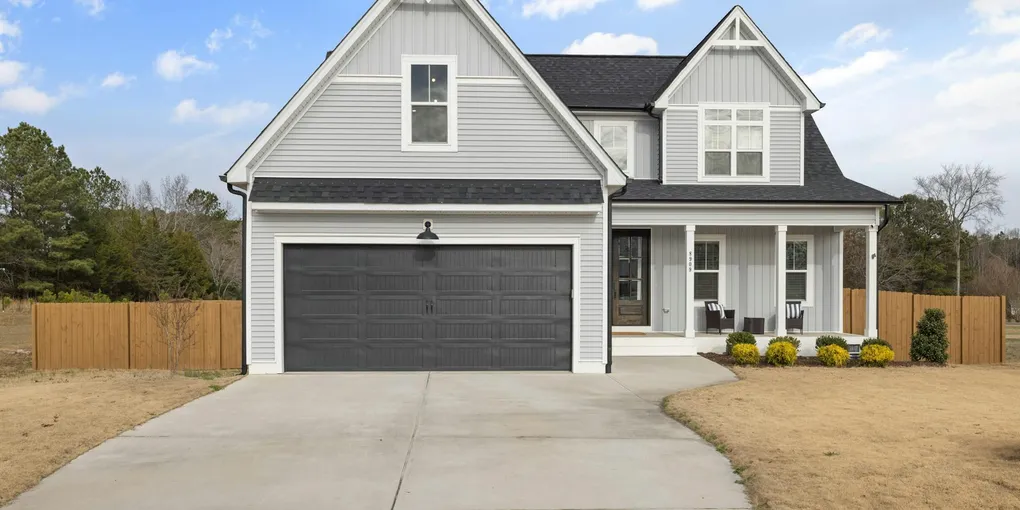
A garage door that will not move is one of those problems that goes from minor inconvenience to genuine disruption fast — especially when the car is inside. The good news is that most stuck-door situations have a straightforward cause, and many can be resolved without a service call.
A garage door that will not move is one of those problems that goes from minor inconvenience to genuine disruption fast — especially when the car is inside. The good news is that most stuck-door situations have a straightforward cause, and many can be resolved without a service call. This guide walks through every common scenario in order from easiest to most involved.
What You Need
- Garage Door Lubricant Spray ($8–$14, for rollers, hinges, and springs)
- Replacement Garage Door Rollers ($15–$30 for a set of 10, if rollers are cracked or worn)
- Adjustable Wrench and Pliers Set ($20–$40 for track bracket adjustment)
- Rubber Mallet ($8–$15 for tapping bent track sections)
- C-Clamps or Locking Pliers ($10–$20 to hold door position during inspection)
- Ladder, safety glasses, work gloves
- Replacement 9-volt battery or AA batteries for the remote
Step 1: Rule Out the Simple Fixes First
Before touching anything mechanical, run through this quick checklist. Most stuck garage doors are solved at step 1.
Check the remote battery. A dead battery is responsible for more service calls than any mechanical failure. If the wall button inside the garage still works but the remote does not, replace the battery. Most remotes use a 9-volt or a CR2032 coin cell.
Check the wall button. If neither the remote nor the wall button work, the opener has lost power. Check that it is plugged into the ceiling outlet and that the circuit breaker has not tripped. Reset the breaker if necessary.
Check the lock mode. Many openers have a vacation lock or lock mode that disables the remote while still allowing the wall button to function. Consult your opener manual — this feature is often activated accidentally by holding the wall button too long.
Check for the emergency cord being pulled. If someone pulled the red emergency release cord (intentionally or accidentally), the door is disconnected from the opener. The opener motor will run but the door will not move. Re-engage by pulling the release cord back toward the opener or by manually moving the door to the fully open or closed position until you hear the trolley click back into place.
Step 2: Inspect the Photo-Eye Safety Sensors
Every opener installed after 1993 has two photo-eye sensors mounted near the floor on each side of the door opening. They project an invisible infrared beam across the door path. If that beam is interrupted — by a spider web, a leaf, a piece of equipment nudging the sensor, or a sensor that has drifted out of alignment — the opener will not close the door and may reverse mid-travel.
What to look for:
- Each sensor has a small LED indicator. On most systems, one sensor (the transmitter) has a solid green LED when powered. The other sensor (the receiver) also shows a solid LED when the beam is properly aligned. A blinking or unlit receiver LED means the beam is broken.
- Wipe both sensor lenses with a dry cloth. Dust and cobwebs are common culprits.
- Check that nothing is blocking the beam path — a garden tool, a bucket, or even a piece of insulation can drift in front of a sensor.
- If both sensors are clean and unobstructed but the receiver LED is still blinking, the sensors need realignment. Loosen the wing nut on the receiver sensor bracket, aim the sensor until the LED goes solid, and retighten.
Step 3: Check the Tracks for Obstructions and Damage
The door rides on two vertical tracks that curve into horizontal sections overhead. Any debris, dent, or misalignment in the tracks will cause the rollers to bind.
Visual inspection:
Run your eye and a flashlight along the full length of both tracks from bottom to top. Look for:
- Leaves, gravel, or debris caught in the track channel
- Visible dents or kinks in the steel track
- Gaps between the track and the door frame brackets
Cleaning the tracks:
Use a damp rag to wipe the interior channel of both tracks. Remove any debris or dried lubricant buildup. Do not spray lubricant inside the track — it attracts grit.
Straightening a minor dent:
Small dents can be tapped out with a rubber mallet and a block of wood. Place the block against the inside of the track opposite the dent and tap firmly. This works on minor deformations — a track with a serious bend or a break needs replacement.
Realigning a track:
If a track bracket has shifted, the track will be too close to or too far from the door edge. Loosen the bracket bolts with an adjustable wrench, reposition the track so there is a uniform 1/4-inch gap between the roller edge and the track flange, and retighten. Repeat at each bracket from bottom to top.
Step 4: Inspect and Replace Worn Rollers
Rollers are the small wheels that ride inside the track channel. Nylon rollers last 10,000–15,000 cycles; steel rollers wear faster and can develop flat spots. A cracked, chipped, or flat-spotted roller will jam in the track.
How to check rollers:
Open the door to the fully open position (use the emergency release if necessary) and clamp locking pliers on the vertical tracks just below the bottom rollers to hold the door safely up. Spin each roller by hand. It should spin freely and smoothly. Replace any roller that wobbles, does not spin, or shows visible cracking.
Replacing a roller:
Each roller is mounted in a hinge bracket on the door panel edge. Loosen the hinge bolts, slide the old roller stem out of the bracket, insert the new roller, and retighten. The rollers on the bottom bracket and the top bracket of the door require slightly different procedure — the top roller sits in a fixed bracket on the door, while the bottom roller is part of the bottom bracket assembly.
Step 5: Lubricate All Moving Parts
Lack of lubrication is a frequent cause of sticking and binding. A dry roller will drag rather than roll, and a dry hinge will squeak and resist movement.
Apply garage door lubricant spray (not WD-40, which is a solvent, not a lubricant) to:
- Each roller bearing (spray into the small gap between the roller and its stem)
- Each hinge pin
- The torsion spring coils (a light coating along the full length)
- Both cables (a light pass along the full run)
Cycle the door three or four times to work the lubricant in. You should notice noticeably smoother, quieter operation.
Step 6: Test and Adjust the Opener Force Settings
If the door moves but reverses before fully closing, or strains and stops before fully opening, the opener’s force (sensitivity) settings may need adjustment. These settings tell the motor how much resistance indicates an obstruction.
Most openers have adjustment screws or dials labeled “Up Force” and “Down Force” on the back or side of the motor unit. Turn each incrementally — usually no more than one full rotation at a time — and test the door after each adjustment. Consult your opener manual for the exact location and direction of adjustment for your model.
Auto-reverse test: After adjusting, confirm the auto-reverse safety function still works. Place a flat 2x4 board flat on the floor in the center of the door opening. The door should contact the board and reverse direction within 2 seconds. If it does not reverse, increase the down-force sensitivity until it does.
Step 7: Address a Frozen Weather Seal
In winter, the rubber bottom seal can bond to the concrete floor overnight when water seeps under and freezes.
- Do not force the opener — you risk stripping the drive or tearing the seal.
- Pour warm (not boiling) water along the bottom edge of the door to melt the ice bond.
- Gently pry the seal free with a plastic putty knife if water alone is insufficient.
- Once free, dry the concrete and spray the seal with silicone lubricant. This significantly reduces future freeze-sticking.
- Consider applying a thin bead of rubber conditioner to the seal in late fall before winter sets in.
When to Call a Professional
Stop and call a garage door technician if:
- The torsion spring above the door has a visible gap in its coil — this means the spring is broken and the door cannot be safely operated
- The door tracks are bent beyond what a rubber mallet can correct
- Any cable is frayed, snapped, or hanging loose from the drum
- The opener motor runs continuously but produces no movement even after re-engaging the trolley
- The door has gone off the tracks entirely
Spring and cable repairs involve components under high tension and are best left to trained technicians.
Cost Summary
| Repair | DIY Cost | Pro Cost |
|---|---|---|
| Remote battery | $5–$10 | N/A |
| Sensor realignment | $0 | $75–$150 |
| Track realignment | $0–$20 (tools) | $100–$200 |
| Roller replacement (full set) | $20–$40 | $150–$250 |
| Torsion spring replacement | Not recommended DIY | $200–$350 |
Related Reading
- Rule Out the Simple Fixes First
Before touching anything mechanical, run through this quick checklist. Most stuck garage doors are solved at step 1.
- Inspect the Photo-Eye Safety Sensors
Every opener installed after 1993 has two photo-eye sensors mounted near the floor on each side of the door opening. They project an invisible infrared beam across the door path.
- Check the Tracks for Obstructions and Damage
The door rides on two vertical tracks that curve into horizontal sections overhead. Any debris, dent, or misalignment in the tracks will cause the rollers to bind.
- Inspect and Replace Worn Rollers
Rollers are the small wheels that ride inside the track channel. Nylon rollers last 10,000–15,000 cycles; steel rollers wear faster and can develop flat spots. A cracked, chipped, or flat-spotted roller will jam in the track.
- Lubricate All Moving Parts
Lack of lubrication is a frequent cause of sticking and binding. A dry roller will drag rather than roll, and a dry hinge will squeak and resist movement.
- Test and Adjust the Opener Force Settings
If the door moves but reverses before fully closing, or strains and stops before fully opening, the opener's force (sensitivity) settings may need adjustment. These settings tell the motor how much resistance indicates an obstruction.
Free: 10-Point Home Maintenance Checklist
Prevent costly repairs with this seasonal checklist. Save hundreds every year by catching problems early.
Your checklist is ready!
Open Checklist →Something went wrong. View the checklist here.