How to Fix a Stripped Door Hinge Screw
Repair stripped screw holes in door hinges using toothpicks, wooden dowels, or longer screws so the hinge holds securely without wobbling or sagging.
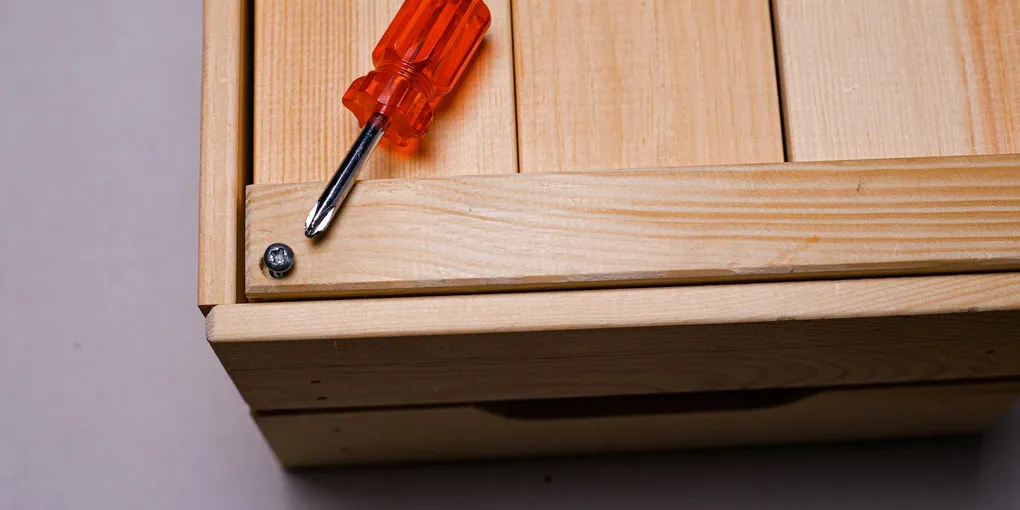
A door that sags, swings open on its own, or has a hinge that visibly wobbles when you grab it is telling you that at least one hinge screw has stripped its hole. The screw is there — you can see it — but it is just spinning without gripping anything.
A door that sags, swings open on its own, or has a hinge that visibly wobbles when you grab it is telling you that at least one hinge screw has stripped its hole. The screw is there — you can see it — but it is just spinning without gripping anything. This is one of the most common door problems in older homes, and it has several reliable fixes ranging from a 5-minute patch to a more thorough repair for badly damaged jambs.
What You Need
- 3-inch coarse-thread construction screws — The single most effective fix for most door hinge strips. These long screws bypass the stripped hole in the jamb and anchor into the rough framing behind it. Get #9 or #10 diameter in a color that matches your hinge screws (usually flat head, bronze or silver).
- Epoxy wood filler — Two-part epoxy filler (PC-Woody, Minwax High Performance, or similar) that cures hard enough to drill and hold screws. Use this for badly damaged holes where longer screws are not enough.
- Round wooden toothpicks
- Wood glue (regular PVA or carpenter’s glue)
- Utility knife or chisel
- Drill and Phillips-head bit
- Hammer
- Sandpaper (80-grit)
Step 1: Identify Which Screws Are Stripped
Open the door partway so the hinge is accessible. Try each screw with a screwdriver or drill on low torque. A stripped screw hole will turn freely or spin out the screw with almost no resistance. A screw with bite will be firm.
Mark each stripped hole with a pencil — it is common for only one or two screws to strip in a hinge while the others still grip. Focus your repair on only the holes that need it.
Method A: The Long Screw Fix (Best for Most Cases)
If your door is hung in a wood jamb with framing behind it — which is nearly every interior and exterior door in a wood-frame house — the long screw method is the fastest and most durable option.
Standard door hinge screws are 3/4 inch long. They bite into the jamb face but don’t reach the structural framing (jack stud and king stud) behind the jamb. A 3-inch construction screw passes through the 3/4-inch jamb face and 1.5-inch framing lumber behind it, anchoring in wood that has never been stressed.
- Remove the hinge from the door side (not the jamb side) to relieve the weight. Slide a small wedge or book under the door corner to support it.
- Drive a 3-inch coarse-thread screw into the stripped hole. Use a drill at medium speed — the screw will skip through the hollow area of the stripped hole quickly, then bite into solid framing. Maintain steady pressure so it seats fully.
- The head of the 3-inch screw should sit flush in the existing countersink in the hinge. If the screw head is too large for the hinge countersink, you may need to countersink slightly deeper with a countersink bit, or use a flat-head screw that matches the hinge hole diameter.
- Reinstall the hinge on the door side and test the door swing. This fix is typically invisible and permanent.
Method B: The Toothpick Fix (Good for Lightly Stripped Holes)
When a screw hole is only slightly wallowed out — the screw grips weakly but doesn’t spin freely — toothpicks and wood glue fill the gap and give the screw new wood fibers to bite into.
- Remove the stripped screw and set the hinge aside.
- Squeeze a small amount of wood glue onto 3–5 wooden toothpicks and push them into the hole, glue side first. Pack as many toothpicks as fit. Leave a short tail sticking out.
- Let the glue dry for at least 30 minutes (or overnight for best results).
- Use a utility knife or chisel to snap or cut the toothpick tails off flush with the jamb face.
- Drive the original screw back in. It will cut new threads into the packed wood and glue. Do not over-torque — firm is enough.
This repair works well but is not as strong under load as the long screw method. For door hinge repairs, combine both methods: pack the hole with toothpicks, then drive a 3-inch screw through the repaired hole for maximum holding power.
Method C: Epoxy Wood Filler (For Badly Damaged Holes)
When the wood around a hinge is crumbling, has been stripped multiple times, or has overlapping damaged holes, epoxy filler provides a structural rebuild.
- Remove the hinge completely. Use a chisel to clean out any loose wood fibers and debris from the hole and the surrounding area.
- Slightly undercut the edges of the hole with a chisel (create a slight bevel inward) so the epoxy has a mechanical shape to lock into.
- Mix the two-part epoxy filler according to the package directions. Work quickly — most products have a 5–10 minute working time.
- Press the mixed epoxy firmly into the hole and overfill it slightly.
- Smooth the surface roughly flush with the jamb face. Let it cure fully — typically 1–4 hours for handling, 24 hours for full strength.
- Once cured, sand the patch flush with 80-grit sandpaper.
- Drill a pilot hole into the cured epoxy and drive your screws. Epoxy filler will hold screws as well as solid hardwood.
- Reinstall the hinge and check the fit. If you removed a hinge mortise area, you may need to re-chisel the mortise to proper depth.
Step 2: Test the Repair
Rehang the door if you removed it. Open and close the door several times and confirm:
- The hinge sits flush against the jamb with no gap
- The door does not sag or catch the strike plate
- All screws are firm when you grab the hinge and try to wiggle it
If the door is still sagging after fixing all stripped holes, check whether the other hinge screws are firm and whether the door frame itself is racked. A door that won’t latch properly after a hinge repair may need the strike plate adjusted rather than further hinge work.
Prevent Future Stripping
- Always drill a pilot hole slightly smaller than the screw diameter before driving hinge screws into wood framing. This compresses rather than splits the wood fibers, making a much stronger grip.
- When hanging new doors, use 3-inch hinge screws from the start rather than the short screws typically packaged with hinges.
- If a door repeatedly strips its hinge screws, the root cause is usually a door that is too heavy for the hinges or a frame that is out of plumb. Address alignment before the next repair.
Related Reading
- Identify Which Screws Are Stripped
Open the door partway so the hinge is accessible. Try each screw with a screwdriver or drill on low torque. A stripped screw hole will turn freely or spin out the screw with almost no resistance. A screw with bite will be firm.
- Method A: The Long Screw Fix (Best for Most Cases)
If your door is hung in a wood jamb with framing behind it — which is nearly every interior and exterior door in a wood-frame house — the long screw method is the fastest and most durable option.
- Method B: The Toothpick Fix (Good for Lightly Stripped Holes)
When a screw hole is only slightly wallowed out — the screw grips weakly but doesn't spin freely — toothpicks and wood glue fill the gap and give the screw new wood fibers to bite into.
- Method C: Epoxy Wood Filler (For Badly Damaged Holes)
When the wood around a hinge is crumbling, has been stripped multiple times, or has overlapping damaged holes, epoxy filler provides a structural rebuild.
- Test the Repair
The hinge sits flush against the jamb with no gap
- Prevent Future Stripping
Always drill a pilot hole slightly smaller than the screw diameter before driving hinge screws into wood framing. This compresses rather than splits the wood fibers, making a much stronger grip.
Free: 10-Point Home Maintenance Checklist
Prevent costly repairs with this seasonal checklist. Save hundreds every year by catching problems early.
Your checklist is ready!
Open Checklist →Something went wrong. View the checklist here.