How to Fix a Sagging Fence Gate: Anti-Sag Kits, Hinge Adjustment, and Frame Repair (2026)
A sagging fence gate that drags on the ground or won't latch is a common DIY fix. This guide covers anti-sag cable kits, hinge tightening, gate frame squaring, and post reinforcement to get your gate swinging freely and latching reliably again.
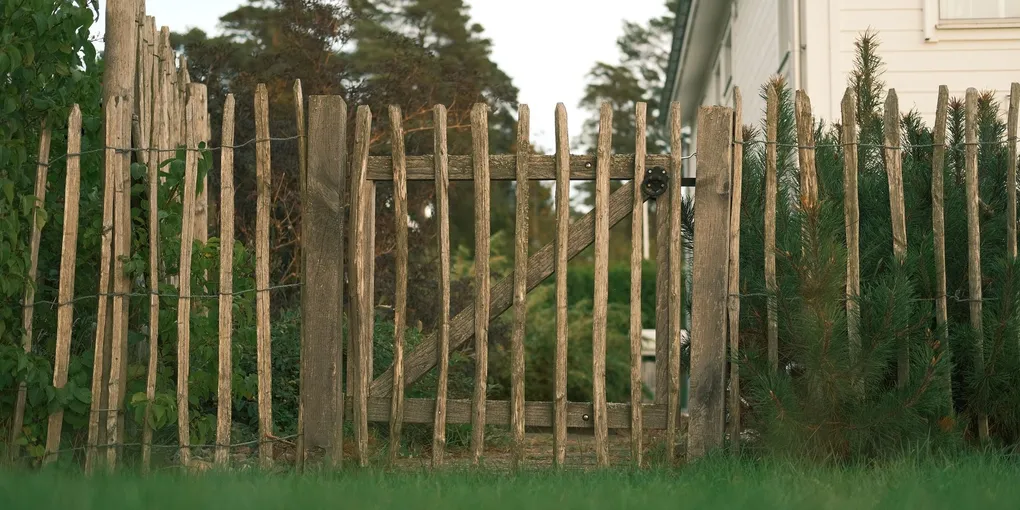
A sagging fence gate is one of the most common problems homeowners deal with, and most cases can be fixed in an afternoon without replacing the gate or posts.
A sagging fence gate is one of the most common problems homeowners deal with, and most cases can be fixed in an afternoon without replacing the gate or posts. This guide covers the full diagnostic process and every repair method, from a simple anti-sag cable kit to hinge replacement and gate frame rebuilding.
What You Need
- Anti-sag gate kit with turnbuckle and cable
- Heavy-duty gate hinges (galvanized or stainless, sized for gate weight)
- Gate latch and strike kit
- Structural wood screws (3”, exterior galvanized)
- Post hole repair spike or E-Z Mender (if post is leaning)
- Drill with driver bits
- Level (4-foot is ideal)
- Tape measure
- Adjustable wrench and pliers
Step 1: Diagnose the Real Problem
Before buying parts or making repairs, identify the actual source of the sag. Fence gate repairs fail repeatedly when the repair targets the symptom (gate drooping) instead of the cause (leaning post, failed hinges, racked frame).
Check the hinge post first. This is the most important diagnostic step. Place a 4-foot level against the face of the hinge post. Read the bubble in two orientations: one with the level held vertically on the post face, and once with it held horizontally on the post top (checking for lean in both planes).
- If the post leans toward the gate: the post is the problem. Repair the post before doing anything to the gate.
- If the post is plumb and solid: the gate itself is the problem.
Inspect the hinges. With the gate closed, examine the hinge leaves and the screws holding them to the post and gate frame. Look for:
- Screw holes that are stripped (screws spin freely without gripping)
- Hinge leaves that have bent or deformed under load
- Hinges that are undersized for the gate weight
Check the gate frame. Measure the diagonals of the gate from corner to corner. A square gate has equal diagonal measurements. If one diagonal is longer than the other, the frame has racked — that racking is what drops the latch-side corner.
Check for wood rot. Probe the gate frame rails and stiles (especially the bottom rail) with a screwdriver. If the screwdriver penetrates easily, there is rot. Rotted frame members must be replaced — they cannot hold fasteners.
Step 2: Fix a Leaning Hinge Post
If the hinge post is leaning, this must be addressed before any gate repair.
For a post that has shifted in firm soil (no rot): A metal fence post repair spike driven alongside the post provides support without excavation. Drive the spike 12–18 inches into the ground tight against the leaning post using a sledgehammer with the driving cap. Pull the post plumb using a come-along or helper, and bolt the spike to the post with lag screws through the spike’s pre-drilled holes.
For a rotted post: There is no repair for rotted wood. The post must be fully replaced. Dig out or jack out the old post and concrete footing, set a new pressure-treated post in the hole at the correct depth (one-third of total length underground, below frost line in cold climates), and set in fast-setting concrete. Brace the post plumb in two directions while the concrete cures — at least 4 hours before hanging the gate.
For a post that pulled away from its footing: This is a concrete failure or a post that was set without concrete (just packed dirt). Remove the post from the hole, inspect for rot, and reset it in fast-setting concrete at the correct depth.
Step 3: Fix Stripped Hinge Screws
Stripped screw holes are one of the most common hinge problems and one of the easiest to fix.
Method 1: Larger screws. Replace the existing screws with screws one size longer or one gauge thicker. A screw that was 2 inches long replaced by a 3-inch screw will reach fresh wood below the stripped zone.
Method 2: Wooden toothpick repair. For holes that are fully stripped: dip several wooden toothpicks in wood glue, pack them into the stripped hole, snap or trim them flush, and let the glue cure for at least an hour. Drive the original screws back into the repaired hole — the wood fibers from the toothpicks give the threads something to grip. This works reliably for most exterior applications.
Method 3: Lag screws. Replace standard wood screws in hinges with lag screws of the same diameter — the coarser threads of a lag screw grip better in end grain and in previously stripped holes. Pre-drill a pilot hole slightly smaller than the lag shank.
Method 4: Through-bolting. For gate posts or gate frame members that are too stripped or too damaged for screw repair, drill completely through the post or frame member and install a carriage bolt with a washer and nut on the back. This is the strongest possible hinge attachment and is recommended for heavy gates or high-traffic applications.
Step 4: Install an Anti-Sag Cable Kit
For a gate with a plumb post and solid hinges where the frame has racked, an anti-sag kit is the most efficient repair.
How it works. The kit consists of two corner brackets (with eyelets), a length of steel cable, and a turnbuckle. The brackets mount at the top-hinge corner and the bottom-latch corner of the gate. The cable runs diagonally between them, and the turnbuckle lets you tighten the cable to apply tension — pulling the bottom-latch corner up and pushing the gate frame back into square.
Installation:
-
Mount the corner bracket at the top-hinge corner. Position it on the inside face of the gate at the corner where the top rail meets the hinge-side stile. Drive the screws (provided in the kit) into solid wood.
-
Mount the second bracket (or the turnbuckle end, depending on the kit design) at the bottom-latch corner — where the bottom rail meets the latch-side stile.
-
Thread the cable through the eyelet at the top-hinge corner bracket, and through the turnbuckle at the bottom-latch corner. Follow the kit instructions for the specific cable attachment method — some use cable clamps, others use looped wire rope.
-
Tighten the turnbuckle gradually. As you tighten, the cable shortens the bottom-latch-to-top-hinge diagonal, which squares the gate frame. Watch the bottom of the gate rise away from the ground as tension increases.
-
Check square periodically as you tighten. Measure the diagonals — stop tightening when they are equal, or when the latch aligns with the strike.
-
Don’t overtighten. You want the gate square and the latch aligned — not the frame under structural stress. Over-tensioning can pull corner joints apart.
Step 5: Replace or Upgrade the Hinges
If the existing hinges are bent, too small for the gate weight, or the mounting surfaces are too damaged to hold screws reliably, replace the hinges entirely.
Sizing the new hinges:
For most residential wood fence gates (under 50 lbs, under 4 feet wide): 6-inch heavy-duty strap hinges or T-hinges are adequate. Use galvanized or stainless steel — never uncoated steel outdoors.
For gates 4 to 6 feet wide or over 50 lbs: use 8-inch or 10-inch strap hinges with at least 3/16-inch leaf thickness, and consider adding a third hinge at the midpoint of the gate to reduce leverage on each hinge.
For very heavy gates (solid board gates over 6 feet tall): heavy-duty gate hinges with lag-bolt mounting through the post, or weld-on hinges for steel post applications.
Removing old hinges and installing new ones:
Remove the gate from the hinges (have a helper hold it). Remove the old hinges from the post and gate frame. Examine the old mounting locations — if the wood is severely damaged, shift the new hinge position slightly up or down to reach solid wood, or use the toothpick repair method on the old holes before installing.
Mount the post-side hinge leaves first, using 3-inch exterior structural screws or lag bolts. Check that the hinge barrels are aligned vertically — misaligned barrels will bind when the gate closes. Hang the gate on the post-side hinges, then mount the gate-side hinge leaves.
Step 6: Adjust or Replace the Gate Latch
Once the gate is square and the hinges are solid, address the latch if it is no longer aligned with the strike.
For a latch that is close but not quite catching: Most gate latches have slotted mounting holes that allow 1/2 to 1 inch of vertical adjustment. Loosen the mounting screws, slide the latch to the correct position, and re-tighten.
For a strike that needs repositioning: If the gate is now higher than it was before repair, the strike (the bolt receiver on the post or gate frame) may need to be moved up. Remove the strike screws, fill the old holes with the toothpick method or wood filler, let dry, and mount the strike at the new position.
Self-closing and self-latching options: If the original latch was unreliable, this is a good opportunity to upgrade. Self-closing spring hinges automatically pull the gate closed. Self-latching latch sets automatically catch when the gate closes. For pool gates and other code-regulated applications, self-latching hardware is often required.
Step 7: Preventive Measures for Long-Term Gate Performance
A repaired gate stays fixed longer with a few preventive measures:
Seal the gate frame. Bare or degraded wood absorbs moisture, swells, and contributes to joint loosening and post lean. Apply exterior wood preservative or paint to all gate frame members, including end grain on cut ends.
Check hinge screws annually. Gate hinges take more wear and stress than fence hinges. During your annual fence inspection, check that all hinge screws are tight and that the hinge leaves show no bending.
Keep the gate frame off the ground. The bottom rail should clear the ground by at least an inch to prevent moisture absorption and rot. If the bottom rail contacts the ground at any point in the swing arc, trim back the ground material or adjust the hinge height.
Install a gate cane bolt for double gates. If you have two-leaf gates (a pair of gates that meet in the middle), install a cane bolt — a vertical rod that drops into the ground — on the passive leaf to stabilize it. A double gate with no cane bolt on the fixed leaf puts all the closing force stress on the latch and frame joints.
Related Reading
- How to Build a Fence — full fence installation with proper gate post setting
- How to Fix a Broken Fence Post — post repair and replacement when the hinge post is failing
- Annual Home Maintenance Checklist — seasonal fence and gate inspection schedule
- Diagnose the Real Problem
Before buying parts or making repairs, identify the actual source of the sag. Fence gate repairs fail repeatedly when the repair targets the symptom (gate drooping) instead of the cause (leaning post, failed hinges, racked frame).
- Fix a Leaning Hinge Post
If the hinge post is leaning, this must be addressed before any gate repair.
- Fix Stripped Hinge Screws
Stripped screw holes are one of the most common hinge problems and one of the easiest to fix.
- Install an Anti-Sag Cable Kit
For a gate with a plumb post and solid hinges where the frame has racked, an anti-sag kit is the most efficient repair.
- Replace or Upgrade the Hinges
If the existing hinges are bent, too small for the gate weight, or the mounting surfaces are too damaged to hold screws reliably, replace the hinges entirely.
- Adjust or Replace the Gate Latch
Once the gate is square and the hinges are solid, address the latch if it is no longer aligned with the strike.
Free: 10-Point Home Maintenance Checklist
Prevent costly repairs with this seasonal checklist. Save hundreds every year by catching problems early.
Your checklist is ready!
Open Checklist →Something went wrong. View the checklist here.