How to Fix a Sagging Closet Rod
Stop a sagging or fallen closet rod from collapsing under the weight of clothes by reinforcing brackets, adding center supports, or upgrading to a stronger rod system.
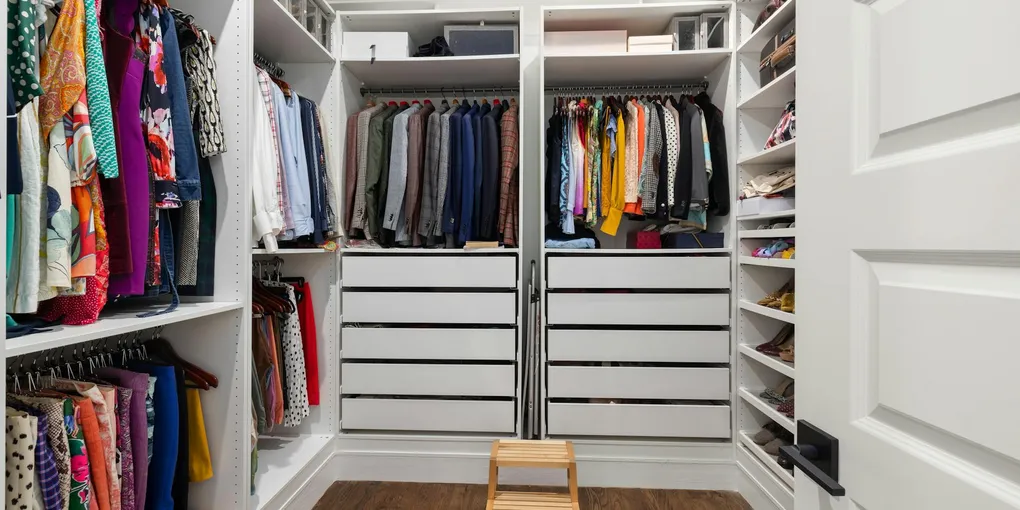
A sagging closet rod is one of those minor household failures that tends to happen at the worst moment — usually when you pull out a jacket and the entire rod comes crashing down in a cascade of hangers. The fix is straightforward and can be completed in under an hour.
A sagging closet rod is one of those minor household failures that tends to happen at the worst moment — usually when you pull out a jacket and the entire rod comes crashing down in a cascade of hangers. The fix is straightforward and can be completed in under an hour. Better still, doing it right means the rod holds without issue for decades rather than sagging again next year.
What You Need
- Closet Rod Center Support Bracket ($8–$15, adjustable height, fits standard 1-inch and 1-1/4-inch rods)
- Heavy-Duty Closet Rod End Brackets ($10–$20 for a pair, look for brackets with a closed top rather than an open hook)
- Closet Rod Replacement ($15–$30 for a steel rod in your needed length, if the current rod is bent or warped)
- Electronic Stud Finder ($15–$30)
- Toggle Bolt Anchors ($8–$15 for a pack, for bracket mounting when studs are not in ideal positions)
- Drill with drill bits
- Phillips screwdriver or screwdriver bit
- Measuring tape and pencil
- Level
- 2-inch coarse-thread wood screws
Step 1: Diagnose the Problem
Before buying anything, understand exactly what failed. This determines which of the following repair approaches applies to your situation.
The rod bowed in the middle but the brackets are still mounted securely. The rod itself is too weak for the span or the load. The fix is either adding a center support bracket or replacing the rod with a stronger one.
One or both end brackets have pulled out of the wall. The brackets were either mounted into drywall with inadequate anchors, or they were mounted into a stud with screws that were too short or too few. The fix is remounting the brackets with proper fasteners.
The bracket is intact but the rod has popped out of the bracket cup. Many open-top closet rod brackets use a simple hook shape that the rod rests in. A heavy load causes the rod to jump out. The fix is replacing the brackets with closed-top (or locking) designs that trap the rod.
The rod is cracked or bent. A wooden dowel that has cracked or a hollow chrome rod that has taken a permanent bow needs to be replaced, not just better supported.
Identify which scenario applies — most closet rod failures are a combination of two or more of these.
Step 2: Clear the Closet and Remove the Rod
Take all clothing off the rod and move it temporarily out of the way. Remove the rod from the brackets — most rods simply lift out of the bracket cups. If the rod is threaded or clamped, remove the fastening hardware.
Set the rod aside and inspect it. A bowed or warped rod can sometimes be straightened temporarily but will bow again under load — replacement is the better choice for a rod with any visible deformation.
Step 3: Inspect and Remount the End Brackets
With the rod down, check each end bracket by gripping it firmly and trying to wiggle it. A well-mounted bracket should not move at all.
If the bracket is loose or has pulled out of the wall:
- Remove the bracket completely by unscrewing it.
- Inspect the holes left behind. If you see hollow space behind the drywall (the anchors simply pulled through), you need to either find the stud or use proper toggle anchors.
- Use a stud finder to locate the nearest stud. In a standard closet, the end bracket is usually close enough to the side wall that a stud is accessible — the stud running vertically inside the end wall of the closet is often right where you need it.
- If a stud is within 2 inches of where the bracket needs to go, shift the bracket position to hit the stud and remount with 2-inch or longer coarse-thread screws. Two screws minimum per bracket.
- If no stud is accessible at the bracket location, use toggle bolt anchors. Drill the hole size specified on the toggle bolt package, insert the toggle, and tighten until it draws the bracket snugly against the wall. Toggle bolts in 3/8-inch drywall can hold 100 pounds or more in shear — far more than a standard expansion anchor.
If the bracket is solid but uses an open-top design:
Replace it with a closed-top bracket. Many closet rod brackets use a C-shaped or hook-shaped cup that the rod simply rests in. Under a heavy dynamic load (pulling a coat off a hanger with a sharp tug), the rod can jump out of the cup. Closed-top brackets have a lip, a retaining strap, or a complete circle that keeps the rod captured regardless of load direction.
Step 4: Add a Center Support Bracket
If your rod spans more than 48 inches, a center support bracket is the most important upgrade you can make. Even a well-mounted rod of standard diameter will sag noticeably over a 6-foot span with a full load of winter coats.
Locate the center of the rod span. Measure the total distance between the two end brackets and mark the midpoint on the closet shelf or rear wall with a pencil.
Determine your mounting surface. Most center support brackets attach to the underside of a closet shelf directly above the rod. If there is no shelf above the rod, the bracket mounts to the rear wall.
Shelf-mounted center support:
- Hold the center support bracket up to the underside of the shelf at the center mark.
- The bracket has a vertical post with an adjustable rod cup at the bottom. The cup should hang at the same height as the end brackets so the rod is level.
- Mark the screw hole positions on the shelf underside and pre-drill pilot holes slightly narrower than your screws to prevent the shelf from splitting.
- Drive screws into the shelf — two screws minimum, 1-1/2 inch length is sufficient for a 3/4-inch shelf.
- Adjust the rod cup height so it aligns with the end brackets.
Wall-mounted center support (if no shelf above):
- Locate a stud in the rear wall at the center mark position. If the center of the rod span does not align with a stud, use a toggle bolt.
- Position the bracket so the rod cup sits at the correct height — the same height as the end bracket cups.
- Use a level to confirm the height matches both end brackets before screwing in.
- Mount with two screws into the stud or a single toggle bolt per the anchor rating.
Step 5: Replace the Rod (If Needed)
If the existing rod is bowed, cracked, or simply too long for a replacement to span without sagging, cut a new rod to length.
Measuring the new rod: Measure the distance between the inner faces of the two end bracket cups. Cut the rod to this length. Most steel rods can be cut with a hacksaw or an angle grinder fitted with a metal cutting disc.
For an adjustable-length rod: Many replacement closet rods are telescoping or come in standard lengths. A rod 48 inches or shorter for single-span, or two rods meeting at a center support bracket for longer spans.
For a significant upgrade: Replace a hollow 1-inch chrome rod with a 1-3/8-inch wooden closet dowel or a 1-1/4-inch solid steel rod. The increased diameter and material improve both load capacity and sag resistance significantly.
Set the new rod into the bracket cups at both ends and the center support. It should sit level without any visible bow.
Step 6: Redistribute the Load
The most common cause of rod failure is simply too much weight packed too closely together. Use this opportunity to:
- Remove items you do not wear. If it has been more than a year and you have not touched it, consider donating it.
- Redistribute heavy items. Heavy coats and suits should hang near the ends of the rod, not clustered in the center where the bending moment is greatest.
- Use a double-hang rod system for shorter garments (shirts, jackets, folded trousers) to spread the load across two levels rather than one.
- Use shelf space for folded items rather than hanging everything. A sweater on a shelf weighs nothing on the rod.
Step 7: Test the Installation
With clothing rehung, run through this quick check:
- Push up on the center of the rod. It should not flex more than 1/4 inch under moderate hand pressure.
- Pull each end bracket by hand — neither should wobble.
- Apply weight at the center support point — the bracket should not shift.
- Step back and visually confirm the rod is level from end to end.
A properly installed rod with a center support should serve a lifetime of normal use without requiring attention again.
Cost Summary
| Repair | DIY Cost | Pro Cost |
|---|---|---|
| Add center support bracket | $8–$15 | $75–$150 |
| Remount end brackets with anchors | $8–$15 (anchors) | $75–$150 |
| Full rod and bracket replacement | $30–$60 | $150–$250 |
Related Reading
- Diagnose the Problem
Before buying anything, understand exactly what failed. This determines which of the following repair approaches applies to your situation.
- Clear the Closet and Remove the Rod
Take all clothing off the rod and move it temporarily out of the way. Remove the rod from the brackets — most rods simply lift out of the bracket cups. If the rod is threaded or clamped, remove the fastening hardware.
- Inspect and Remount the End Brackets
With the rod down, check each end bracket by gripping it firmly and trying to wiggle it. A well-mounted bracket should not move at all.
- Add a Center Support Bracket
If your rod spans more than 48 inches, a center support bracket is the most important upgrade you can make. Even a well-mounted rod of standard diameter will sag noticeably over a 6-foot span with a full load of winter coats.
- Replace the Rod (If Needed)
If the existing rod is bowed, cracked, or simply too long for a replacement to span without sagging, cut a new rod to length.
- Redistribute the Load
The most common cause of rod failure is simply too much weight packed too closely together. Use this opportunity to:
Free: 10-Point Home Maintenance Checklist
Prevent costly repairs with this seasonal checklist. Save hundreds every year by catching problems early.
Your checklist is ready!
Open Checklist →Something went wrong. View the checklist here.