How to Fix a Sagging Ceiling: Causes, Repairs, and When to Evacuate
Identify the cause of a sagging ceiling and make safe repairs — from loose drywall screws to water damage to structural issues that require immediate attention.
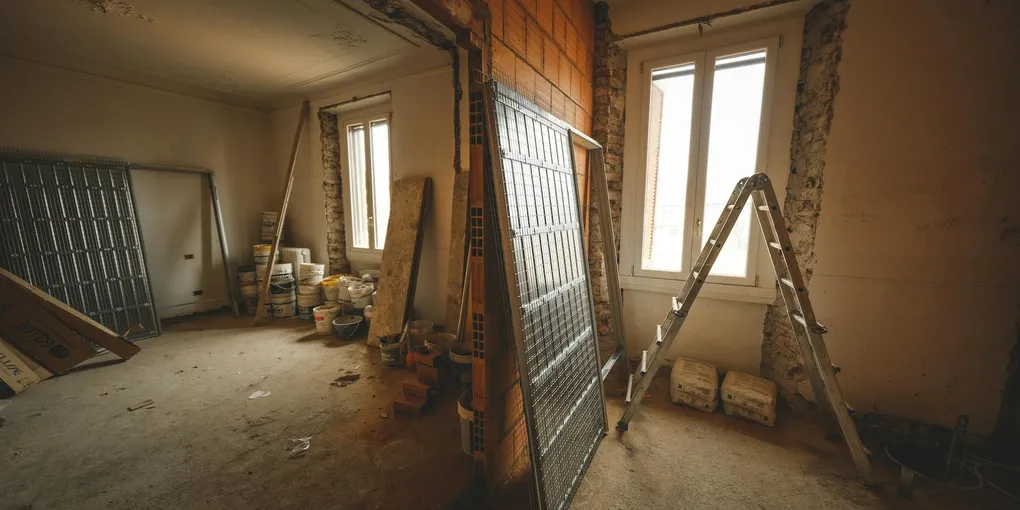
A sagging ceiling is not something to watch and wait on. It is either already failing or telling you something above it has failed.
A sagging ceiling is not something to watch and wait on. It is either already failing or telling you something above it has failed. The right response depends entirely on understanding why it is sagging — and that starts with an honest safety assessment before you pick up a screw gun.
Safety First: When to Leave Immediately
Most sagging ceilings are cosmetic issues that can be repaired on your schedule. A few are emergencies.
Leave the area immediately and do not re-enter if you observe any of the following:
- The ceiling is actively bulging downward and you can hear or see water above it
- The sag is large (more than a few square feet) and appears to be progressing or getting worse quickly
- You hear cracking or popping sounds from above
- The sag is accompanied by new cracks in adjacent walls, especially diagonal cracks running from corners of doors or windows
- The ceiling drywall looks discolored, heavily stained, and the material surface is visibly deteriorating
A water-logged ceiling panel is extraordinarily heavy and the fasteners holding it up are already under stress. If you see a large bulge with water trapped behind it, the safest move is to carefully puncture the lowest point with a screwdriver or awl to drain the water in a controlled stream. Do this from the side — do not stand directly below the bulge. Once drained, the panel is lighter and less likely to collapse suddenly.
If you have any doubt about structural integrity, stay out of the room until you have had it assessed.
Diagnosing the Cause
The right fix depends on correctly identifying what is causing the sag. There are three distinct causes, each with different warning signs.
Cause 1: Loose or Failed Drywall Fasteners
This is the most common cause, especially in older homes where drywall was installed with nails rather than screws. Over time, nails back out of joists — a process called nail-popping — and the drywall panel loses its connection to the framing above.
Signs: The sag is gradual and may have developed over years. The affected area feels relatively firm when pressed up on. You may see rows of nail pops (small bumps or craters) visible in the paint surface nearby. Tapping the ceiling produces a dull, flat sound rather than a hollow one. There is no staining and no history of a water event above.
Fix: Resecure the drywall to the joists with screws (detailed in the repair section below).
Cause 2: Water Damage
Water-damaged drywall sags because the gypsum core absorbs water, becomes heavier, and weakens. The paper facing may also separate, reducing the panel’s structural integrity.
Signs: Brown or yellow staining around the sag. A musty smell. The material feels soft when pressed. History of a plumbing leak, roof leak, or appliance overflow above the ceiling. Tapping may produce a different sound across the stained area versus surrounding dry drywall.
Fix: Stop the water source first. Then dry the area completely before making any repairs. Saturated drywall almost always needs to be replaced — it does not regain strength after drying.
Cause 3: Structural Issue
Structural causes include cracked or overloaded rafters, failed joist hangers, crushed or deteriorated framing, or foundation movement that has stressed the entire structure.
Signs: The sag spans a large area and is not localized to a single panel. Adjacent walls show new cracks, especially diagonal cracks at corners of openings. Doors or windows in the same room have recently become difficult to operate. Ceiling joists visible in an attic or above the ceiling show cracking, crushing, or separation from hangers.
Fix: This is not a DIY repair. Call a structural engineer. Resecuring drywall to joists that are themselves cracked or failing accomplishes nothing and may be dangerous.
Fix 1: Resecuring Loose Drywall
This repair addresses a ceiling that is sagging because the drywall has pulled away from the joists above — the most common cause.
What you need:
- Stud finder to locate ceiling joists
- Coarse-thread drywall screws, 1-5/8 inch for 1/2-inch drywall or 2 inch for 5/8-inch drywall
- Drill/driver
- Joint compound
- 6-inch and 10-inch drywall knives
- Sanding sponge or sandpaper
- Paint and primer
The Repair
Use a stud finder to mark all the ceiling joists across the affected area. Ceiling joists typically run parallel to one another, spaced 16 inches on center. Mark their locations with a pencil.
For a significant sag, you may need to temporarily support the drywall panel while you fasten it. A drywall lift is the cleanest solution — these can be rented from most tool rental shops. Alternatively, cut a piece of 2x4 lumber slightly longer than the floor-to-ceiling height, wedge it against the sagging area, and use it to push the panel back up while you fasten.
Drive new drywall screws into the joists every 8 inches through the sagging area and extending about 12 inches in each direction beyond the visible sag. Drive each screw until the head dimples the drywall surface slightly without breaking through the paper. Overdriving strips the fastener and loses holding power.
Once all screws are in, cover each dimple with a small amount of joint compound using a 6-inch knife. Feather the edges. After the first coat dries (4-6 hours depending on humidity), apply a second thin coat. Sand smooth when fully dry.
If the ceiling shows cracks or texture inconsistency from the repair, skim coat the area lightly with a 10-inch knife to blend. For heavily textured ceilings, use a ceiling texture repair kit to match the existing pattern.
Prime and paint to finish.
Fix 2: Water-Damaged Drywall
Water-saturated drywall must come out. It will not dry to a usable condition, and leaving it creates ongoing mold risk.
What you need:
- Moisture meter to confirm the surrounding drywall is dry before patching
- Utility knife and drywall saw
- Replacement drywall panel (match the existing thickness — typically 1/2 or 5/8 inch)
- Coarse-thread drywall screws
- Joint compound and drywall tape
- Stain-blocking primer
Stop the Water Source First
Before cutting anything, confirm the source of the water has been stopped and the area above the ceiling is dry. Use a moisture meter to take readings through the drywall in several locations. Do not patch over wet material.
Remove the Damaged Section
Cut the damaged drywall back to the nearest joist on each side of the affected area. Make your cuts centered on the joists so you have backing for the new panel edges. A drywall saw or oscillating multi-tool works well here.
Remove the damaged panel. Inspect the cavity above — look at the joists, any insulation, and the surface you can see for mold or continued moisture. If you find mold on the joists, treat it before enclosing the space again.
Install the Patch
Cut your replacement drywall panel to fit. Apply it to the ceiling with screws into the joists — every 8 inches along each joist. Tape all seams with paper tape and joint compound. Apply two to three coats of compound, letting each dry completely, and feathering each coat wider than the last to create a gradual transition.
Apply stain-blocking primer over the patched area before painting. Water stains from the original damage can bleed through latex paint even after the area is completely dry — stain-blocking primer prevents this.
Fix 3: Sagging Plaster Ceiling
Plaster ceilings are older construction — common in homes built before about 1950. They are thick, heavy, and attached differently than drywall. Plaster is applied over wood or metal lath in multiple layers, and it grips the lath through small openings called keys. When those keys fail — due to moisture, age, or vibration — the plaster loses its bond and begins to sag or separate.
Test the Plaster
Tap the ceiling across the affected area with your knuckles. Solid, well-bonded plaster has a firm sound. Failed plaster has a hollow, drumming sound. Map the hollow areas — they indicate where the keys have failed. The hollow area is often larger than the visible sag.
Do not press up on visibly failed plaster from below. The weight of old plaster is substantial and it can come down in large, heavy chunks.
Remove Failed Sections
Cut out the failed plaster back to areas that still sound solid. Work carefully — wear safety glasses and a dust mask. Plaster dust is heavy. Support removed sections rather than letting them fall.
Inspect the lath below. If the lath is sound, you can apply a new scratch coat, brown coat, and finish coat of plaster — a skilled trade that most DIYers do not have experience with. The practical alternative is to cut the lath back to the nearest joist, install a drywall patch the same way as Fix 2, and blend the edges.
For large areas of failed plaster across an entire ceiling, many homeowners opt to carefully remove all the plaster and reinstall the entire ceiling in drywall. This is a major project but often more practical than attempting piecemeal plaster repairs across a wide area.
Stabilizing Plaster That Has Not Yet Failed
If your plaster is showing hairline cracks but has not yet begun to sag significantly, you can inject construction adhesive into the cracks using a syringe and then press the plaster firmly back against the lath with screws and large fender washers. Drive the screws into the lath (not into the plaster itself), using the washer to distribute pressure. This stabilizes the plaster without removing it. Once the adhesive cures, remove the screws and washers, fill the holes, and refinish.
When to Call a Structural Engineer
A structural engineer is the right call — not a contractor, not a handyman — when the ceiling issue may involve the building’s structural system.
Call a structural engineer if you see:
- Sagging that spans a large portion of a room and is progressing
- Cracks in the ceiling that follow the joist direction and are separating (not just hairline surface cracks)
- New diagonal cracks in adjacent walls, particularly running at 45 degrees from the corners of window or door openings
- Visible distress in the framing above — cracked, bowed, or separated rafters or joists
- Any combination of ceiling sag with foundation issues, including sticking doors, sloping floors, or cracks in the foundation
In these cases, reinforcing the ceiling surface is treating a symptom while the underlying structure continues to fail. A structural engineer identifies the root cause and specifies the correct structural repair. The engineer’s report also gives you documentation for insurance purposes and for any future sale of the home.
Related Reading
- How to Fix a Ceiling Water Stain
- How to Fix a Cracked Ceiling
- How to Patch Drywall
- How to Fix Water Damage Ceiling
- How Much Does a Handyman Cost?
- Fix 1: Resecuring Loose Drywall
This repair addresses a ceiling that is sagging because the drywall has pulled away from the joists above — the most common cause.
- Fix 2: Water-Damaged Drywall
Water-saturated drywall must come out. It will not dry to a usable condition, and leaving it creates ongoing mold risk.
- Fix 3: Sagging Plaster Ceiling
Plaster ceilings are older construction — common in homes built before about 1950. They are thick, heavy, and attached differently than drywall.
Free: 10-Point Home Maintenance Checklist
Prevent costly repairs with this seasonal checklist. Save hundreds every year by catching problems early.
Your checklist is ready!
Open Checklist →Something went wrong. View the checklist here.