How to Fix a Peeling Paint Ceiling: Scraping, Priming, and Repainting the Right Way
Peeling ceiling paint is caused by moisture, poor adhesion, or incompatible paint layers — learn how to identify the cause, prep the surface properly, and repaint for a lasting finish.
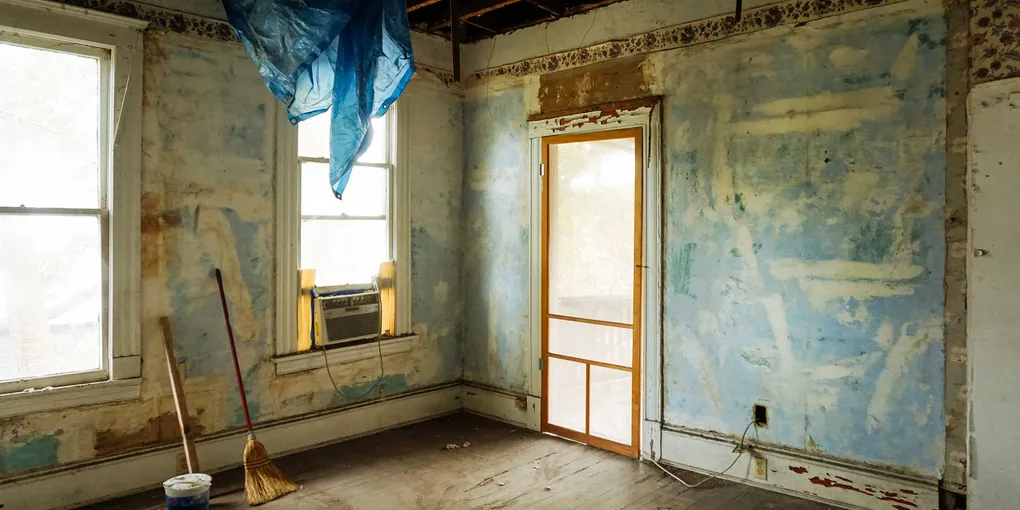
A peeling ceiling is one of those repairs that looks worse than it actually is. In most cases, fixing it properly is a weekend project that costs under $100 in materials.
A peeling ceiling is one of those repairs that looks worse than it actually is. In most cases, fixing it properly is a weekend project that costs under $100 in materials. The critical steps are diagnosing the cause of the peeling and eliminating it before you repaint — because new paint on top of the same problem will peel just as fast.
What You Need
- Stain-blocking primer for ceilings ($20–$35 for a quart, or $45–$60 for a gallon for larger ceilings)
- Ceiling paint flat white ($25–$45 for a gallon of quality flat ceiling paint)
- Drywall joint compound lightweight ($15–$25 for a small bucket for skim coating and feathering edges)
- Paint scraper 4-inch flexible blade ($10–$20 for a stiff-blade scraper plus a wide flexible finishing knife)
- Sanding sponges fine and medium grit ($8–$15 for a multi-pack of sanding sponges)
- Ceiling paint roller and extension pole ($15–$30 for a 9-inch roller frame, ½-inch nap covers, and 4–8 foot extension pole)
You’ll also need painter’s tape, plastic drop cloths, a bucket, paint tray, safety glasses, and a dust mask. If the peeling is caused by a leak, you’ll need repair materials for the moisture source as well.
Step 1: Find and Fix the Moisture Source
The most important step in ceiling repair is also the one most people skip: finding out why the paint is peeling in the first place. If you paint over the problem without fixing it, the new paint will peel again — sometimes within weeks.
Signs of active or past moisture damage:
- Yellow or brown staining beneath the peeling paint (dried water mineral deposits)
- Soft, spongy drywall when pressed gently (water-damaged drywall must be replaced, not just repainted)
- Mold or mildew growth (black, green, or gray spots beneath or mixed in with peeling areas)
- Peeling concentrated in bathroom corners or along a ceiling edge directly below a bathroom or kitchen above
Common moisture sources and fixes:
Roof leak: If peeling appears after heavy rain, or if there’s staining that follows the roof slope, inspect the attic for wet insulation or staining on the roof sheathing. Common entry points are around chimney flashing, pipe boots, ridge vents, and damaged shingles. Fix the roof before touching the ceiling.
Plumbing leak from above: If there’s a bathroom, kitchen, or laundry room directly above the peeling area, inspect the floor above for drips, sweating pipes, or loose drain connections. Even a slow drip will eventually saturate the ceiling drywall and cause recurring peeling.
Bathroom condensation: Steam from showers condenses on cool ceiling surfaces. Over time, the repeated wet-dry cycling breaks the paint bond. Fix by improving ventilation: replace an undersized exhaust fan with one rated for the bathroom’s square footage (minimum 1 CFM per square foot), ensure the duct vents to the exterior (not into the attic), and run the fan during and for 15 minutes after every shower.
Inadequate surface prep when originally painted: Peeling paint that doesn’t follow any moisture pattern, or peeling that occurred shortly after the last paint job, points to adhesion failure — painting over glossy, dirty, or incompatible surfaces.
Don’t proceed until you’ve identified and fixed the moisture source. If there’s no moisture source, proceed to surface prep.
Step 2: Protect the Room
Peeling ceiling work is messy. Old paint chips and drywall dust fall straight down.
Lay plastic drop cloths on the entire floor and cover any furniture that can’t be removed. Tape plastic over light fixtures. Apply painter’s tape around the ceiling perimeter where it meets the walls. Put on safety glasses and a dust mask — sanding and scraping above your head sends debris directly toward your face.
Step 3: Scrape All Loose Paint
Use a 4–6 inch stiff putty knife or paint scraper to remove all paint that’s loose, bubbled, flaking, or cracked. Apply firm pressure and work the scraper at a shallow angle. Paint that’s peeling will come off easily. Stop when you reach paint that’s firmly adhered and doesn’t flake or lift with scraper pressure.
Be thorough. This is the most labor-intensive step, but it’s also the most important. Any paint you leave that isn’t fully bonded will pop off after repainting. When in doubt, scrape more — you can always skim coat bare spots, but you can’t un-peel paint that was left under a new topcoat.
For large areas (more than 50% of the ceiling): Consider scraping the entire ceiling rather than feathering patches. A ceiling with 10 isolated repairs will look patchier than one that’s been uniformly skimmed and painted.
Check the drywall. After scraping, press the drywall surface gently. If it feels soft, crumbly, or if your finger pushes through easily, the drywall itself is water-damaged and must be replaced. Painting over water-damaged drywall is a temporary fix at best. Cut out the damaged section and patch with new drywall.
Step 4: Sand and Feather the Edges
After scraping, you’ll have a ceiling with islands of good paint surrounded by bare drywall or primer. The edges of those paint islands are raised and will show as ridges under new paint if not feathered smooth.
Use a medium-grit sanding sponge (80–100 grit) to sand the edges of all scraped areas, feathering the paint edge to a gradual taper. Follow with a fine-grit sponge (120–150 grit) to smooth further.
Vacuum up all sanding dust with a shop vac, then wipe the entire ceiling with a lightly dampened sponge to remove residual dust. Let it dry completely before proceeding.
Step 5: Skim Coat Bare and Rough Areas
Bare drywall paper is absorbent and slightly rough. If you prime and paint directly over it without a skim coat, you’ll see the texture difference between bare areas and the surrounding painted areas — a problem called “flashing” where the sheen looks inconsistent even under flat paint.
Apply a thin skim coat of lightweight joint compound over all bare drywall areas and any areas where the drywall paper was torn or damaged by scraping. Use a 6–10 inch drywall finishing knife to spread the compound in thin, even strokes. The goal is just to fill the surface texture and seal the paper — not to build up thickness.
Let the skim coat dry completely (usually 4–8 hours for a thin coat, or overnight for thicker sections). Lightly sand smooth with a fine sanding sponge, then vacuum and wipe down again.
Step 6: Apply Stain-Blocking Primer
Primer is not optional. On a peeling ceiling, primer does three critical jobs:
-
Blocks stains. Water stains, smoke stains, and tannin bleed will bleed through any number of topcoats if not blocked with the right primer. Standard latex primer won’t stop water stains — use an oil-based or shellac-based stain blocker on any stained areas.
-
Seals bare surfaces. Bare drywall absorbs paint unevenly, causing flat sheen on some areas and shiny spots on others. Primer seals the surface so topcoat applies evenly.
-
Improves adhesion. Primer bonds to both the substrate and the topcoat, giving the new paint the best possible grip.
Spot-prime first. Apply stain-blocking primer to all stained areas and let it dry completely. Check if the stain is still visible through the dried primer — if so, apply a second coat. Most water stains need two coats of oil-based primer to fully disappear.
Prime the full ceiling. Once stain areas are blocked, apply a coat of latex bonding primer over the entire ceiling. Use a ½-inch nap roller for smooth ceilings or a ¾-inch nap for textured ceilings. Roll in perpendicular directions (N-S, then E-W) for even coverage.
Let the primer dry fully per label instructions — typically 1–2 hours for latex, 3–4 hours for oil-based. Don’t rush this step.
Step 7: Apply Ceiling Paint
Ceiling paint is specifically formulated for overhead application — it’s thicker than wall paint (to resist dripping), dries flat (to minimize sheen variations from different viewing angles), and often includes mildewcide for bathroom use.
Use flat finish. Never use satin or semi-gloss on ceilings unless the ceiling is in a kitchen or bathroom where washability is needed. Flat finish hides surface imperfections and roller texture far better than sheen finishes — any slight unevenness in your skim coat or roller marks will be obvious under a satin finish but invisible under flat.
Apply two coats. One coat rarely achieves full hiding, especially over primer. Two thin coats dry faster, cover better, and bond more durably than one heavy coat.
Roll in one direction for the final coat. The first coat can be rolled in any direction. For the final coat, roll in a single consistent direction (usually parallel to the room’s longest wall) for the most uniform appearance. Work wet-edge to wet-edge to avoid lap marks.
Cut in first. Use a 2-inch angled brush to paint a 3-inch border where the ceiling meets the walls before rolling. This gives you a clean edge and avoids getting roller spatter on the walls.
Dry time between coats: Most flat ceiling paints require 2–4 hours between coats. Don’t shortcut this — wet paint over semi-dry paint causes rolling drag marks and poor adhesion.
Step 8: Inspect and Touch Up
After the final coat dries completely (24 hours is ideal before inspection), examine the ceiling under raking light — side-lighting from a lamp or work light held at an angle reveals any uneven areas, missed spots, or visible patch edges.
Touch up any thin spots or missed areas with a small brush or mini roller. Let touch-ups dry and check again.
Preventing Future Peeling
For bathrooms: Run the exhaust fan every time you shower. Check annually that the duct is clear and the fan is operating at full capacity (hold a tissue near the fan — it should be drawn firmly against the grille).
For all ceilings: When repainting, never skip priming. Even if the existing paint looks fine, new paint over old glossy surfaces can peel within a year.
For kitchens: Use a kitchen-rated paint with a light sheen (eggshell or satin) that can be wiped clean. Grease from cooking accumulates on ceiling surfaces and, over time, prevents paint adhesion.
Inspect annually. Walk through your home and look up at the ceilings after heavy rains. Catch roof leaks and plumbing drips early — a small stain caught in year one is a ceiling paint repair; an ignored leak by year five may be a drywall replacement.
Cost to Fix a Peeling Ceiling
| Scope | DIY Cost | Pro Cost |
|---|---|---|
| Small bathroom ceiling (50 sq ft) | $40–$80 | $200–$400 |
| Full bedroom ceiling (150 sq ft) | $75–$125 | $350–$600 |
| Full living room ceiling (300 sq ft) | $100–$200 | $500–$900 |
| Water-damaged drywall replacement + repaint | $150–$350 | $600–$1,500 |
The main cost variable is whether you need drywall replacement (water-damaged sections must be cut out and replaced — you can’t just skim coat over crumbling drywall).
Related Reading
- How to Patch a Drywall Hole
- How to Remove Wallpaper
- How to Install a Bathroom Exhaust Fan
- Small Bathroom Remodel Ideas
- Find and Fix the Moisture Source
The most important step in ceiling repair is also the one most people skip: finding out why the paint is peeling in the first place. If you paint over the problem without fixing it, the new paint will peel again — sometimes within weeks.
- Protect the Room
Peeling ceiling work is messy. Old paint chips and drywall dust fall straight down.
- Scrape All Loose Paint
Use a 4–6 inch stiff putty knife or paint scraper to remove all paint that's loose, bubbled, flaking, or cracked. Apply firm pressure and work the scraper at a shallow angle. Paint that's peeling will come off easily.
- Sand and Feather the Edges
After scraping, you'll have a ceiling with islands of good paint surrounded by bare drywall or primer. The edges of those paint islands are raised and will show as ridges under new paint if not feathered smooth.
- Skim Coat Bare and Rough Areas
Bare drywall paper is absorbent and slightly rough. If you prime and paint directly over it without a skim coat, you'll see the texture difference between bare areas and the surrounding painted areas — a problem called "flashing" where the sheen lo...
- Apply Stain-Blocking Primer
Primer is not optional. On a peeling ceiling, primer does three critical jobs:
Free: 10-Point Home Maintenance Checklist
Prevent costly repairs with this seasonal checklist. Save hundreds every year by catching problems early.
Your checklist is ready!
Open Checklist →Something went wrong. View the checklist here.