How to Fix a Leaky Outdoor Faucet (Hose Bib) in 30 Minutes (2026)
Outdoor faucet dripping from the spout or leaking at the handle? This guide covers both fixes: replacing the washer (spout drip) and tightening or replacing the packing nut (handle leak) — without calling a plumber.
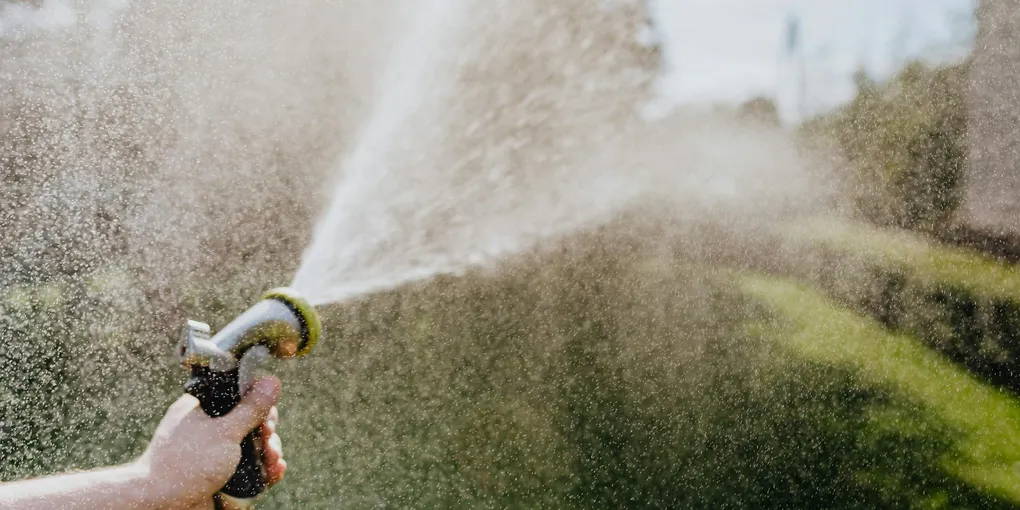
A drip from the spout: the rubber washer at the end of the stem is worn. A $0.25 washer replacement fixes it. A drip or wet spot around the handle: the packing nut is loose or the packing material is worn — tighten the packing nut 1/4 turn first before replacing anything. The whole repair takes 20–30 minutes. Shut off the water supply to the faucet (usually a shutoff valve inside the house where the pipe comes through the wall) before starting.
Frequently Asked Questions
Why is my outdoor faucet dripping from the spout?
The rubber washer at the bottom of the valve stem is worn. Every time you close the faucet, the washer presses against a brass seat. Over years, the washer compresses and the seat wears, allowing water to bypass. Spout drips are very common on compression faucets (the kind that require multiple turns to fully open/close). The fix is to replace the washer — it's a $0.25 part that takes 20 minutes to swap.
What is a packing nut and why does it leak?
The packing nut is a threaded nut just behind the handle on the faucet body. It compresses packing material (graphite string, rubber, or Teflon) around the valve stem to create a water-tight seal. When the packing wears out or compresses over time, water seeps past the stem around the handle. Before replacing packing, try tightening the nut 1/4 turn with an adjustable wrench — often this stops the leak without replacing anything.
Do I need to turn off water to the whole house?
Usually no. Most outdoor faucets (hose bibs) have an indoor shutoff valve — a separate valve inside the house where the pipe comes through the wall or in the basement/crawl space. Look for a ball valve or gate valve on the supply line, typically within a few feet of where the pipe exits the house. Turn that valve off. If you can't find a dedicated shutoff, use the main house shutoff.
What is a frost-free faucet and how is it different?
A frost-free faucet (also called an anti-siphon faucet or sillcock) has a long stem — 8 to 12 inches — that positions the rubber washer inside the heated part of the house rather than outside. When you turn it off, the water drains out of the exterior portion automatically. This prevents freezing in winter. The repair is similar to a standard faucet, but the stem is longer and must be pulled out further.
My outdoor faucet leaks from the wall where the pipe comes through. What is that?
If water appears at the wall penetration (where the pipe exits the house), the pipe or fitting inside the wall may be leaking, not the faucet itself. Shut off the supply immediately and check inside — look for water on the interior side of the wall. This could be a cracked pipe, a failed soldered joint, or a pushed-out fitting. This is a plumbing repair beyond the faucet — see the leaky pipe guide.
A drip from the spout: the rubber washer at the end of the stem is worn. A $0.25 washer replacement fixes it.
A dripping outdoor faucet wastes gallons per day and often costs less than $5 to fix.
Identify the leak location
Drip from the spout (when faucet is off): worn washer — follow Repair A.
Leak around the handle (when faucet is on): worn packing — follow Repair B.
Both: do both repairs in sequence.
Repair A: Spout drip — replace the washer
Step 1: Shut off the water
Find the indoor shutoff valve for the outdoor faucet — usually inside the wall or in the basement near where the pipe exits. Close it completely.
Open the outdoor faucet to relieve remaining pressure and drain the line.
Step 2: Remove the handle
On compression faucets: remove the handle screw (usually under a decorative cap on top of the handle — pry off the cap with a flathead). Lift the handle off.
Step 3: Unscrew the packing nut
Use an adjustable wrench to turn the packing nut counterclockwise. Hold the faucet body steady with your other hand. Once the nut is loose, unscrew it by hand and pull the stem straight out.
Step 4: Replace the washer
At the bottom of the stem, you’ll see a rubber washer held by a brass screw. Remove the screw, lift out the old washer. Note the shape — flat or beveled.
Replace with a matching washer from a washer kit. Match the diameter and bevel. Reinstall the brass screw.
Step 5: Inspect the seat
Look into the faucet body where the washer contacts. If the brass seat is visibly pitted or rough, it will chew through new washers quickly. Smooth a slightly rough seat with a seat wrench. A severely worn seat should be replaced.
Step 6: Reassemble and test
Slide the stem back in. Thread the packing nut by hand, then snug it with a wrench (don’t over-tighten). Reinstall the handle.
Turn the indoor shutoff on. Check for drip at the spout and handle. If handle leaks, see Repair B.
Repair B: Handle leak — packing nut or packing
Try tightening first
With the water on: use an adjustable wrench to tighten the packing nut behind the handle 1/4 turn clockwise. Test. Often this alone stops the leak.
Over-tightening warning: If the nut is too tight, the faucet becomes very hard to turn. Go 1/4 turn at a time.
Replace the packing (if tightening doesn’t work)
- Shut off water, drain the faucet.
- Remove the handle and unscrew the packing nut.
- Remove the old packing — it may be a rubber O-ring, graphite string wound around the stem, or a Teflon washer.
- For graphite packing string: wrap 3–5 turns of Teflon packing cord clockwise around the stem, just below the threads.
- For O-ring: replace with a matching O-ring — measure the stem diameter.
- Reinstall the packing nut, handle, and test.
Winterizing your outdoor faucets
Frost-free faucets self-drain when turned off. Standard faucets need to be winterized:
- Disconnect and store garden hoses before the first freeze — a connected hose traps water in the pipe.
- Shut the indoor valve for each outdoor faucet.
- Open the outdoor faucet fully to drain remaining water.
- Leave the outdoor faucet open slightly all winter so any water that does freeze has room to expand without bursting the pipe.
Related guides
- How to Fix a Leaky Faucet — indoor faucet repair guide
- How to Fix a Leaky Pipe — if the leak is in the wall, not the faucet
- How to Shut Off Water to Your House — main shutoff location and procedure
- Plumber Cost Guide — when to call a pro
- Winterize Your Home Checklist — seasonal outdoor faucet prep
- Locate and shut off the water supply
Find the dedicated shutoff valve for the outdoor faucet — usually a ball valve or gate valve inside the house where the supply pipe comes through the wall, or in the basement/crawl space. Turn it off. Open the outdoor faucet to drain residual water from the line. If you cannot find a dedicated shutoff, use the main house shutoff.
- Fix a spout drip: replace the seat washer
Remove the handle (unscrew the packing nut just behind the handle, then pull the handle off — or remove the set screw under the decorative cap). Unscrew the stem by turning counterclockwise — the stem is the long threaded rod inside the faucet body. At the bottom of the stem, find the rubber seat washer held by a brass screw. If the washer is flat, cracked, or grooved, replace it. Match the size at a hardware store or use an assorted washer kit. Reinstall the stem, replace the packing nut, turn on water, and check.
- Fix a handle leak: tighten or replace packing
A leak around the handle (not from the spout) means the packing nut is loose or the packing material is worn. First: tighten the packing nut 1/4 turn clockwise with an adjustable wrench — this often stops the leak immediately. If tightening doesn't stop it: remove the packing nut and pull out the old packing. Replace with graphite packing cord (wrap 2–3 turns around the stem) or a packing washer that matches your faucet. Reassemble and test.
- Test and check for leaks
Turn on the water supply slowly. Open and close the outdoor faucet several times. Check for drips at the spout (with the faucet closed) and around the handle (with the faucet open under pressure). A correctly repaired faucet should have zero drips in both positions. If a small drip persists at the spout after washer replacement, the brass seat inside the faucet body may be scored — use a seat wrench to remove and replace the seat, or replace the entire faucet.
Free: 10-Point Home Maintenance Checklist
Prevent costly repairs with this seasonal checklist. Save hundreds every year by catching problems early.
Your checklist is ready!
Open Checklist →Something went wrong. View the checklist here.