How to Fix a Leaking Sink Drain (Basket Strainer, P-Trap, and Slip Joints)
Stop water dripping under your sink by resealing the basket strainer, tightening slip-joint nuts, replacing worn washers, and fixing the P-trap — no plumber needed.
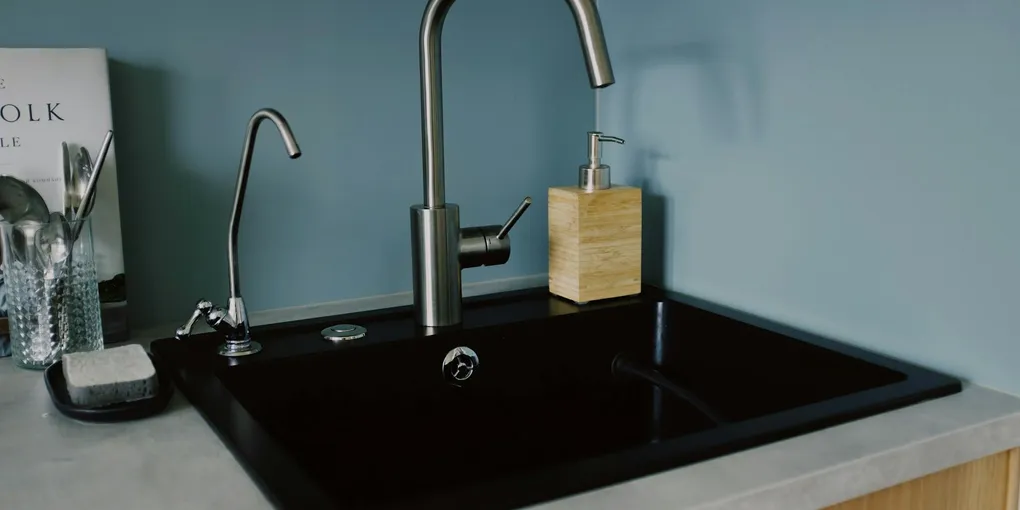
A puddle under the sink cabinet is one of those problems that seems minor until it’s rotted out the cabinet floor or encouraged mold behind the base.
A puddle under the sink cabinet is one of those problems that seems minor until it’s rotted out the cabinet floor or encouraged mold behind the base. The good news: sink drain leaks are some of the most accessible plumbing repairs in the house — everything is visible, in a cabinet, and requires no special tools to fix.
What You Need
- Plumber’s putty — for sealing basket strainers in stainless or ceramic sinks
- P-trap replacement kit (PVC) — replaces the entire drain assembly if multiple joints are failing
- Slip-joint washer assortment kit — replaces worn cone washers in P-trap connections
- Basket strainer replacement — for corroded or damaged strainer bodies
- Plumber’s putty and silicone sealant combo — silicone for stone and composite sinks
- Channel-lock pliers — for slip-joint nuts and the basket strainer locknut
Step 1: Find the Leak
Dry the entire underside of the sink drain with paper towels or a rag — every surface, every joint, every pipe. Then observe carefully in two conditions:
Static test (plugged drain): Plug the sink, fill it with 3–4 inches of water, and watch the drain assembly. Water dripping from the very top where the basket strainer meets the sink basin indicates a failed strainer seal. Water appearing at P-trap joints even without water flowing indicates a crack.
Flow test (unplugged): Pull the plug or run the faucet and watch carefully as water flows through the drain. Slip-joint leaks often only appear under flow conditions when water pressure engages the joint. Put a dry paper towel against each joint briefly to pinpoint the exact leak source.
Fixing a Leaking Basket Strainer (Kitchen Sink)
The basket strainer is the drain assembly at the bottom of a kitchen sink — the stainless strainer body that screws into the drain hole. A sealing compound (plumber’s putty or silicone) sits between the strainer’s top flange and the underside of the sink basin. When this seal fails, water drips from under the sink whenever the sink drains.
Disassemble from below
Open the cabinet under the sink. Beneath the basket strainer body, there is a rubber gasket, a friction ring, and a large locknut that clamps everything up against the sink. Unscrew this locknut — it’s a plastic or metal threaded nut directly under the sink basin. You may need channel-lock pliers or a large slip-joint wrench to break it loose. Turn counterclockwise.
Once the locknut is off, the strainer body can be lifted up and out from inside the sink.
Remove all old sealing material
Scrape every trace of old putty or silicone from both the sink drain hole rim and the underside of the strainer flange using a putty knife. A good seal requires clean, bare surfaces — old, dried putty left in place prevents the new seal from seating correctly.
Clean both surfaces with a rag dampened with mineral spirits or isopropyl alcohol. Allow to dry.
Apply fresh sealing compound
For stainless steel, porcelain, or ceramic sinks: Roll plumber’s putty into a rope about 3/8 inch thick and press it around the underside of the strainer flange — the outer rim that will sit against the sink surface. You want a continuous bead with no gaps.
For granite, quartz, marble, or composite sinks: Use 100% silicone sealant instead. Apply a bead around the drain hole opening in the sink (from above), or around the strainer flange. Silicone is messier to work with but will not stain porous stone surfaces.
Reinstall the strainer
From above, press the strainer body down into the drain hole, applying firm downward pressure for 30 seconds. This seats the putty into the gap between the flange and sink. Excess putty will squeeze out from around the flange — this is expected and correct.
From below, slide the rubber gasket, then the friction ring, up against the sink underside. Thread the locknut on by hand, then tighten with channel-lock pliers, alternating pressure side to side to keep the strainer centered. Tighten until firm — the strainer should not rotate when you grip it from above.
Trim the excess putty that squeezed out using a putty knife or your finger.
Reconnect the drain tailpiece. Allow silicone to cure for 24 hours before using the sink. Putty seals immediately.
Fixing a Leaking P-Trap or Slip Joints
The P-trap is the curved pipe under the sink. It connects to the drain tailpiece (from the strainer above) and the drain arm (going into the wall). The connections are slip joints — threaded plastic or chrome nuts with beveled rubber or nylon washers inside that create the seal.
Identify which joint is leaking
With the area dried and a leak identified, pinpoint exactly which joint drips: the nut where the trap meets the tailpiece (bottom of the straight piece from the sink), or the nut where the trap meets the drain arm going into the wall.
Tighten the slip-joint nut
First try simply tightening the nut. Hand-tight plus one-quarter turn with channel-lock pliers. If the leak stops — done. If it continues, the washer is worn.
Replace the washer
Unscrew the slip-joint nut and slide it off the pipe. Inside the nut (or seated in the fitting) is a beveled cone washer — a tapered rubber or nylon ring. Remove the old washer and match it from your assortment kit: match the pipe diameter (typically 1-1/4 inch for bathroom sinks, 1-1/2 inch for kitchen sinks) and the cone angle.
Seat the new washer in the fitting with the tapered side facing the nut, slide the nut back on, and tighten hand-tight plus one-quarter turn. Test under flow.
Replace the entire P-trap assembly
If multiple joints are leaking, the trap is cracked, or the chrome/plastic has degraded, replacing the full assembly is faster than chasing individual washer failures.
Measure the pipe diameter before purchasing: bathroom sinks usually use 1-1/4-inch P-traps, kitchen sinks use 1-1/2-inch. Note whether the drain arm exits from the wall at the center or offset to one side — you may need an offset trap arm or extension.
Unscrew all slip-joint nuts and remove the old assembly. Install the new trap: connect the curved trap section to the tailpiece first (tighten nut), then connect the drain arm from the trap to the wall fitting. Adjust the arm length by sliding it in or out before tightening. Leave all nuts slightly loose until the assembly is aligned with no binding or tension, then tighten all connections together.
Fixing a Leaking Bathroom Sink Drain (Pop-Up Drain Assembly)
Bathroom sinks use a pop-up drain assembly with a different design than the kitchen basket strainer. The drain body still seals to the sink basin with putty or silicone, but the body also connects to a pivot rod mechanism that raises and lowers the drain stopper.
Leak at the sink basin: Same repair as the kitchen basket strainer — remove, clean, reseal with putty or silicone, reinstall.
Leak at the pivot rod: The horizontal pivot rod that moves the stopper passes through a threaded pivot seat in the side of the drain body. A retaining nut secures the pivot rod. If water drips from this joint, tighten the retaining nut clockwise. If tightening doesn’t stop it, the rubber O-ring around the pivot rod is worn — remove the nut, slide out the pivot rod, replace the O-ring, and reassemble.
Preventing Future Drain Leaks
Don’t overtighten slip joints. The most common cause of cracked plastic P-trap nuts is overtightening during installation or repair. Snug plus one-quarter turn is all that’s needed.
Replace rubber washers before they fail. Rubber hardens and shrinks over time — after 10–15 years, slip-joint washers are prone to leaking. When you have the trap off for any reason, inspect the washers and replace them if they feel stiff or show cracking.
Use silicone on porous surfaces. If you have a granite or composite sink and the basket strainer seal fails twice in a few years, the likely culprit is putty staining or incompatibility. Switch to silicone permanently.
Keep an eye on the cabinet floor. Water damage under a sink cabinet happens slowly and isn’t always obvious until the floor is soft or there’s a mold smell. Check the cabinet interior quarterly — press the bottom of the cabinet with your thumb to feel for softness and check corners for dark staining.
When to Call a Plumber
Sink drain repairs are straightforward DIY work in almost all cases. Call a plumber if:
- The drain arm pipe inside the wall is corroded, cracked, or has failed threads — this requires cutting into the wall or replacing the drain line
- The leak is from the supply lines (braided stainless or copper) at the shutoff valve connections — if the shutoff valve itself is leaking, it needs replacement and that requires turning off the main water supply
- There is evidence of water damage spreading behind the cabinet walls or into the floor below — this may involve mold remediation and drywall repair beyond the plumbing fix itself
Related Reading
- How to Fix Low Water Pressure — diagnose pressure problems at the faucet while you’re under the sink
- How to Fix a Garbage Disposal — kitchen sink disposal repairs that pair with drain work
- How to Shut Off Water to Your House — locating shutoffs before any plumbing repair
- Find the Leak
Dry the entire underside of the sink drain with paper towels or a rag — every surface, every joint, every pipe. Then observe carefully in two conditions:
- Fixing a Leaking Basket Strainer (Kitchen Sink)
The basket strainer is the drain assembly at the bottom of a kitchen sink — the stainless strainer body that screws into the drain hole.
- Fixing a Leaking P-Trap or Slip Joints
The P-trap is the curved pipe under the sink. It connects to the drain tailpiece (from the strainer above) and the drain arm (going into the wall).
- Fixing a Leaking Bathroom Sink Drain (Pop-Up Drain Assembly)
Bathroom sinks use a pop-up drain assembly with a different design than the kitchen basket strainer. The drain body still seals to the sink basin with putty or silicone, but the body also connects to a pivot rod mechanism that raises and lowers the d...
- Preventing Future Drain Leaks
Don't overtighten slip joints. The most common cause of cracked plastic P-trap nuts is overtightening during installation or repair. Snug plus one-quarter turn is all that's needed.
Free: 10-Point Home Maintenance Checklist
Prevent costly repairs with this seasonal checklist. Save hundreds every year by catching problems early.
Your checklist is ready!
Open Checklist →Something went wrong. View the checklist here.