How to Fix a Kitchen Cabinet Hinge
Fix broken or misaligned kitchen cabinet hinges yourself — tighten loose screws, adjust European concealed hinges, and replace damaged hinges completely.
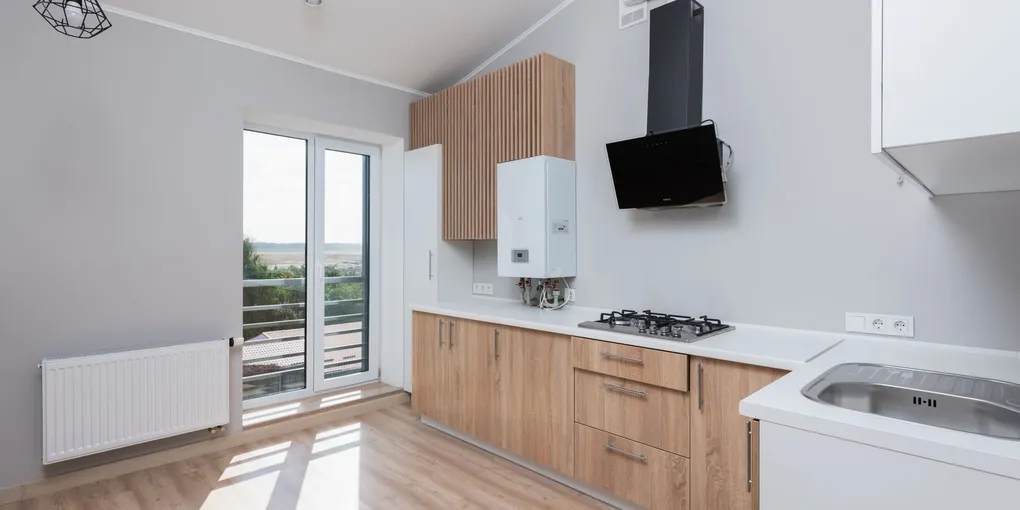
A cabinet door that sags, rubs, will not stay shut, or hangs visibly crooked makes your whole kitchen look tired. The frustrating truth is that most of these problems are 5-minute fixes once you know what you are looking at.
A cabinet door that sags, rubs, will not stay shut, or hangs visibly crooked makes your whole kitchen look tired. The frustrating truth is that most of these problems are 5-minute fixes once you know what you are looking at. Modern European (concealed) cup hinges have built-in adjustment screws that let you dial in perfect alignment in all three directions without removing the door. For older surface-mount hinges, a stripped screw hole or a bent hinge leaf is the usual culprit and is equally quick to address.
This guide covers tightening and repairing loose screws, adjusting European concealed hinges for perfect alignment, and fully replacing a hinge when adjustment is no longer enough.
What You Need
-
Blum CLIP Top Soft-Close Concealed Hinge (Full Overlay) — The industry-standard European hinge used in most modern cabinets. If you are replacing hinges, match the overlay type and cup diameter. Blum is compatible with virtually all cabinets drilled to the standard 35mm cup size.
-
#2 Phillips Screwdriver — Most European hinge adjustment and mounting screws are #2 Phillips. A proper-fitting screwdriver prevents cam-out and stripped screw heads. An impact driver on low torque also works well for driving hinge mounting screws.
-
Screw Hole Repair Kit with Toothpicks and Wood Glue — For stripped hinge mounting holes, this combination is faster and more reliable than special epoxy kits. Wooden toothpicks or golf tees in wood glue fill the void and give the screw threads something to grip.
-
35mm Forstner Bit — If you need to drill new cup holes for replacement European hinges, a 35mm Forstner bit is the correct size. Use it in a drill press or with a guide block for a clean, perpendicular hole.
-
Cabinet Hinge Mounting Plate Clips — The mounting plate (also called base plate or arm) screws to the cabinet box and the hinge clips onto it. If the mounting plate is damaged or the clip mechanism is worn, replacing just the mounting plate is often enough without replacing the full hinge.
-
Magnetic Cabinet Door Catch — For older surface-mount hinge cabinets where the door does not stay shut, a magnetic catch installed inside the cabinet is a quick fix that does not require hinge work.
Understanding the Two Types of Cabinet Hinges
Before you start any repair, identify what kind of hinges your cabinets have. The approach is completely different for each type.
European (concealed) hinges: Look inside the cabinet — you will see a round cup sunk into the back of the door with a metal hinge arm extending to a rectangular mounting plate screwed to the cabinet box. When the door is closed, nothing is visible from the outside. These hinges have 3-axis adjustment built in and are found in virtually all cabinets made since the 1990s.
Traditional exposed hinges: Look at the face of the cabinet where the door meets the frame. If you see metal, those are exposed hinges. They come in many styles — butt hinges (mortised into the door and frame), surface-mount hinges (flat leaf visible on both door and frame), and semi-concealed hinges (one leaf hidden, one visible). These have no built-in adjustment — alignment is determined entirely by screw position.
Fixing Loose Hinge Screws (Both Hinge Types)
Before adjusting or replacing anything, check whether the screws are simply loose. A sagging door is often caused by nothing more than screws that have backed out over years of vibration and repeated use.
- Open the door to expose the hinge fully.
- Try tightening each screw with your #2 Phillips. If the screw tightens and feels solid, you are done — close the door and check alignment.
- If the screw turns freely without tightening, the hole has stripped.
Fixing a stripped screw hole:
Method 1 (toothpick method, fastest): Remove the screw entirely. Dip two or three wooden toothpicks in wood glue and push them into the stripped hole until they fill it snugly. Snap or cut the toothpicks flush with the surface. Let the glue dry for 30 minutes. Drive the original screw back into the filled hole — it will grip the wood of the toothpicks and hold firmly.
Method 2 (longer screw): If the cabinet material is solid wood or plywood, try replacing the stripped screw with a screw that is 1/2 inch longer. This reaches undamaged wood deeper in the material. This works less reliably in particleboard or MDF because the longer screw just creates a new stripped channel.
Method 3 (screw-hole repair insert): Hardware stores sell threaded brass or plastic inserts that press into stripped holes and provide fresh threads for the original screw size. These are ideal for MDF cabinets where the toothpick method may not hold well.
Adjusting European Concealed Hinges
European hinges have three adjustment axes. Understanding each one makes alignment straightforward.
The three adjustments:
-
Side-to-side (left/right): Controlled by the horizontal screw on the mounting plate — the plate that is screwed to the inside wall of the cabinet box. Turning this screw clockwise moves the door toward the hinge side; counter-clockwise moves it away. This adjustment changes the gap between the door and adjacent doors or the cabinet face frame.
-
In/out (depth): Controlled by the screw at the back of the hinge arm — usually the rear-most screw on the hinge body. This moves the door closer to or farther from the cabinet face. Use this to make the door sit flush with adjacent doors.
-
Up/down (height): This adjustment is on the mounting plate and controls the door’s height position. Loosen the mounting plate screw slightly (the large central screw holding the plate to the cabinet), slide the entire plate up or down, and retighten.
Adjustment procedure:
- Open the door and identify all the hinges (usually two per door, three for tall doors).
- Start with the top hinge. Make one adjustment at a time — 1/4 turn on the target screw.
- Close the door and assess: Does the top gap look even? Is the door flush? Does it catch properly?
- Make the next small adjustment and re-check.
- Once the top hinge position looks good, address the bottom hinge to bring the door parallel.
Common problems and their fixes:
- Door hits adjacent door at top but has a gap at bottom (top leaning in): Adjust the top hinge’s depth screw to push the top of the door out.
- Wide gap on hinge side, tight on latch side: Use the side adjustment on both hinges to shift the door toward the hinge side.
- Door too low, rubbing on drawer below: Use the height adjustment on the mounting plates to raise the door.
- Door will not stay closed: The hinge clip may be worn, or the door is hitting the frame before the latch catches. Check that the door closes fully — if not, the depth may need adjustment.
Replacing a European Hinge Completely
When a hinge is cracked, bent, or the self-closing mechanism no longer works, replacement is the right move.
Identify your replacement hinge:
The critical specifications are:
- Cup diameter: 35mm is universal for modern cabinets
- Overlay type: Measure how much your door overlaps the cabinet box. Full overlay (door covers the entire face frame), half overlay (door covers half the frame, shared with adjacent doors), or inset (door sits inside the frame flush with the face) each require a different hinge
- Mounting plate: If the mounting plate is intact and undamaged, you may only need to replace the hinge body that clips onto it. Match the brand if possible — Blum, Grass, Salice, and Häfele mounting plates are not universally interchangeable
Replacement steps:
- Open the door fully and press the release tab on the hinge arm where it clips to the mounting plate. The hinge body will click free.
- The cup is held to the door by two screws. Remove them. The old hinge lifts out.
- If the cup hole in the door is in good condition (no cracking, no damage), the new hinge drops straight in. Align it with the existing holes and drive the two screws.
- Clip the new hinge arm onto the existing mounting plate. It should snap firmly into place.
- Adjust as needed using the three-axis system above.
If the cup hole is cracked or the door has been damaged around it, you may need to relocate the hinge position slightly. Use the 35mm Forstner bit to drill a new cup hole at least 1 inch away from the damaged one, and fill the old hole with wood filler before painting or finishing.
Fixing Traditional Exposed Hinges
For surface-mount and butt hinges on older cabinets:
If the door sags: The hinge screws have pulled or the hinge leaf has bent. Tighten all screws first. If that does not fix the sag, inspect the hinge leaves — a bent hinge leaf from a door that was yanked or slammed hard will cause a chronic sag that no amount of tightening will fix. Replacement is necessary.
If the door rubs the frame or an adjacent door: Exposed hinges have no adjustment built in. The only way to shift an exposed hinge door is to fill the existing screw holes and move the hinge. Use the toothpick method to fill screw holes, then relocate the hinge leaf 1/8 inch in the needed direction and drill new pilot holes before driving the screws.
Replacing surface-mount hinges: Remove the old screws, position the new hinge in the same location, drill fresh pilot holes slightly smaller than the screw diameter (critical to avoid splitting the door rail on older cabinets), and drive the screws. A self-centering drill bit (Vix bit) makes this faster and more accurate.
When to Call It Done
Cabinet hinge adjustment is iterative — a 1/4-turn adjustment and a door check, then another 1/4 turn. Resist the temptation to over-adjust in one direction. The ideal result is:
- Equal gaps on all four sides of the door
- The door sitting flush with adjacent doors (no proud faces)
- The door closing smoothly with a slight resistance from the soft-close mechanism
- The door staying fully closed without bouncing back open
Once you are satisfied with alignment, open and close the door a dozen times to confirm the position is stable. If a door slowly drifts back out of alignment over a few days, the mounting screws are stripping or the hinge clip mechanism is worn and the hinge body needs replacement.
Related Reading
- How to Paint Kitchen Cabinets Without Sanding
- How to Install Under-Cabinet Lighting
- How to Fix a Kitchen Faucet That Drips
- How to Fix a Broken Kitchen Cabinet Door — repair or replace a cracked, split, or damaged cabinet door while the hinges are already off
- Understanding the Two Types of Cabinet Hinges
Before you start any repair, identify what kind of hinges your cabinets have. The approach is completely different for each type.
- Fixing Loose Hinge Screws (Both Hinge Types)
Before adjusting or replacing anything, check whether the screws are simply loose. A sagging door is often caused by nothing more than screws that have backed out over years of vibration and repeated use.
- Adjusting European Concealed Hinges
European hinges have three adjustment axes. Understanding each one makes alignment straightforward.
- Replacing a European Hinge Completely
When a hinge is cracked, bent, or the self-closing mechanism no longer works, replacement is the right move.
- Fixing Traditional Exposed Hinges
For surface-mount and butt hinges on older cabinets:
Free: 10-Point Home Maintenance Checklist
Prevent costly repairs with this seasonal checklist. Save hundreds every year by catching problems early.
Your checklist is ready!
Open Checklist →Something went wrong. View the checklist here.