How to Fix a Gas Fireplace Pilot Light That Won't Stay Lit (2026)
A gas fireplace pilot that won't light or won't stay lit after releasing the button is almost always a dirty pilot orifice or a failed thermocouple. This guide covers relighting the pilot, cleaning the orifice, and replacing the thermocouple yourself.
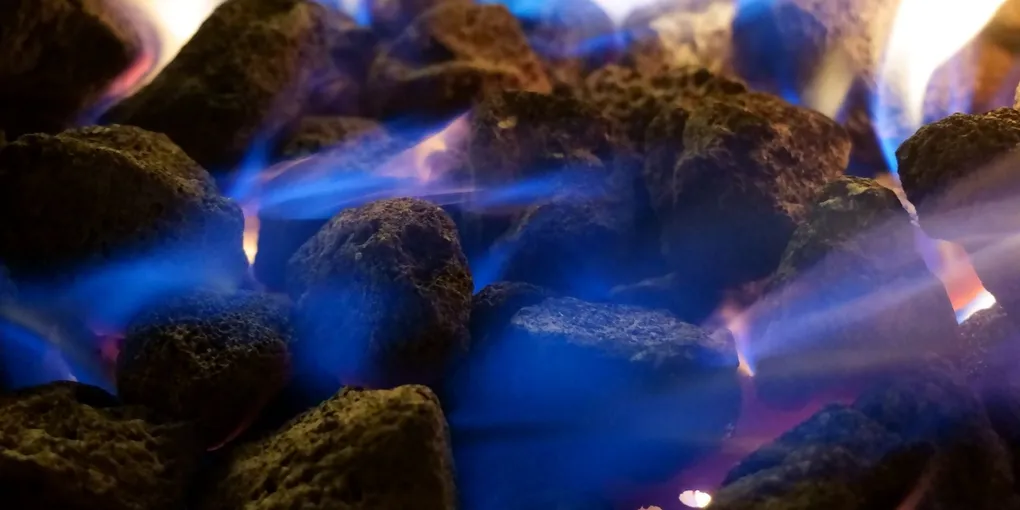
Fix a gas fireplace pilot that won't stay lit: (1) Hold the pilot button down for 30–60 seconds while the pilot burns — the thermocouple needs time to heat up before it will hold the gas valve open. If you release too early, the pilot goes out. (2) If it goes out immediately or after a minute: the thermocouple is likely faulty. Replace it ($8–$15, a 10-minute job with a wrench). (3) If the pilot won't ignite at all: the pilot orifice is clogged. Use a thin needle or compressed air to clear the tiny hole in the pilot burner assembly. Do NOT use a drill bit — the hole has a precise diameter.
Frequently Asked Questions
How do I relight a gas fireplace pilot light?
Gas fireplace pilot lighting procedure: (1) Locate the gas control knob — on the control valve, usually accessible through the louver panel below or beside the firebox. The knob typically has positions: OFF, PILOT, and ON. (2) Turn the knob to OFF and wait 5 minutes. This clears any residual gas from the pilot tube before relighting. (3) Turn the knob to PILOT. Depress and hold the knob (or a separate red ignition button) down. While holding, press the spark igniter button repeatedly until the pilot ignites. If the valve has no igniter: hold a long lighter or match at the pilot burner opening while holding the control knob down. (4) Critical step: hold the pilot knob depressed for 30–60 seconds after the pilot flame ignites. The thermocouple needs this time to heat up to the temperature at which it generates sufficient millivoltage to hold the valve open. Release the button too soon and the pilot extinguishes. (5) After holding for 60 seconds: slowly release the button. If the pilot stays lit: turn the knob to ON to enable the main burner. If the pilot goes out: repeat the process, holding longer. (6) If the pilot won't stay lit after holding for a full 60 seconds: the thermocouple needs replacement or cleaning.
What is a thermocouple and how do I replace it?
Gas fireplace thermocouple replacement: (1) A thermocouple is a safety device made of two dissimilar metals joined at a tip. When the tip is heated by the pilot flame, the junction generates a small DC voltage (millivolts). This voltage holds open the gas valve's safety circuit. When the pilot goes out and the tip cools, the voltage drops, and the valve closes — preventing unburned gas release. (2) Testing the thermocouple: use a multimeter set to millivolts DC. With the pilot lit and the thermocouple tip in the flame, connect the leads to the thermocouple's connection points. A good thermocouple generates 15–30 millivolts. Below 10 mV: replace the thermocouple. (3) Replacement: turn off the gas valve completely. Locate the thermocouple — a thin copper tube running from the pilot burner assembly to the gas control valve. It attaches at the valve end with a threaded nut (hand-tight usually). At the pilot end, it is held by a bracket clip. (4) Unscrew the nut at the valve, release the clip at the pilot, and remove the old thermocouple. Take it to the hardware store to match the length and connector type. (5) Install the new thermocouple: position the tip in the pilot flame path (should be 1/2 to 3/4 inch immersed in the flame), secure the bracket, and hand-tighten the nut at the valve. Relight and test. Cost: $8–$15 for a universal thermocouple.
Why won't my gas fireplace pilot ignite at all?
Pilot won't ignite — causes and fixes: (1) No gas supply: confirm the gas supply valve to the fireplace is open (handle parallel to the pipe = open, perpendicular = closed). If you have other gas appliances on the same line and they work, gas supply is not the issue. (2) Clogged pilot orifice: the pilot orifice is a tiny hole (under 1mm diameter) in the pilot burner assembly that meters gas flow to the pilot. Debris, spider webs, and dust accumulate in this hole and block gas flow. Clean it: remove the pilot assembly from the firebox (usually two screws), blow compressed air through the orifice, or pass a single strand of a wire brush through the hole. Do not use a drill bit — drilling enlarges the hole and permanently alters the gas-air mixture. (3) Failed piezoelectric igniter: the spark igniter clicks to produce a spark but the spark may not be reaching the pilot. Check that the igniter electrode is close to the pilot burner (gap of 1/8 to 3/16 inch). If the electrode is cracked: replace it. (4) Faulty gas control valve: if gas supply is confirmed, the orifice is clean, and the igniter works but no pilot flame appears — the internal valve that releases gas to the pilot circuit may have failed. This requires appliance technician service.
My gas fireplace makes a clicking sound but the main burner won't light. What's wrong?
Gas fireplace main burner won't light with pilot lit: (1) First confirm the pilot is lit — open the fireplace door or look through the viewing window to see the small blue pilot flame. A pilot flame that is very small, yellow, or blowing sideways will not adequately heat the thermocouple. (2) Thermopile vs. thermocouple: some gas fireplaces use a thermopile (a larger safety device made of multiple thermocouple junctions) rather than a single thermocouple. The thermopile generates higher voltage (400–750 millivolts) needed to open the main gas valve with millivolt controls. If your fireplace has a wall switch or thermostat, it likely uses a thermopile. Test the same way — millivolt DC across the terminals. (3) Thermostat or wall switch: a faulty wall switch or thermostat can prevent the signal from reaching the gas valve even when the thermopile is good. Bypass test: disconnect the thermostat/switch leads and briefly touch the wires together. If the main burner fires, the switch or thermostat is faulty. (4) Main valve failure: if the pilot stays lit, the thermopile/thermocouple tests good, and the switch is not faulty — the main control valve has failed and requires replacement by a gas technician.
Is it safe to work on a gas fireplace pilot yourself?
Gas fireplace DIY safety: (1) Cleaning the pilot orifice and replacing the thermocouple are both low-risk DIY repairs because they involve the pilot circuit only (not the main gas line) and require the main gas valve to be off during the repair. (2) Always turn the gas control knob to OFF before working inside the firebox. Verify no gas odor before any work. If you smell gas: do not attempt ignition or work — open windows, leave the house, and call the gas company. (3) Do not use an open flame to search for gas leaks. Use soapy water on connections — bubbles indicate a leak. (4) Thermocouple and thermopile replacement does not require cutting or modifying gas lines. Both devices attach with hand-tight nuts and friction clips. No pipe fitting or soldering is involved. (5) Leave to a gas technician: replacement of the main control valve, any repair involving cutting or joining gas supply lines, and work on the gas line upstream of the appliance shut-off valve. The pilot circuit is safe DIY territory; the gas supply is not.
Fix a gas fireplace pilot that won’t stay lit: (1) Hold the pilot button down for 30–60 seconds while the pilot burns — the thermocouple needs time to heat up before it will hold the gas valve open. If you release too early, the pilot goes out.
Hold the pilot button for a full 60 seconds after ignition — the thermocouple needs time to heat up before it will hold the valve open.
What you need
- Long lighter or fireplace matches
- Replacement thermocouple ($8–$15, match length and connector)
- Wrench for thermocouple nut
- Compressed air (for pilot orifice cleaning)
Step 1: Try relighting — hold for 60 seconds
Turn knob to PILOT, press and hold, ignite. Hold for a full 60 seconds before releasing. If it stays lit: turn to ON and you’re done.
Step 2: Clean the pilot orifice if it won’t ignite
Remove the pilot assembly and blow compressed air through the orifice. Reassemble and retry.
Step 3: Replace the thermocouple
Turn off gas. Unscrew the thermocouple nut at the valve, unclip at the pilot end. Match and install a replacement. Hand-tighten only.
Step 4: Relight and test
Hold 60 seconds, release, confirm the pilot holds. Turn the valve to ON and test the main burner.
Related guides
- How to Fix a Furnace Not Heating — furnace pilot and control troubleshooting
- How to Fix Chimney Flashing — exterior chimney repair for fireplace users
- How to Fix a Furnace Smell — gas and combustion odor diagnosis
- Try relighting — hold for 60 seconds
Turn the gas control knob to OFF and wait 5 minutes. Turn it to PILOT, press and hold the knob down, then press the spark igniter until the pilot lights. Continue holding the knob down for a full 60 seconds after the pilot ignites — the thermocouple needs this time to heat up before it will hold the valve open. Slowly release and confirm the pilot stays lit.
- Clean the pilot orifice if it won't ignite
If no pilot flame appears at all: the pilot orifice is clogged. Turn the gas knob to OFF. Remove the pilot assembly (typically two screws). Blow compressed air through the small orifice opening to clear debris. Do NOT use a drill bit — the orifice has a precise diameter. Reinstall and try relighting.
- Replace the thermocouple
If the pilot lights but goes out within 60 seconds after releasing the button: the thermocouple is failed. Turn off the gas valve completely. Unscrew the thermocouple nut at the gas control valve (hand-tight). Unclip the tip from the pilot bracket. Take the old thermocouple to a hardware store to match length and connection type. Install the new one with the tip positioned 1/2 to 3/4 inch in the pilot flame path.
- Relight and test the main burner
After replacing the thermocouple, relight the pilot: hold for 60 seconds, release. Confirm it stays lit. Turn the gas control knob to ON. Test the main burner using the wall switch or thermostat. The main burner should ignite within a few seconds of calling for heat.
Free: 10-Point Home Maintenance Checklist
Prevent costly repairs with this seasonal checklist. Save hundreds every year by catching problems early.
Your checklist is ready!
Open Checklist →Something went wrong. View the checklist here.