How to Fix a Foggy Double-Pane Window
Learn what causes double-pane window fogging, whether to repair or replace the insulated glass unit, and how to do it yourself to restore clarity and energy efficiency.
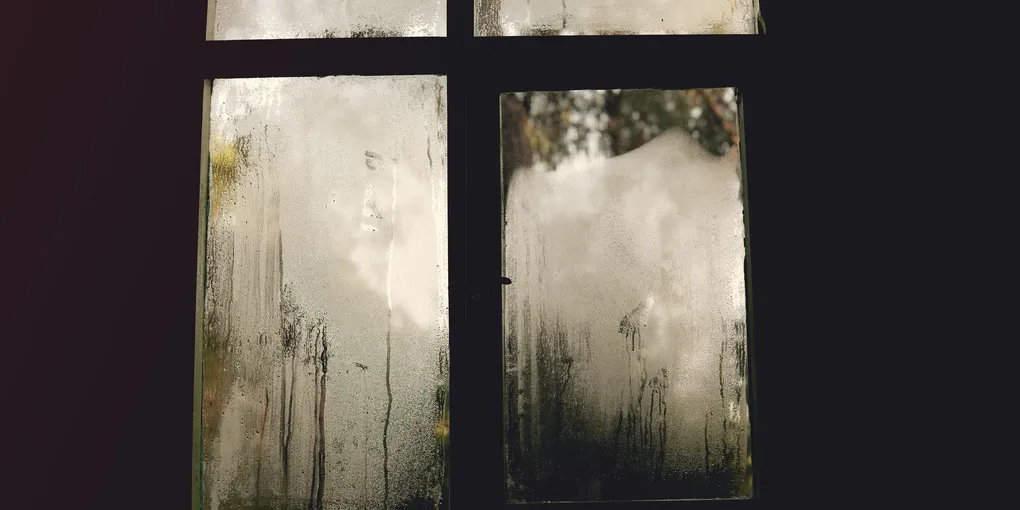
Foggy double-pane windows are one of the most common window problems in homes more than ten years old. The milky film, streaks, or condensation trapped between the panes is a sign that the insulated glass unit (IGU) seal has failed.
Foggy double-pane windows are one of the most common window problems in homes more than ten years old. The milky film, streaks, or condensation trapped between the panes is a sign that the insulated glass unit (IGU) seal has failed. The good news: this is a fixable problem, and in many cases you can replace just the glass insert without replacing the entire window.
What You Need
- Glass suction cups (for lifting the IGU)
- Utility knife
- Putty knife or stiff scraper
- Pry bar (small, flat)
- Replacement insulated glass unit (order from a local glass supplier)
- Window glazing tape or setting blocks
- Silicone window caulk
- Measuring tape
- Safety glasses and leather work gloves
- Helper (glass panels are awkward to handle alone)
Step 1: Confirm the Seal Has Failed
Before ordering replacement glass, confirm that the fogging is actually between the panes and not surface condensation.
Wipe the interior glass surface with a dry cloth. If the fogging or streaking wipes away, it is surface condensation caused by high indoor humidity — not a seal failure. Run a bathroom exhaust fan or open a window to reduce indoor humidity and the problem will resolve on its own.
If the fogging does not wipe away, it is trapped between the panes. Hold a flashlight against the glass at an angle — you may be able to see mineral deposits or moisture staining on the interior surfaces between the panes. This confirms seal failure.
Step 2: Measure the Existing IGU
You need three measurements to order a replacement IGU: width, height, and overall thickness.
Open the window sash if possible and measure the IGU from the outside edge of one pane to the outside edge of the other (overall thickness). Standard IGU thicknesses are 5/8 inch, 3/4 inch, 7/8 inch, or 1 inch. Measure the visible glass width and height from inside the sash stop, then add the amount hidden behind the stop on each side (typically 3/8 inch per side). Your glass supplier will give you the exact sight-line deduction to add.
Write down all three measurements in inches, rounded to the nearest 1/16 inch. Order the IGU from a local glass supplier — most can fabricate a standard residential unit within five to seven business days. When ordering, specify whether you want standard air-filled or argon-filled (argon provides better insulation and is worth the small price premium).
Step 3: Remove the Interior Stop Molding
The IGU is held in the sash frame by stop molding — thin strips of wood or vinyl that run along the inside perimeter of the sash opening. On most double-hung windows, the stop is on the interior side and can be removed without taking the sash out.
Score the paint or caulk line between the stop and the sash frame with a utility knife. Insert a stiff putty knife or a flat pry bar behind the stop at one end and lever it gently away from the frame. Work slowly along the length of the stop, prying a little at a time. The stop is typically fastened with small finish nails or screws. Pry carefully — you will reuse the stop if it is undamaged.
Remove the stop molding from all four sides (or three sides if the fourth side is the exterior stop, which stays in place).
Step 4: Remove the Failed IGU
With the interior stop removed, the IGU is now accessible. It sits on setting blocks at the bottom of the sash opening. Grip the IGU firmly with glass suction cups on both panes — one suction cup on the left and one on the right, near the center of the glass.
Lift the IGU slightly to clear the setting blocks, tilt the bottom toward you, and carefully pull it free from the frame. Have your helper support the glass as it comes out — even a standard residential IGU can weigh 15 to 30 pounds and is awkward to handle.
Set the old IGU aside flat, on a stable surface. Dispose of it at a glass recycler — do not break it into a regular trash bin.
Step 5: Clean the Frame and Install Setting Blocks
Clean any old glazing compound, dried caulk, or debris from the sash frame channel. The channel must be clean and flat for the new IGU to sit correctly.
Place new setting blocks at the bottom of the frame opening. Setting blocks are small rubber or plastic pads that support the weight of the glass and position it correctly in the frame. They should be positioned at the quarter points of the bottom edge — one-quarter of the glass width from each corner. Most glass suppliers include setting blocks with the IGU.
Apply a thin bead of silicone caulk along the exterior stop (the fixed stop that you did not remove) where the edge of the new IGU will rest. This creates the primary weather seal.
Step 6: Set the New IGU
With your helper, lift the new IGU into the frame opening. Tilt the top in first, rest the bottom on the setting blocks, then push the top into the frame. The IGU should sit flush in the channel with its edges resting evenly on the setting blocks.
Check that the glass sits flat and does not rock. Press gently on each corner — there should be no movement. If one corner rocks, a setting block may need to be repositioned.
Step 7: Reinstall the Interior Stop Molding
Starting with one long side, press the stop molding back into position against the IGU face. Drive finish nails (or screws, if the stop had screws) through the original nail holes to secure the stop. Work around all four sides, checking after each side that the glass remains seated flat.
Apply a thin bead of paintable caulk along the inside joint between the stop and the sash frame — not between the stop and the glass. Smooth the caulk with a wet finger and let it cure for 24 hours before painting.
Step 8: Test and Inspect
Open and close the window several times to confirm the sash operates normally with the new IGU installed. Check that no corners are binding against the stop. Look at the glass from multiple angles and in different light conditions to confirm the interior is clear and free of streaking.
Check the exterior side of the window. If there is a gap between the exterior stop and the IGU edge, apply a bead of clear silicone caulk along the joint. This completes the weather seal.
When to Consider Full Window Replacement
IGU replacement makes sense when the frame and sash are in good condition. Consider replacing the full window if: the frame is rotting or has major air leaks around the perimeter, the sash hardware is broken and not repairable, the window is so old that replacement IGUs are unavailable, or energy efficiency is a priority and upgrading to a triple-pane or low-emissivity unit would provide significant long-term savings.
Related Reading
- How to Weatherstrip a Window — sealing air leaks around window frames
- How to Fix a Stuck Window — freeing painted-shut or warped double-hung windows
- How to Caulk Windows — sealing exterior window frame joints
- Confirm the Seal Has Failed
Before ordering replacement glass, confirm that the fogging is actually between the panes and not surface condensation.
- Measure the Existing IGU
You need three measurements to order a replacement IGU: width, height, and overall thickness.
- Remove the Interior Stop Molding
The IGU is held in the sash frame by stop molding — thin strips of wood or vinyl that run along the inside perimeter of the sash opening. On most double-hung windows, the stop is on the interior side and can be removed without taking the sash out.
- Remove the Failed IGU
With the interior stop removed, the IGU is now accessible. It sits on setting blocks at the bottom of the sash opening.
- Clean the Frame and Install Setting Blocks
Clean any old glazing compound, dried caulk, or debris from the sash frame channel. The channel must be clean and flat for the new IGU to sit correctly.
- Set the New IGU
With your helper, lift the new IGU into the frame opening. Tilt the top in first, rest the bottom on the setting blocks, then push the top into the frame. The IGU should sit flush in the channel with its edges resting evenly on the setting blocks.
Free: 10-Point Home Maintenance Checklist
Prevent costly repairs with this seasonal checklist. Save hundreds every year by catching problems early.
Your checklist is ready!
Open Checklist →Something went wrong. View the checklist here.