How to Fix a Dryer That Takes Too Long: Vent Blockage and Airflow Fixes
Fix a dryer that runs multiple cycles but still leaves clothes damp — diagnosing vent blockage, lint screen issues, and reduced airflow as the top causes.
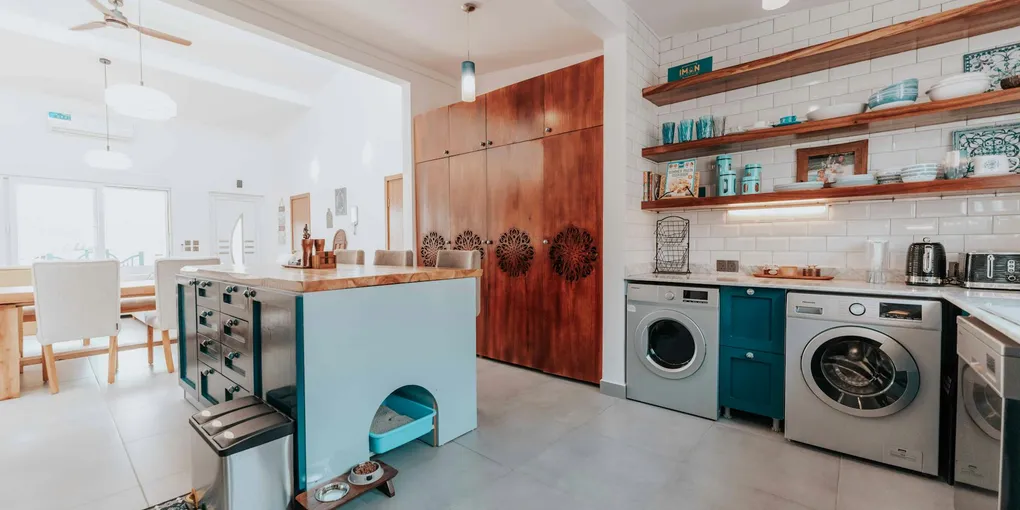
90% of slow dryers have a blocked vent — clean the vent duct before replacing any parts. A clogged lint trap or kinked vent hose is the cause of most drying time issues and costs nothing to fix.
90% of slow dryers have a blocked vent. Check the vent before replacing any parts.
What you need
- Dryer vent brush cleaning kit ($20–$35, flexible rod sections reach the full vent run)
- Flexible dryer duct hose replacement ($15–$30, replace if crushed or more than 5 years old)
- Dryer vent exterior cap with damper ($10–$20, replace if flapper is stuck or broken)
- Dryer thermal fuse ($5–$15, model-specific, test if the dryer produces no heat)
- Dryer heating element ($20–$50, replace if element tests open circuit)
- Lint trap insert replacement ($5–$10, replace if the lint screen is torn or missing)
Clean the lint screen every load
Before investigating the vent, confirm the lint screen is clean. The lint screen sits in a slot at the top of the door opening or inside the door lip depending on the dryer model.
Pull the screen out and hold it under light. A screen so clogged that light does not pass through is reducing airflow before air even reaches the vent duct. Clean by pulling the lint layer off by hand, then rinse under warm water if dryer sheet film is visible (the film is invisible but blocks the mesh — run water through and watch if it beads instead of flowing freely). Let it air-dry before reinserting.
If the lint screen is torn or has a hole, replace it — lint that bypasses the screen accumulates in the vent duct much faster.
Inspect and clean the vent duct
The vent duct runs from the dryer’s exhaust port out through the wall or floor to the exterior cap. This is where blockages develop.
- Pull the dryer away from the wall and disconnect the power (or turn off the gas and unplug for gas dryers).
- Disconnect the flexible duct section from the dryer exhaust port.
- Look inside the duct with a flashlight — visible lint, debris, or a bird nest means the duct is blocked.
- Assemble the dryer vent brush kit and feed it into the duct, adding rod sections as you go. Work the brush back and forth while rotating to dislodge lint.
- Also clean from the exterior end: go to the outside vent cap, remove the cover if possible, and work the brush inward from that direction.
- Vacuum out the dryer exhaust port opening on the back of the dryer itself.
If the flexible duct section is crushed, kinked, or accordion-style plastic (white or silver vinyl), replace it with semi-rigid metal duct. Flexible vinyl duct is no longer code-compliant in most jurisdictions because it collects lint in the folds and is a fire hazard.
Check the exterior vent cap
Go to the outside of the house and find the vent termination — a louvered or flapper-style cap flush with the siding or a roof cap if the vent exits through the roof.
With the dryer running, hold your hand near the cap. You should feel a strong, warm airflow. If airflow is weak or nonexistent:
- The flapper may be stuck shut by lint accumulation — open it by hand to check, then clean the hinge and flapper with a brush.
- A bird, squirrel, or insect nest may be blocking the cap from inside — remove the cap and clear the obstruction.
- The cap louvers may have been painted shut during an exterior paint job.
Replace the cap if the flapper does not open and close freely. A stuck flapper is a surprisingly common cause of slow drying because it partially or fully blocks exhaust.
Load size and cycle selection
After clearing the vent, verify the dryer is being loaded and set correctly.
Load size: Fill the drum no more than 75% full. Heavy items — jeans, towels, comforters — trap moisture in the center of the pile when overloaded. Dry large comforters separately.
Cycle selection: Use high heat for cotton, regular heat for mixed loads, and low heat only for delicates and synthetics. If using a timed dry cycle, select 45–60 minutes for a standard load — not the shortest setting.
Sensor cleaning: If your dryer has auto-sense mode and it stops early leaving damp clothes, clean the moisture sensor bars inside the drum. They are two parallel metal strips, usually near the lint screen. Wipe them with rubbing alcohol and a cloth to remove dryer sheet residue that causes false dry readings.
Test the heating element
If the dryer takes a long time AND the air coming out is barely warm (not hot), the heating element may be failing or the thermal fuse may have blown.
- Unplug the dryer and remove the back access panel (most models).
- Locate the heating element — a coiled resistance wire in a metal housing.
- Disconnect the two wires from the element terminals.
- Set the multimeter to resistance (Ω) and touch a probe to each terminal.
- A working element reads 8–12 ohms. An open circuit (OL) means the element is burned out — replace it.
Before replacing the element, also test the thermal fuse (a small white oval component on the exhaust duct near the element). Test continuity — no continuity means it is blown. Replace the fuse and clean the vent thoroughly before running the dryer again, or the new fuse will blow as well.
Related guides
- How to Fix a Dryer Not Heating — heating element, thermal fuse, and gas valve diagnosis
- How to Fix a Noisy Dryer — drum bearing, belt, and roller troubleshooting
- How to Fix a Dryer Duct — replacing and rerouting vent ductwork
- Clean the lint screen every load
Before investigating the vent, confirm the lint screen is clean. The lint screen sits in a slot at the top of the door opening or inside the door lip depending on the dryer model.
- Inspect and clean the vent duct
The vent duct runs from the dryer's exhaust port out through the wall or floor to the exterior cap. This is where blockages develop.
- Check the exterior vent cap
Go to the outside of the house and find the vent termination — a louvered or flapper-style cap flush with the siding or a roof cap if the vent exits through the roof.
- Test the heating element
If the dryer takes a long time AND the air coming out is barely warm (not hot), the heating element may be failing or the thermal fuse may have blown.
Free: 10-Point Home Maintenance Checklist
Prevent costly repairs with this seasonal checklist. Save hundreds every year by catching problems early.
Your checklist is ready!
Open Checklist →Something went wrong. View the checklist here.