How to Fix a Cracked Toilet Tank: Seal vs. Replace ($20–$200)
Hairline crack above the waterline? Seal with waterproof epoxy ($10, 30-min fix). Crack below the waterline means the tank must be replaced ($70–$200). Don't let it drip.
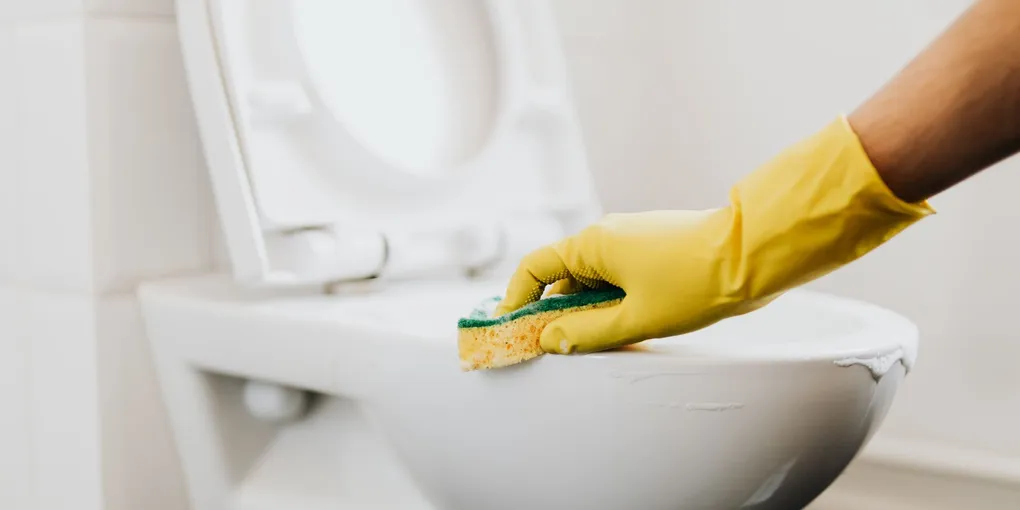
A cracked toilet tank can range from a minor cosmetic issue to an active leak that slowly damages your subfloor. Because toilet tanks hold several gallons of water under constant pressure, even a small crack deserves immediate attention.
A cracked toilet tank can range from a minor cosmetic issue to an active leak that slowly damages your subfloor. Because toilet tanks hold several gallons of water under constant pressure, even a small crack deserves immediate attention. The good news is that hairline cracks above the waterline are repairable with materials available at any hardware store, and full tank replacement is a manageable DIY project.
Here is how to diagnose the crack and fix it correctly.
Tools and Materials You Will Need
- Dry cloths and towels
- Food coloring (for crack detection)
- Waterproof two-part epoxy putty
- Fine-grit sandpaper (120-grit)
- Rubbing alcohol or acetone
- Adjustable wrench
- Replacement tank gasket and bolts (if replacing the tank)
- Replacement toilet tank (if the crack is unrepairable)
Step 1: Shut Off the Water and Empty the Tank
Turn the supply valve clockwise until it stops — it is located on the wall or floor behind the toilet. Flush the toilet to empty the tank. Use a towel to soak up the remaining inch or two of water at the bottom. The tank must be completely dry before you can assess or repair the crack.
Step 2: Find the Crack
Dry the entire outside of the tank thoroughly, including the bottom. Look at all four sides in good lighting. For cracks too small to see clearly:
- Add 10 to 15 drops of food coloring to the remaining water in the tank, then turn the supply valve back on and let the tank refill.
- Wait 10 minutes without touching the tank.
- Look for color appearing on the outside of the tank — that spot marks the crack.
- Turn off the supply valve again, flush to empty, and dry the tank before proceeding.
Step 3: Assess Whether the Crack Is Repairable
Above the waterline: Cracks in the upper portion of the tank — typically the top third — are above the water level and see no constant water pressure. These are good candidates for epoxy repair.
Below the waterline: Cracks in the lower portion of the tank are submerged continuously. Epoxy can temporarily seal these, but the repair is unreliable under sustained hydrostatic pressure. Plan to replace the tank.
Through bolt holes or valve openings: These structural cracks are not repairable. The porcelain around these points is too stressed to hold a seal. Replace the tank.
Multiple cracks or large cracks: A tank with several cracks or one long crack running across a large section is better replaced than patched.
Step 4: Repair a Minor Above-Waterline Crack
- Sand the area around the crack lightly with 120-grit sandpaper to create a rough surface for the epoxy to bond to. Clean off all dust.
- Wipe the cracked area with rubbing alcohol or acetone and let it dry completely. Any moisture will prevent the epoxy from bonding.
- Mix the two-part epoxy putty according to the package directions — knead it until the color is uniform, indicating it is fully activated.
- Press the epoxy firmly into and over the crack, working it into the crack with your fingers or a putty knife. Build up a slight mound over the crack.
- Smooth the surface and allow to cure for the full time specified on the packaging — usually 60 minutes for handling, 24 hours for full cure.
- Once cured, lightly sand smooth if needed, then turn the water back on slowly and watch the repair for several minutes for any seeping.
Step 5: Replace the Tank If the Crack Is Unrepairable
Find the right replacement tank:
- Look inside the tank for the toilet model number — it is usually molded into the porcelain on the back wall or stamped on the bottom.
- Search for that model number at a plumbing supply store or online retailer. Order the replacement tank, a new tank-to-bowl gasket, and new tank bolt kits to match.
Remove the old tank:
- With the water off and the tank empty, disconnect the supply line from the bottom of the tank.
- Use a screwdriver inside the tank and an adjustable wrench below the bowl to loosen the two tank bolts.
- Lift the tank straight up off the bowl.
Install the new tank:
- Install the new tank-to-bowl gasket (the large rubber doughnut) onto the flush valve tailpiece on the new tank.
- Set the new tank onto the bowl, guiding the flush valve tailpiece into the center hole of the bowl.
- Thread the tank bolts through the holes in the bottom of the tank and down through the bowl holes, then hand-tighten the nuts below.
- Alternate between the two bolts, tightening a quarter-turn at a time until the tank is snug and level. Do not overtighten — porcelain cracks easily under too much torque. Stop when the tank stops rocking.
- Reconnect the supply line.
- Turn the water on slowly and let the tank fill. Check all connections for leaks and confirm the flapper seals correctly.
Preventing Future Cracks
- Never overtighten tank bolts during installation. Hand-tight plus a quarter-turn is usually sufficient.
- Do not use tank as a shelf — heavy objects set on top can create stress fractures over time.
- In vacation homes or any space that may freeze, shut off the supply valve and flush the toilet before leaving for winter.
- Inspect the tank annually for hairline cracks and address them early, before they widen.
Related Reading
- How to Fix a Running Toilet
- How to Replace a Toilet Fill Valve
- How to Fix a Leaking Toilet Base
- How to Replace a Toilet Wax Ring
- Shut Off the Water and Empty the Tank
Turn the supply valve clockwise until it stops — it is located on the wall or floor behind the toilet. Flush the toilet to empty the tank. Use a towel to soak up the remaining inch or two of water at the bottom.
- Find the Crack
Dry the entire outside of the tank thoroughly, including the bottom. Look at all four sides in good lighting. For cracks too small to see clearly:
- Assess Whether the Crack Is Repairable
Above the waterline: Cracks in the upper portion of the tank — typically the top third — are above the water level and see no constant water pressure. These are good candidates for epoxy repair.
- Repair a Minor Above-Waterline Crack
Sand the area around the crack lightly with 120-grit sandpaper to create a rough surface for the epoxy to bond to. Clean off all dust.
- Replace the Tank If the Crack Is Unrepairable
Find the right replacement tank:
Free: 10-Point Home Maintenance Checklist
Prevent costly repairs with this seasonal checklist. Save hundreds every year by catching problems early.
Your checklist is ready!
Open Checklist →Something went wrong. View the checklist here.