How to Fix a Cracked Hardwood Floor Board
Repair cracks, gaps, and splits in individual hardwood floorboards using wood filler, epoxy, or board replacement techniques to restore a seamless finish.
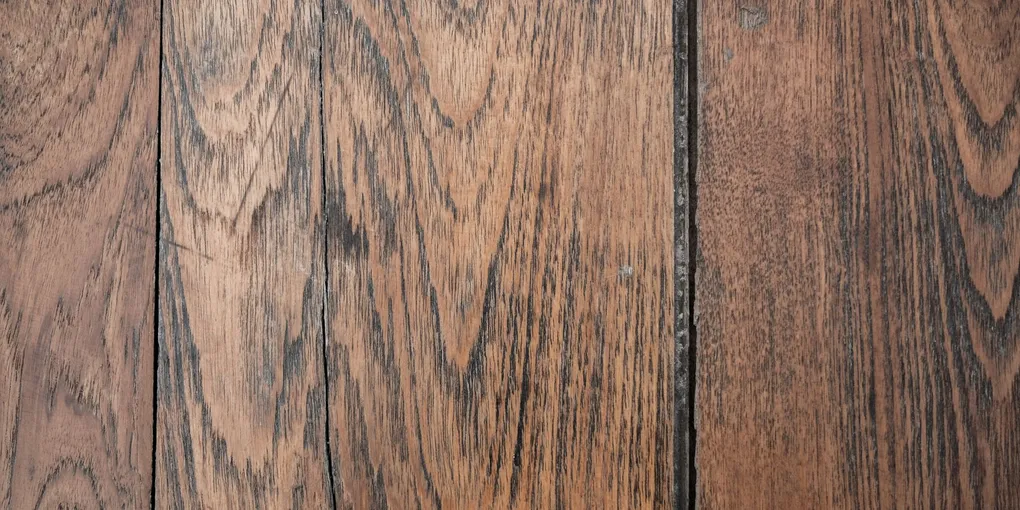
A cracked or gapped hardwood floorboard is one of those repairs that looks worse than it is. In most cases you can fill cracks, blend the stain, and restore a nearly invisible repair without pulling up the floor.
A cracked or gapped hardwood floorboard is one of those repairs that looks worse than it is. In most cases you can fill cracks, blend the stain, and restore a nearly invisible repair without pulling up the floor. The key is choosing the right filler for the type and size of damage, and taking the time to color-match before committing to a full application.
This guide covers small hairline cracks, wider splits, seasonal gaps between boards, and when a board is too far gone and needs full replacement.
What You Need
- Two-part epoxy wood filler (for structural cracks) — Bonds permanently to wood fibers, does not shrink, and accepts stain after curing. Best choice for cracks wider than 1/16 inch.
- Flexible wood floor gap filler — Remains slightly pliable after curing, which lets it expand and contract with seasonal wood movement without cracking again. Ideal for gaps between boards.
- Hardwood floor stain markers and touch-up kit — Multiple shades in one set for blending repairs to the existing floor color without spot-refinishing the whole room.
- Putty knife, 120-grit and 220-grit sandpaper, tack cloth, and a small foam brush
Step 1: Clean and Assess the Damage
Sweep and vacuum the area thoroughly, then clean the crack with a slightly damp cloth to remove wax buildup and grime. Let it dry completely — filler will not bond to a damp or waxy surface.
Assess the crack type:
Hairline surface crack: A fine line on the surface of the board only, not penetrating through the full thickness. Usually cosmetic. A tinted wax filler stick or stain marker is often sufficient.
Open crack along the grain: A split 1/16 to 1/4 inch wide running with the wood grain. Use two-part epoxy filler for a permanent fix.
Seasonal gap between boards: The joint between two boards has opened, typically more than 1/16 inch wide. If the gap closes in summer, use a flexible filler. If it stays open year-round, it is permanent — fill with flexible filler or color-matched rope filler.
Structural damage (cupped, bowed, or rotted board): Do not fill. The board needs replacement (see Step 5).
Step 2: Fill Hairline Cracks
For fine surface cracks that do not penetrate the full board thickness:
- Select a wax filler stick in a color that matches your floor finish. Test on a hidden area first.
- Rub the filler stick across the crack, pressing it firmly into the line.
- Wipe excess with a soft cloth, buffing in a circular motion.
- The wax fills and colors the crack simultaneously. No sanding required.
Wax fillers are not permanent — they may need reapplication every year or two, especially in high-traffic areas. For a more permanent result, use epoxy filler instead.
Step 3: Fill Open Cracks with Epoxy Wood Filler
- Mix the epoxy filler according to package instructions. Work in small batches — most two-part epoxies have a 5- to 10-minute working time.
- Pack the filler firmly into the crack with a flexible putty knife, pressing it all the way to the bottom of the split. Slightly overfill, as the material shrinks minimally during curing.
- Remove excess immediately by dragging the putty knife flat across the surface before the filler sets.
- Allow to cure fully — typically 30 to 60 minutes depending on the brand and ambient temperature.
- Sand flush with 120-grit sandpaper, then finish with 220-grit. Sand with the grain only — cross-grain sanding leaves visible scratches.
- Wipe with a tack cloth to remove all dust before staining.
- Apply stain or a touch-up marker to blend the repair to the surrounding floor color. Let dry fully before applying a protective topcoat.
Step 4: Fill Seasonal Gaps Between Boards
Gaps that open in winter and close in summer should be filled with a flexible, rope-style filler or a paintable latex caulk in a matching color — never a rigid filler that will crack when the boards expand.
- Confirm the gap is not closing on its own by measuring in winter and again in summer. If it closes completely, no fill is needed.
- Clean the gap with a vacuum crevice tool and a thin spatula to remove debris.
- Apply flexible filler or caulk into the gap using a caulk gun or a putty knife, depending on the product. Fill flush with the surface.
- Smooth with a wet finger or damp sponge and allow to cure.
- Stain or color-match the filler surface once dry.
Step 5: Replace a Damaged Board
When a board is cracked through the tongue-and-groove joint, cupped, or structurally compromised:
- Score the edges of the damaged board with a oscillating multi-tool or circular saw set to the exact depth of the flooring (typically 3/4 inch).
- Split the board lengthwise with a chisel to remove it in sections without damaging adjacent boards.
- Remove any remaining nails or staples from the subfloor. Sand the subfloor smooth and level.
- Install the replacement board. You will need to remove the bottom lip of the groove on one side so the board can be face-nailed or glued in place — tongue-and-groove installation is not possible when inserting a single replacement board into an existing run.
- Nail or glue the replacement board, then fill nail holes with color-matched putty.
- Sand and finish the replacement board to match the surrounding floor. A full-room refinish gives the best result, but a careful spot finish is acceptable for small repairs.
Preventing Future Cracks
- Maintain indoor humidity between 35 and 55 percent year-round using a humidifier in winter and dehumidifier in summer.
- Clean up spills immediately — standing water causes boards to swell unevenly and accelerates cracking.
- Use felt pads under furniture legs to prevent point-load stress that can crack individual boards over time.
Related Reading
- How to Fix a Buckling Hardwood Floor
- How to Fix Squeaky Floors
- How to Fix a Broken Bathroom Floor Tile
- Clean and Assess the Damage
Sweep and vacuum the area thoroughly, then clean the crack with a slightly damp cloth to remove wax buildup and grime. Let it dry completely — filler will not bond to a damp or waxy surface.
- Fill Hairline Cracks
For fine surface cracks that do not penetrate the full board thickness:
- Fill Open Cracks with Epoxy Wood Filler
Mix the epoxy filler according to package instructions. Work in small batches — most two-part epoxies have a 5- to 10-minute working time.
- Fill Seasonal Gaps Between Boards
Gaps that open in winter and close in summer should be filled with a flexible, rope-style filler or a paintable latex caulk in a matching color — never a rigid filler that will crack when the boards expand.
- Replace a Damaged Board
When a board is cracked through the tongue-and-groove joint, cupped, or structurally compromised:
Free: 10-Point Home Maintenance Checklist
Prevent costly repairs with this seasonal checklist. Save hundreds every year by catching problems early.
Your checklist is ready!
Open Checklist →Something went wrong. View the checklist here.