How to Fix a Cracked Fiberglass or Acrylic Tub (DIY Repair Guide)
Learn how to repair cracks and chips in a fiberglass or acrylic bathtub using a fiberglass repair kit, gelcoat, and color-matching techniques.
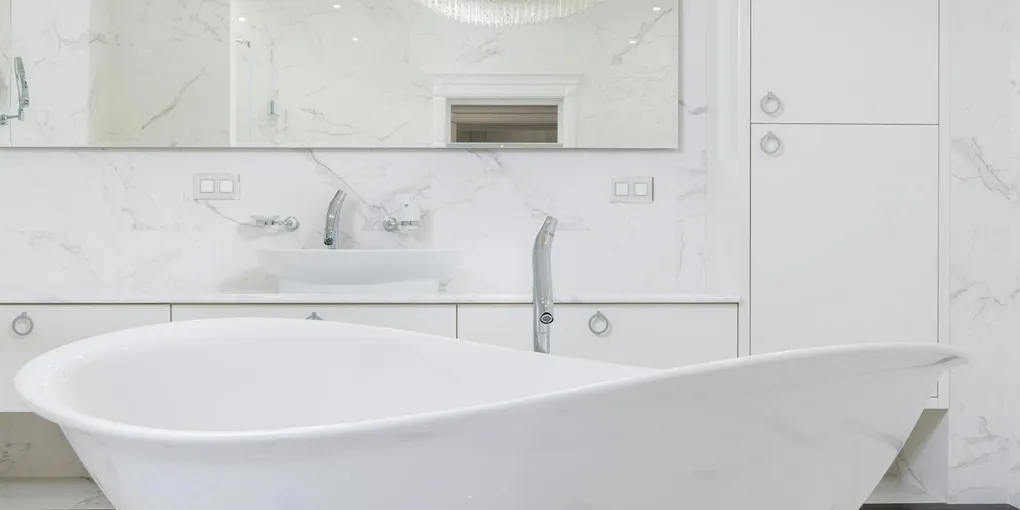
A crack in a fiberglass or acrylic tub looks alarming, but in most cases it is a cosmetic repair you can complete in a weekend afternoon.
A crack in a fiberglass or acrylic tub looks alarming, but in most cases it is a cosmetic repair you can complete in a weekend afternoon. The right kit, proper surface prep, and patience with the color-match process will leave you with a tub that looks almost new.
What You Need
- Fiberglass repair kit with gelcoat — choose a kit that includes filler, gelcoat, tints, and sandpaper
- Wet/dry sandpaper assortment (220 to 2000 grit)
- Automotive rubbing compound for final buffing
- Acetone or fiberglass surface cleaner for prep
- Mixing cups and stir sticks
- Foam brushes and plastic spreaders
Step 1: Assess the Damage and Check for Flex
Before you open any repair kit, press firmly on the tub floor and walls near the crack. A healthy fiberglass tub should feel solid. If the surface flexes noticeably under hand pressure, flexing is what caused the crack and it will cause the repair to fail unless you address it first.
For flex in the tub floor, the best solution is to inject low-expansion foam through a small access hole underneath the tub (if you have basement or crawl space access), or to mix a thin slurry of plaster of Paris and pour it under the tub through a small gap at the drain area. The tub must be supported before the repair begins.
If the tub feels solid and the crack is a surface fracture only — you are ready to repair.
Look closely at the crack. Surface cracks stay in the gelcoat layer only and show white edges. Through-cracks go all the way through the shell and may be discolored on the underside. Surface cracks are straightforward DIY repairs. Through-cracks need fiberglass cloth and resin to rebuild structural integrity before gelcoat is applied.
Step 2: Clean and Prepare the Surface
Repairs fail when done on a dirty, wet, or contaminated surface. Do not skip this step.
Dry the tub completely. Use a hair dryer on low heat if needed — moisture under gelcoat causes it to lift and bubble. Allow 24 hours after last use before repairing.
Wipe the damaged area with acetone on a clean rag. This removes soap film, body oils, and any silicone from old caulk — all of which prevent adhesion. Let the acetone flash off (about 2 minutes) before proceeding.
For cracks with lifted or jagged edges, use 80-grit sandpaper to knock down the edges and feather the area slightly. You want the crack to be a shallow V-groove, not a sharp slit — the filler needs surface area to grip. Wipe away all dust with a tack cloth or a clean rag dampened with acetone.
Step 3: Fill the Crack
Fiberglass repair kits typically include two components: a polyester or epoxy filler for structural fill, and gelcoat for the surface finish coat. Use the filler first on any crack deeper than 1/16 inch.
Mix the filler per the kit instructions — most use a small drop of hardener catalyst mixed into a marble-sized amount of filler paste. Work quickly; pot life is often only 5 to 10 minutes.
Press the filler firmly into the crack with a plastic spreader, forcing it into the bottom of the groove. Overfill slightly — the filler will sand flat. On a curved tub wall, tape off the area with painter’s tape to keep filler from smearing across a large area.
Allow the filler to cure fully. Most polyester fillers are sandable in 20 to 30 minutes but do not apply gelcoat for at least 60 minutes. Read your kit instructions.
Sand the cured filler flat with 220-grit wet/dry sandpaper used wet. Work in a circular motion, checking frequently. The goal is a filled area that is level with the surrounding tub surface and shows no high spots.
Step 4: Mix and Apply Gelcoat
This is the step that determines how visible the repair is. Take your time with color matching.
Start with a small test batch. Squeeze about a tablespoon of white gelcoat base into a mixing cup. Add tints one drop at a time, mixing thoroughly after each addition. Apply a thin smear to a plastic bag or cardboard, let it cure for 20 minutes, then compare to the dry tub surface in natural light. Gelcoat lightens as it cures, so let the test patch fully cure before judging.
Common adjustments: a touch of yellow warms a cold white toward almond or bisque; a drop of raw umber adds an aged, cream tone; a trace of black tones down a bright white. Keep notes of your ratios so you can replicate the mix.
Once satisfied with the color, mix a working batch with hardener catalyst per the kit’s ratio. Most gelcoat kits require 1 to 2% MEKP hardener by volume. Too little hardener leaves a tacky, never-curing surface. Too much causes brittleness and rapid yellowing.
Apply gelcoat over the sanded filler area with a foam brush, working in thin layers. Two or three thin coats produce better results than one thick coat. Gelcoat is air-inhibited — the top surface will stay slightly tacky unless you cover it with a piece of plastic wrap pressed flat, or add a small amount of PVA release agent to the final coat (some kits include this).
Allow final cure: 2 hours minimum before wet-sanding, 24 hours before returning the tub to service.
Step 5: Wet-Sand and Buff to a Shine
This step blends the repaired area into the surrounding tub surface.
Begin with 400-grit wet/dry sandpaper, used wet. Sand the cured gelcoat patch in a circular motion, extending 2 to 3 inches beyond the repair area. Keep the paper wet and rinse frequently. You are leveling the patch and removing the PVA or surface inhibitor from the gelcoat.
Progress through grits: 600, 800, 1000, 1500, 2000. Each grit removes the scratches left by the previous one. By 2000 grit the surface should look uniformly dull with no visible sanding scratches.
Apply automotive rubbing compound with a clean rag using firm circular pressure. The compound polishes away the 2000-grit marks and brings the gelcoat to a shine that matches the surrounding tub surface.
Finish with automotive polish or gelcoat polish to maximize gloss. Wipe clean.
In good light, the repair should be nearly invisible. In direct sunlight at an angle, you may see a slight variation in sheen — this is normal and fades as the gelcoat ages to match the rest of the tub.
Step 6: Reapply Caulk Around the Perimeter
While you have the tub dry and clean, inspect the caulk bead at the tub-to-wall joint. This joint is a high-flex area and caulk failures here allow water to seep behind the wall, causing the mold and water damage that eventually leads to tub replacement.
Remove old caulk completely with a caulk removal tool and acetone cleanup. Apply 100% silicone caulk in a smooth bead, tooling it flat with a wet fingertip. Allow 24 hours to cure before getting the tub wet.
Step 7: Address Underlying Flex (If Present)
If you identified flex in Step 1, repair it now before the cosmetic work is wasted.
The simplest method for a floor-standing tub: mix plaster of Paris to a thick pancake-batter consistency and pour it slowly into the gap between the tub floor and the subfloor. Work from the drain outward so air can escape. The plaster sets in 20 to 30 minutes, giving the tub a solid, supported feel. Allow 24 hours before use.
For tubs with crawl space or basement access underneath, low-expansion spray foam injected from below is faster and more precise — drill a small access hole, inject foam until resistance is felt, cap the hole.
How to Prevent Future Cracks
Most fiberglass tub cracks result from three preventable causes: flex from inadequate support (addressed above), impact from dropped items, and cleaning with abrasive pads that weaken the gelcoat over time. Use only non-abrasive bathroom cleaners on fiberglass and acrylic tubs — no steel wool, no powdered abrasive cleansers, no Magic Erasers used with heavy pressure.
Place a rubber bath mat in the tub to cushion dropped shampoo bottles and to reduce slip-and-grab flex from people stepping in and out.
Inspect the caulk bead twice a year and replace at the first sign of cracking or separation. Water infiltration behind the tub wall is far more expensive to fix than annual recaulking.
Related Reading
- How to Recaulk a Bathtub — step-by-step caulk removal and replacement
- How to Fix a Slow Bathtub Drain — drain cleaning while the tub is already dry
- Bathroom Remodel on a Budget — full bathroom update options including tub resurfacing
- Assess the Damage and Check for Flex
Before you open any repair kit, press firmly on the tub floor and walls near the crack. A healthy fiberglass tub should feel solid.
- Clean and Prepare the Surface
Repairs fail when done on a dirty, wet, or contaminated surface. Do not skip this step.
- Fill the Crack
Fiberglass repair kits typically include two components: a polyester or epoxy filler for structural fill, and gelcoat for the surface finish coat. Use the filler first on any crack deeper than 1/16 inch.
- Mix and Apply Gelcoat
This is the step that determines how visible the repair is. Take your time with color matching.
- Wet-Sand and Buff to a Shine
This step blends the repaired area into the surrounding tub surface.
- Reapply Caulk Around the Perimeter
While you have the tub dry and clean, inspect the caulk bead at the tub-to-wall joint. This joint is a high-flex area and caulk failures here allow water to seep behind the wall, causing the mold and water damage that eventually leads to tub replacem...
Free: 10-Point Home Maintenance Checklist
Prevent costly repairs with this seasonal checklist. Save hundreds every year by catching problems early.
Your checklist is ready!
Open Checklist →Something went wrong. View the checklist here.