How to Fix a Cracked Exterior Stucco
Repair hairline and structural cracks in exterior stucco yourself using the right patching compound, bonding agent, and finish coat to restore a weatherproof and matched surface.
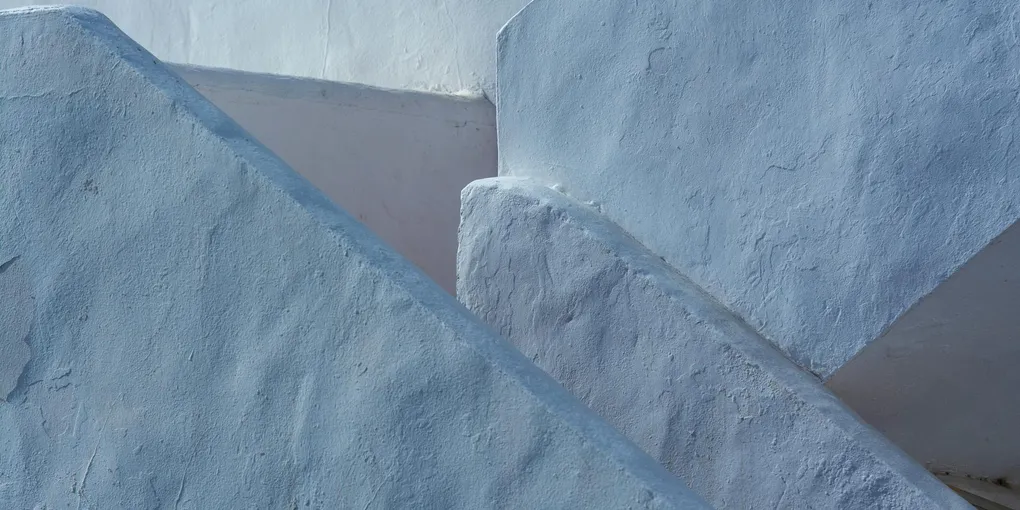
Exterior stucco is one of the most durable cladding materials available, but it is not immune to cracking. The structure behind the stucco moves constantly with temperature changes, moisture cycles, and normal foundation settling, and the rigid stucco surface cracks in response.
Exterior stucco is one of the most durable cladding materials available, but it is not immune to cracking. The structure behind the stucco moves constantly with temperature changes, moisture cycles, and normal foundation settling, and the rigid stucco surface cracks in response. Left unrepaired, cracks allow water into the wall assembly, which can damage the wire lath, framing, and insulation behind the surface coat.
The good news is that most stucco cracks are purely cosmetic failures that can be repaired over a weekend with the right materials. This guide covers hairline crack sealing, medium crack patching, and larger section repairs from preparation through finish coat.
What You Need
Assemble your materials based on the crack size and depth. Hairline repairs need very little; larger patches require more preparation steps.
- Elastomeric stucco and masonry caulk — for sealing hairline and small cracks under 1/4 inch
- Pre-mixed stucco patch compound — for medium cracks and surface repairs
- Concrete bonding adhesive — applied to old stucco surface before patching to improve adhesion
- Stucco texture tools or masonry brush — for matching finish texture
- Wire brush and cold chisel — for cleaning cracks and removing loose material
- Angle grinder with masonry wheel — optional, for widening cracks into a proper V-profile
- Masonry paint in matching color — for finishing the repair after cure
- Safety glasses and dust mask — grinding and chiseling stucco creates sharp dust
Estimated cost: $30 to $80 for a standard hairline and medium crack repair.
Step 1: Assess the Cracks
Walk the entire exterior and mark every crack with masking tape or chalk so you can work systematically. For each crack, note:
Crack width at the widest point:
- Under 1/16 inch — hairline, cosmetic repair only
- 1/16 to 1/4 inch — medium crack, needs proper patching
- Over 1/4 inch — wide crack, investigate substrate before patching
Crack pattern:
- Isolated straight cracks from thermal movement — normal
- Diagonal cracks radiating from corners of window or door openings — possible foundation or framing movement
- Map cracking (a network of fine interconnected cracks over a large area) — often from an improper original mix or too-rapid drying during application
Sound test: Knock on the stucco around each crack with your knuckles. Solid stucco sounds dense. A hollow or papery sound indicates the stucco has separated from the substrate behind it. Hollow areas larger than a few inches should be removed and repacked, not just surface-patched.
If you find diagonal cracks originating at corners combined with doors or windows that stick, consult a structural engineer before proceeding with cosmetic repairs.
Step 2: Clean and Prepare All Cracks
Thorough preparation is what separates a patch that lasts two years from one that lasts twenty.
For hairline cracks: Use a stiff wire brush to scrub along the length of the crack, removing any loose surface material, efflorescence (white chalky mineral deposits), paint flakes, or biological growth. Blow out dust with compressed air or a dry brush.
For medium and larger cracks: Use a cold chisel and hammer to widen the crack slightly into a V-profile — wider at the surface than at the depth. This undercut geometry gives the patch material mechanical purchase in the crack and prevents it from falling out. Remove all loose stucco along the crack edges — any material that breaks free with light chisel pressure is not bonded and will undermine the patch. Wear safety glasses during this step.
For all repairs: Wet the cleaned crack and surrounding surface with water from a spray bottle. Dampening the existing stucco prevents it from drawing moisture out of the patch too quickly, which causes premature drying and cracking of the new material.
Step 3: Repair Hairline Cracks
Hairline cracks require minimal material but benefit from a flexible sealer rather than a rigid patch that will re-crack with the next movement cycle.
- Load a tube of elastomeric masonry caulk into a caulk gun.
- Cut the nozzle to produce a bead slightly wider than the crack.
- Push the caulk into the crack with the nozzle, running it the full length of the crack.
- Tool the bead smooth with a wet fingertip or a caulk tool, pressing it firmly into the crack.
- Wipe away any excess immediately with a damp cloth before it skins over.
Let cure per label directions. Most elastomeric masonry caulks are paintable after 24 hours and fully weatherproof after 48 to 72 hours.
Step 4: Apply Bonding Agent for Larger Patches
For any crack or area being patched with stucco mix rather than caulk, apply bonding agent first. This is not optional — stucco applied directly over clean, dry old stucco adheres poorly and patches pop off within one to two seasons.
- Brush the bonding agent generously over the entire area to be patched, extending two to three inches onto the sound surrounding stucco on all sides.
- Let the bonding agent dry to a tacky state. Do not apply patch material while it is still wet and runny. Do not let it cure completely hard — the tacky stage is the bonding window.
Step 5: Fill Medium Cracks and Shallow Patches
For cracks between 1/16 and 1/4 inch and for shallow surface damage:
-
Mix the pre-mixed stucco patch compound per package directions. Most pre-mixed products require only water addition. Mix to a thick, peanut-butter consistency — stiff enough to stay in a vertical crack without slumping.
-
Pack the compound firmly into the crack using a putty knife or margin trowel. Press it into the bottom of the V-groove, eliminating any air voids. Overfill slightly above flush.
-
Smooth the surface with the trowel edge. The goal at this stage is to fill the crack, not to match the texture.
-
Once the patch begins to stiffen (typically 15 to 30 minutes), apply texture. This is the most skill-dependent step.
Step 6: Match the Texture
Texture application requires practice. Before working on the wall, practice on a scrap board to find the technique that best matches your existing surface.
Sand finish: Apply the final thin skim coat of stucco and float it with a foam or rubber float in circular motions. The aggregate in the mix produces the slightly gritty sand texture.
Dash texture (splatter): Load a stiff masonry brush with thin stucco mix. Flick the brush toward the wall from 12 to 18 inches away to create a random splatter pattern. Vary distance and brush speed to match the existing dot size and density.
California swirl or skip trowel: Apply thin stucco with a trowel and then press a damp trowel flat against the surface and lift quickly to create skip patterns. The amount of material on the trowel and the angle determine the pattern size.
For very small patches, some homeowners find it easier to apply the patch flat and then paint the entire wall section with a masonry paint that contains fine aggregate, which visually unifies the texture.
Step 7: Cure and Finish
Keep the patch moist for the first 72 hours. In warm or dry conditions, mist the patched area lightly two to three times per day. This slow, even curing dramatically reduces shrinkage cracking in the fresh patch.
Do not paint for at least 28 days. New stucco undergoes chemical curing that requires time. Painting too soon traps moisture and causes paint adhesion failure.
After the full cure period, apply a coat of primer formulated for masonry surfaces, then one to two coats of elastomeric masonry paint. Elastomeric paint spans hairline future movement and creates a flexible moisture barrier that standard paint does not.
If color matching is your biggest concern, painting the entire wall section or the entire wall face rather than spot-painting the patch is usually the most effective approach. Even a perfect texture match is visible if the color does not match surrounding weathered stucco.
Long-Term Stucco Maintenance
Inspect your stucco annually, ideally in spring after the freeze-thaw cycle has run its course. Walk the entire exterior and look for new cracks, hollow-sounding areas, and failed caulk at all penetrations (around windows, doors, utility entries, and where stucco meets a different material).
Keep caulk joints at all penetrations fresh — this is the primary way water gets behind stucco and causes substrate damage. Recaulk any joint showing any crack, shrinkage gap, or discoloration.
A well-maintained three-coat stucco system on a properly installed wire lath substrate can last 50 years or more. The maintenance investment is small compared to the cost of a full re-stucco job.
Related Reading
- Assess the Cracks
Walk the entire exterior and mark every crack with masking tape or chalk so you can work systematically. For each crack, note:
- Clean and Prepare All Cracks
Thorough preparation is what separates a patch that lasts two years from one that lasts twenty.
- Repair Hairline Cracks
Hairline cracks require minimal material but benefit from a flexible sealer rather than a rigid patch that will re-crack with the next movement cycle.
- Apply Bonding Agent for Larger Patches
For any crack or area being patched with stucco mix rather than caulk, apply bonding agent first. This is not optional — stucco applied directly over clean, dry old stucco adheres poorly and patches pop off within one to two seasons.
- Fill Medium Cracks and Shallow Patches
For cracks between 1/16 and 1/4 inch and for shallow surface damage:
- Match the Texture
Texture application requires practice. Before working on the wall, practice on a scrap board to find the technique that best matches your existing surface.
Free: 10-Point Home Maintenance Checklist
Prevent costly repairs with this seasonal checklist. Save hundreds every year by catching problems early.
Your checklist is ready!
Open Checklist →Something went wrong. View the checklist here.